
How to make a curtain for your kitchen cabinet
Kitchens are an expensive room to renovate and more often than not, we need to find solutions that make what we already have work for us. One inexpensive way to do this is to install a curtain to hide any ugly appliances or clutter you may have on show.
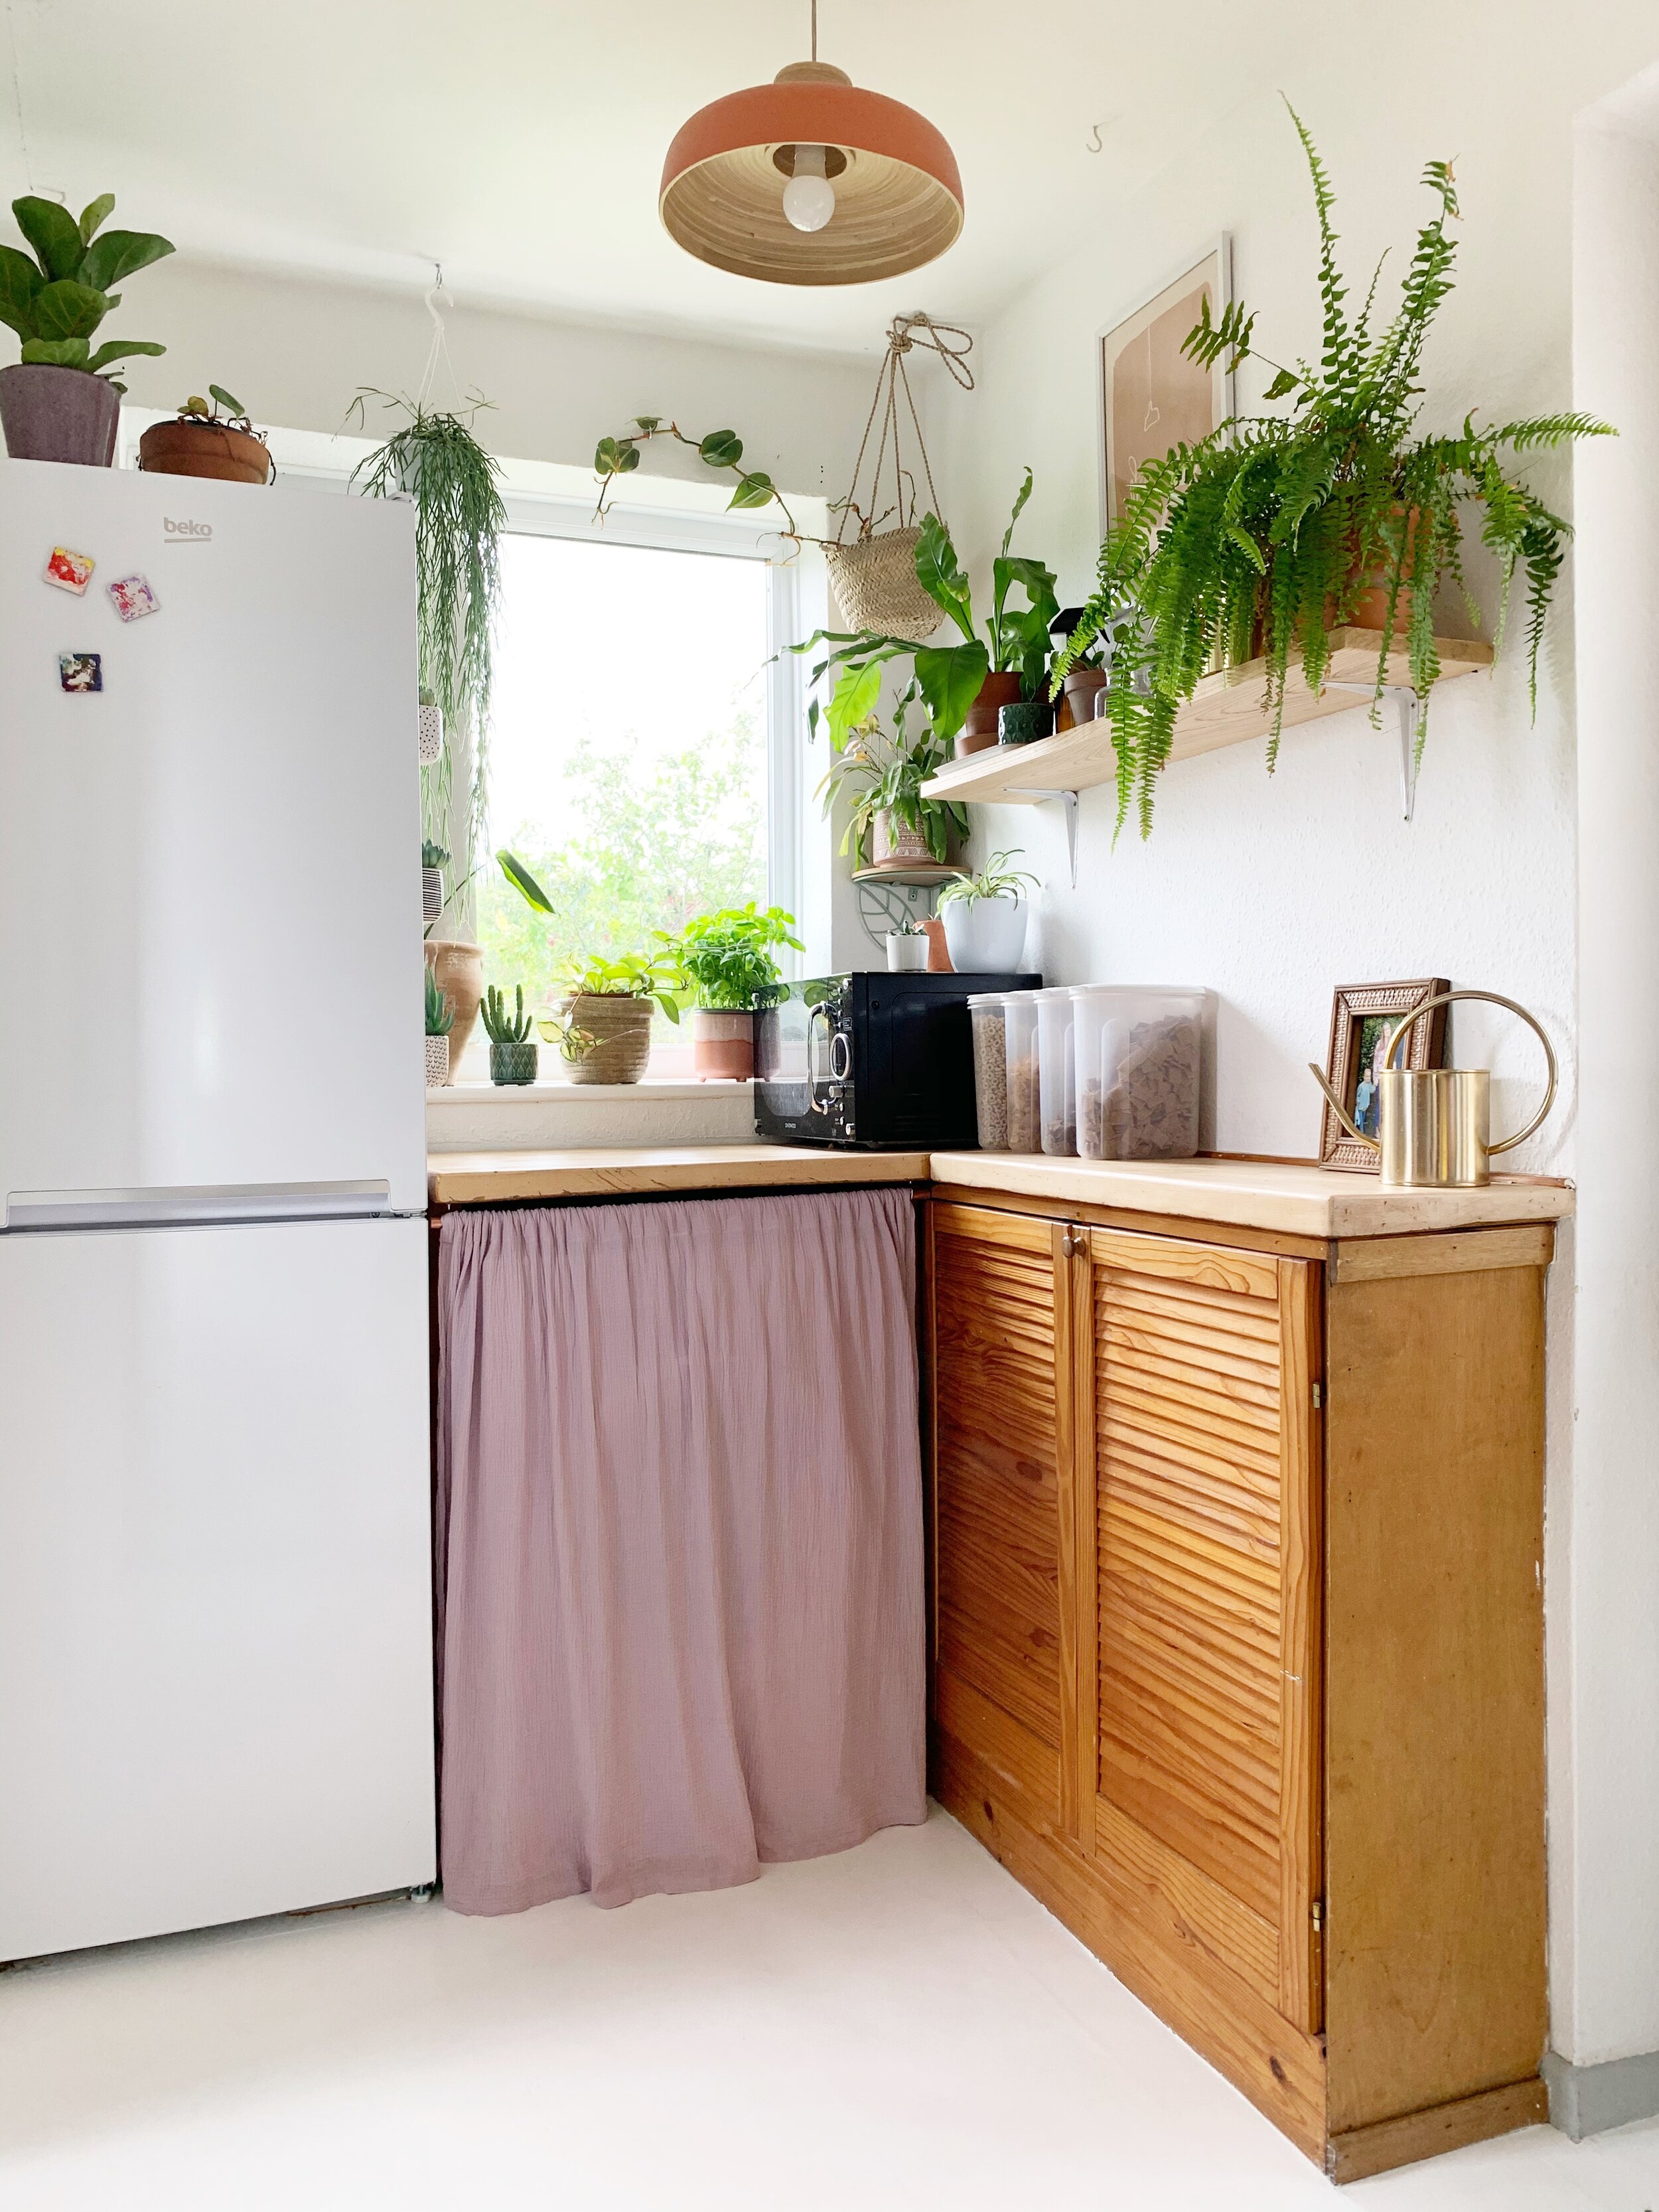
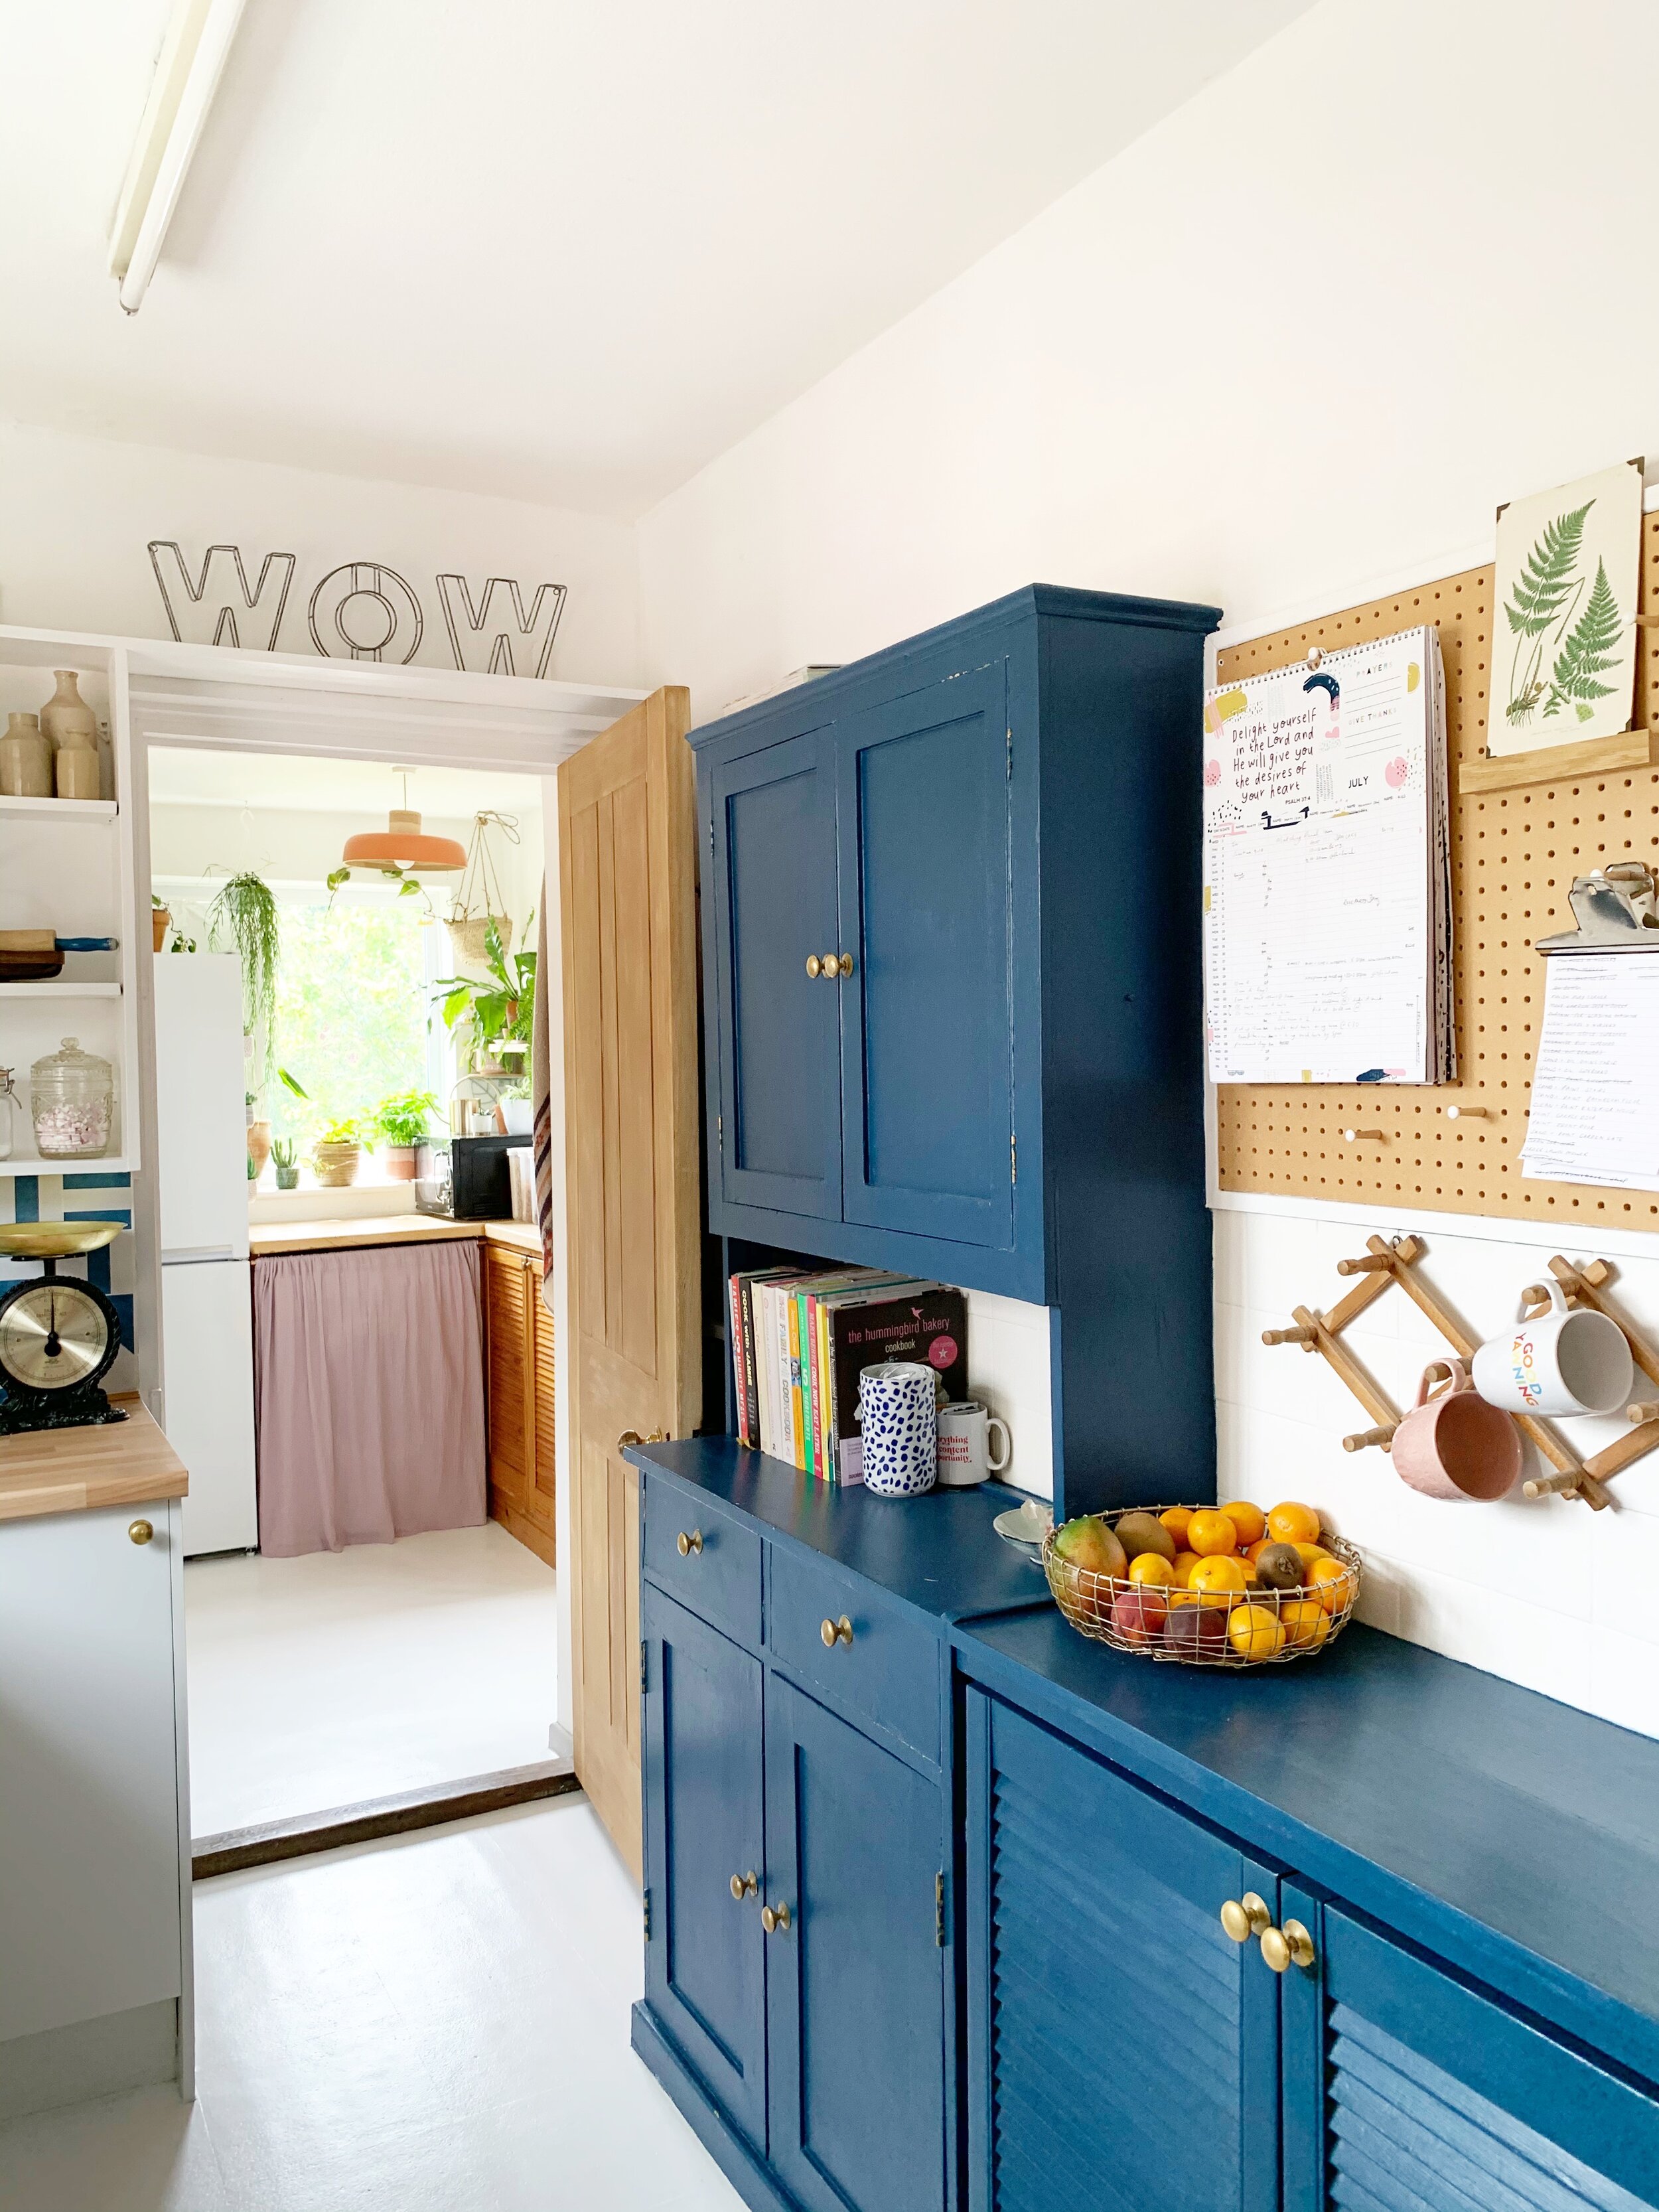
Our utility room sits right next to our kitchen and is used as a part utility/part kitchen with our fridge/freezer, microwave, dishwasher and washing machine in there alongside a utility cupboard, coat storage and boiler. The previous owners didn’t have a dishwasher, so we had to make space for both our appliances by cutting out the cupboard that previously sat where the curtain now is.
Thankfully the worktop was supported by brackets above, so it was a simple job completed with a circular saw and a lot of noise (it even made the fire alarm go off!) whilst the kids miraculously stayed asleep one evening.
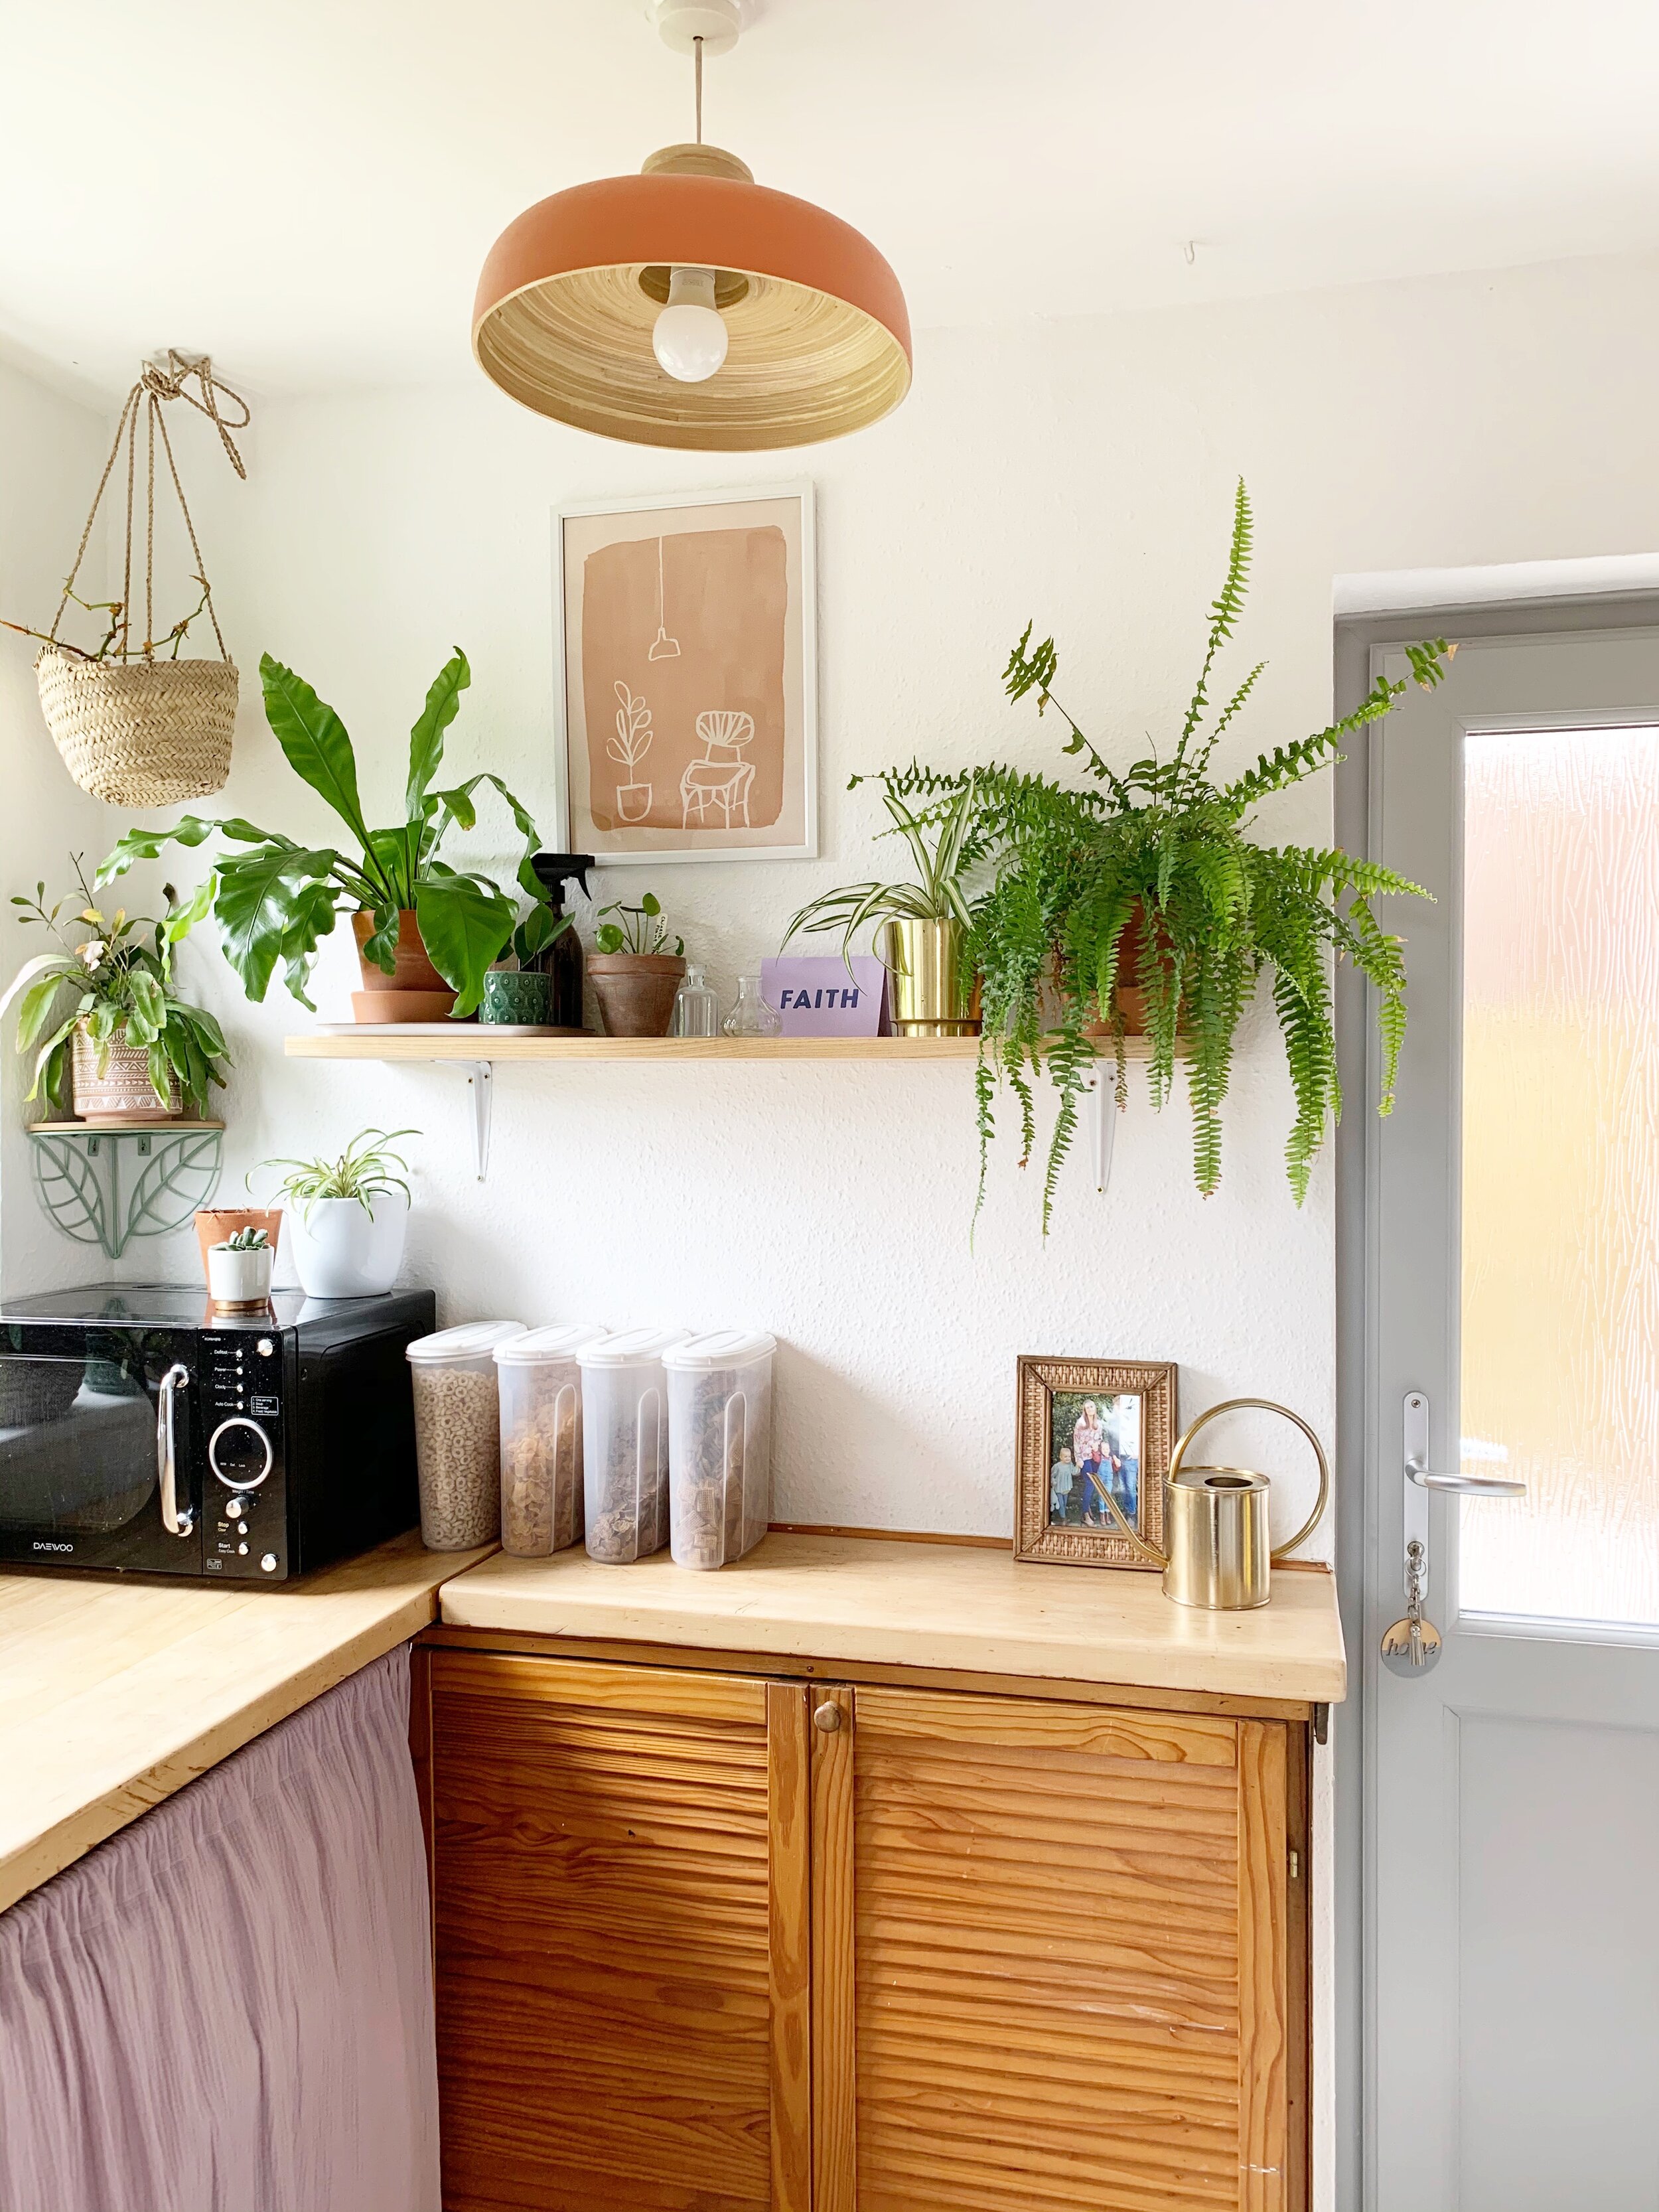
Although at the back of the house, the view of the fridge and the washing machine is visible as soon as you walk through the front door, so I wanted to do something to break up the ugly block of white appliances. I wasn’t immediately convinced by curtains despite it being an obvious solution due to the fact that a) I used to be a curtain maker and b) it was cheap. In all honesty, we both felt that it may look a bit twee and the country kitchen look wasn’t one I was aspiring to.

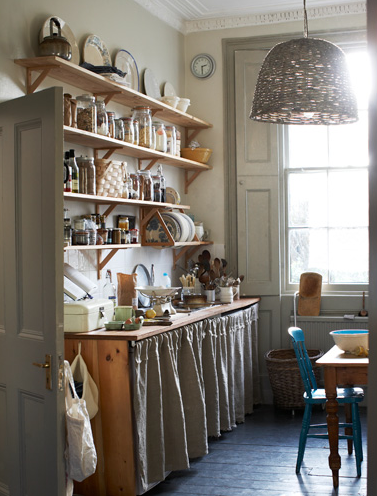

After turning to Pinterest for inspiration, I decided it’s all in the choice of fabric. A neutral linen or muslin gauze (as we’ve used) doesn’t fight for attention in the way a floral or gingham check does, and thus looks a little less twee and hopefully more modern.
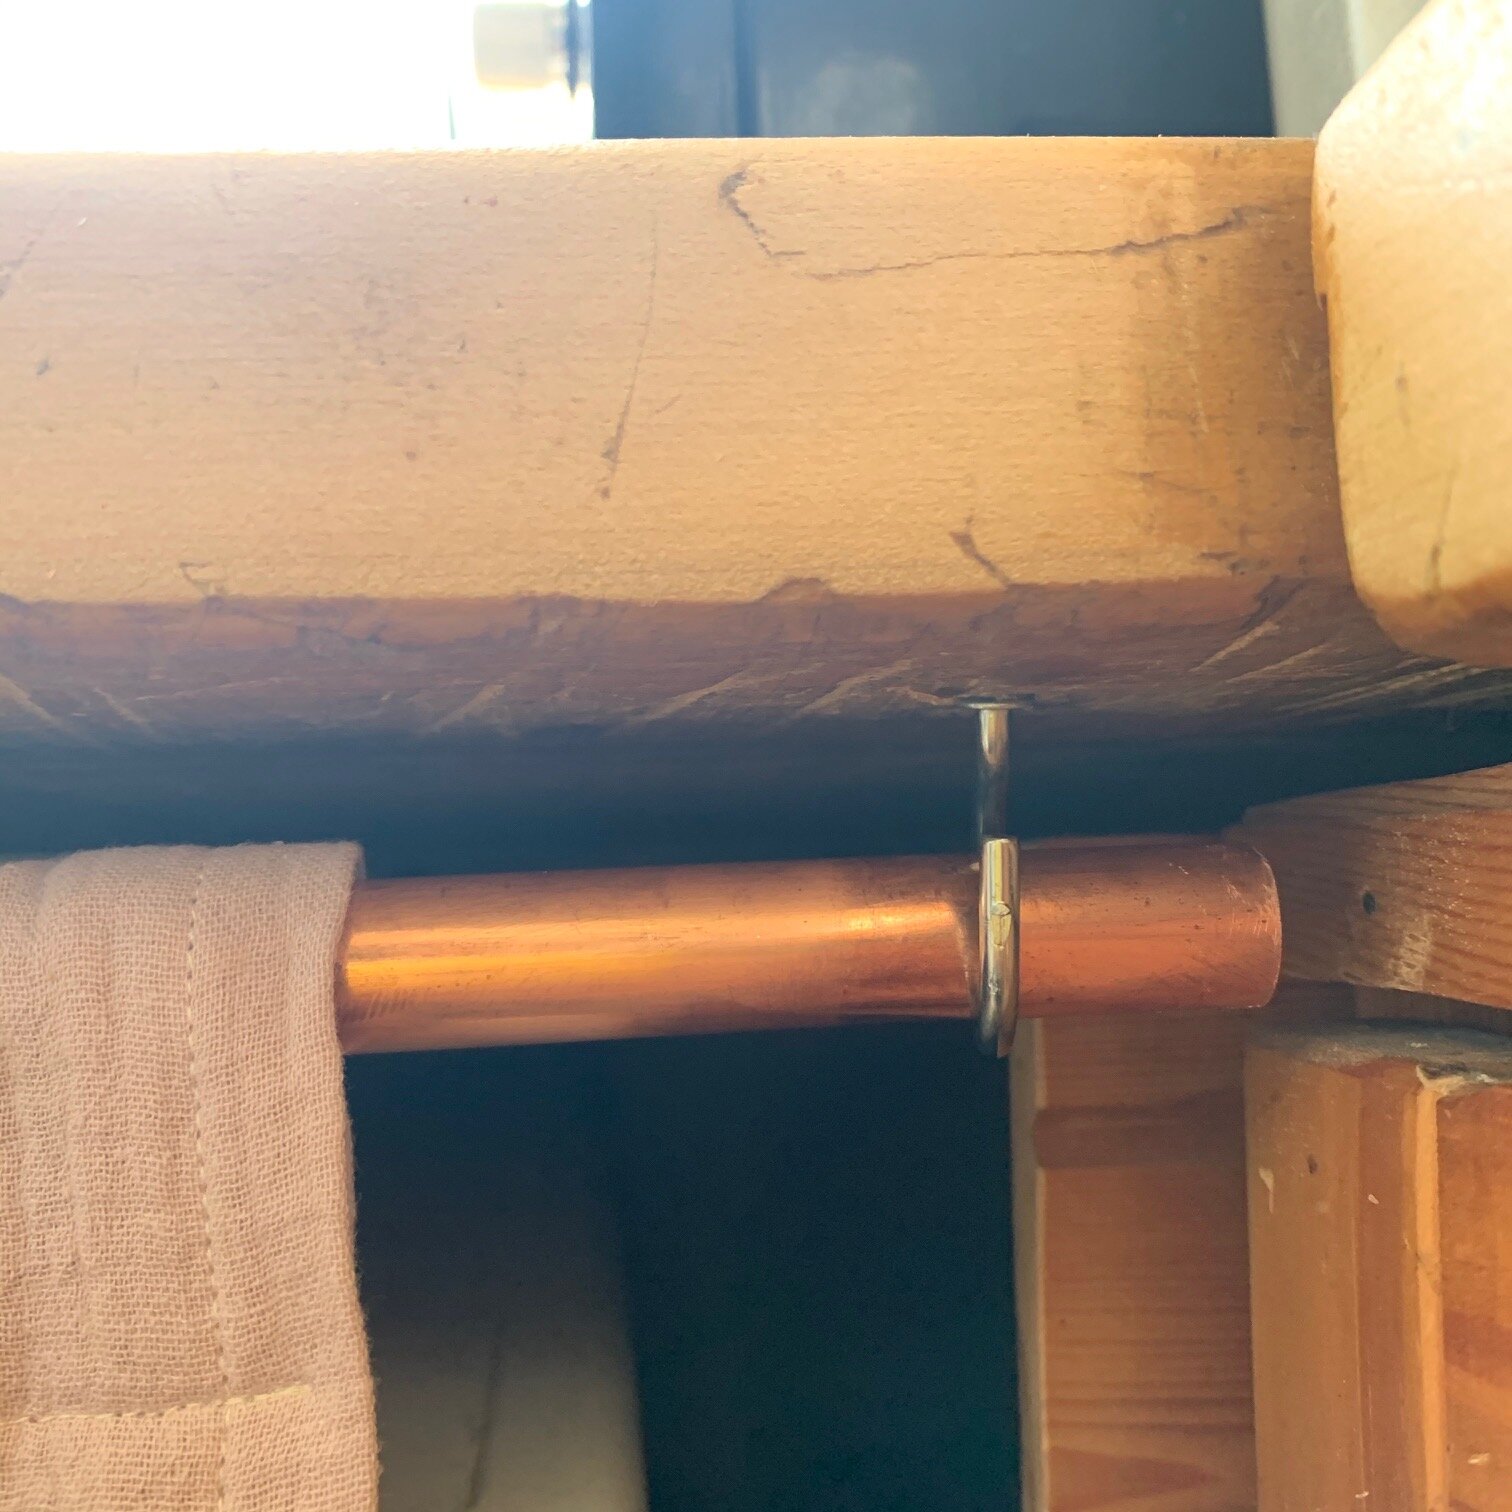
I found this gorgeous muslin on eBay (search double gauze lightweight muslin) for less than £10 a square metre and knew it would fit in perfectly with the pink cupboard door we have in the kitchen, thus linking the two rooms together. A copper pipe is an inexpensive option for the curtain rail (you could also use a tension rod if your space allows) and a couple of cup hooks screwed into the underside of the worktop have worked well for us.

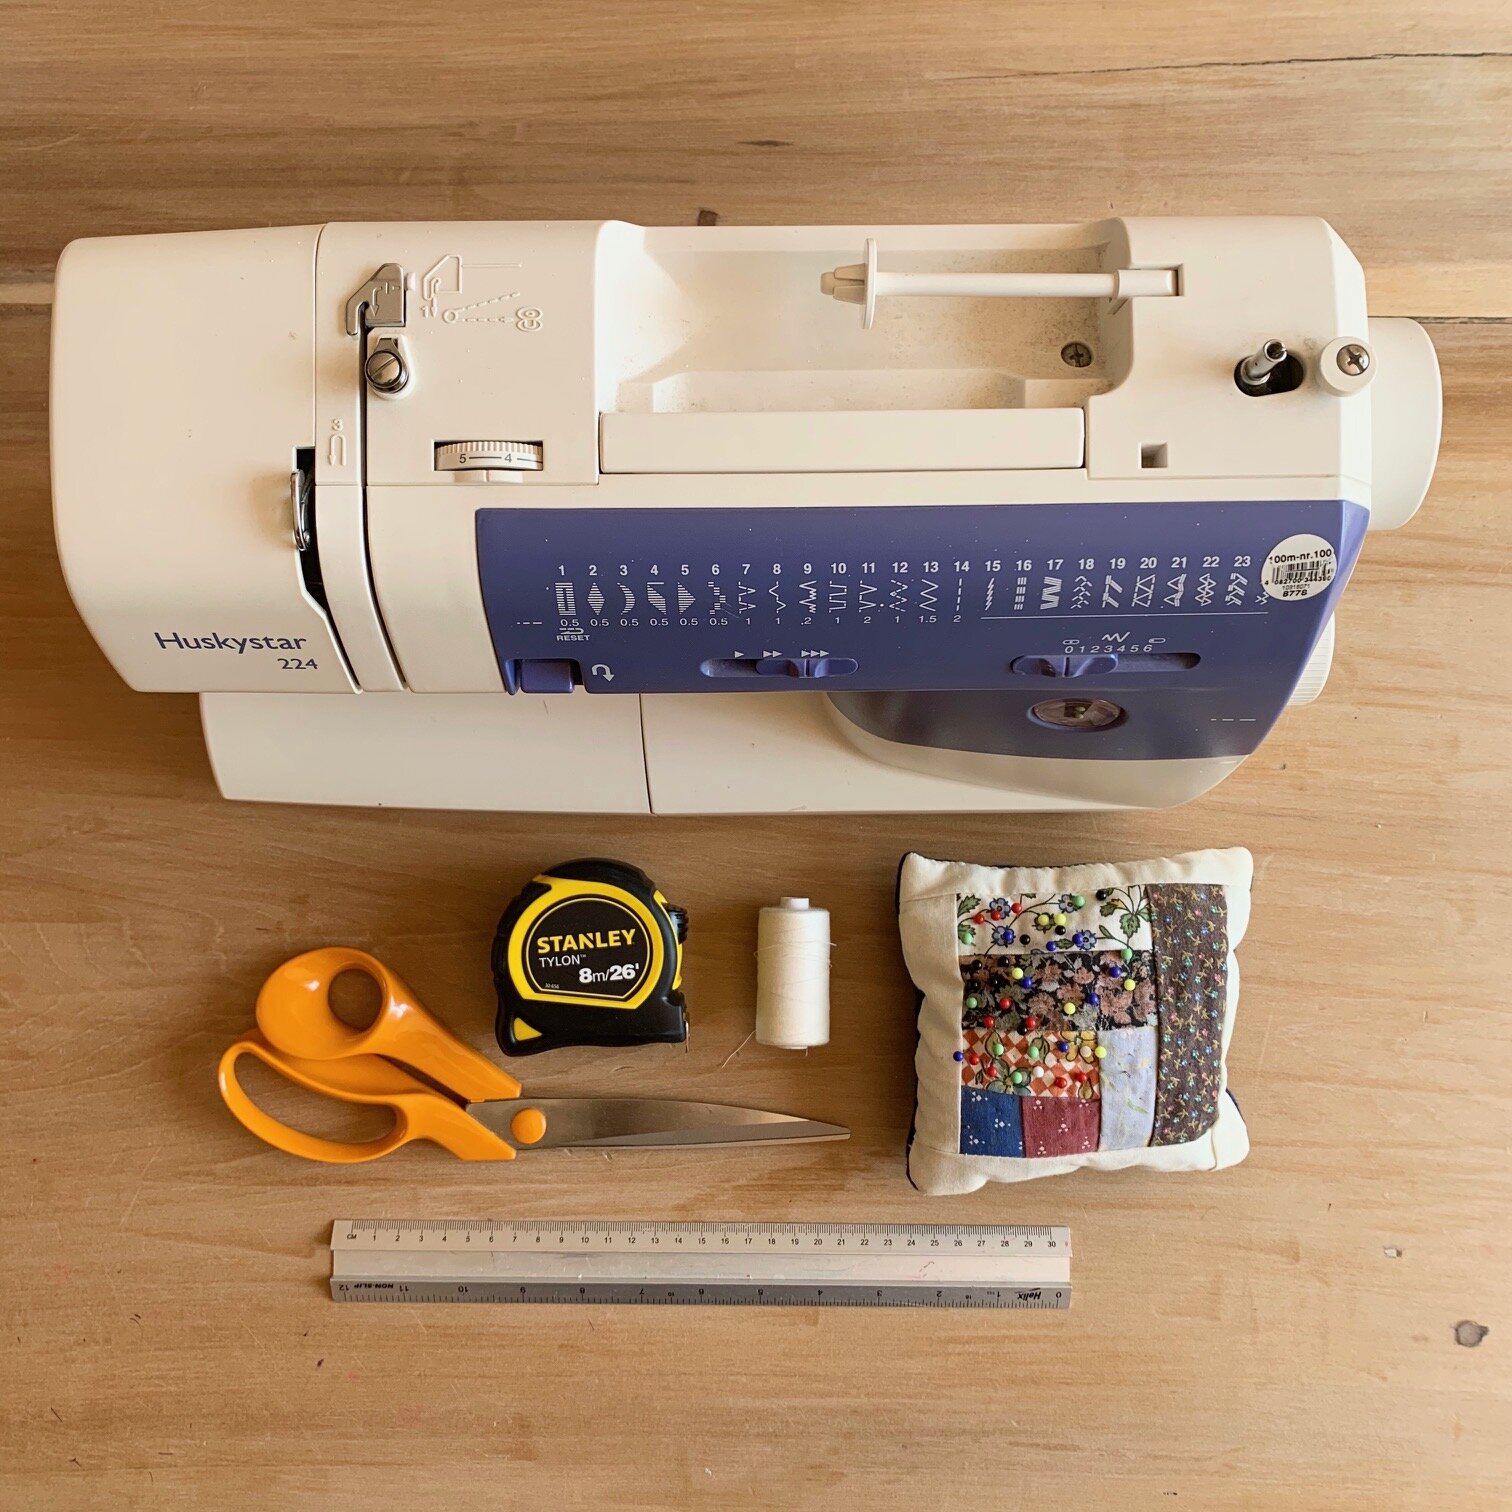
Tools:
Sewing Machine
Cotton Thread
Lightweight Fabric
Tape Measure
Pins
Ruler
Fabric Scissors
Fabric Pen or Biro
Iron (and ironing board)
How to make a curtain for your kitchen cabinet
Install your choice of curtain rod first so you know where to measure from. I got a copper rod from our local hardware store and cut it with a jigsaw. I then drilled small holes on the underside of the worktop to screw the cup hooks into.
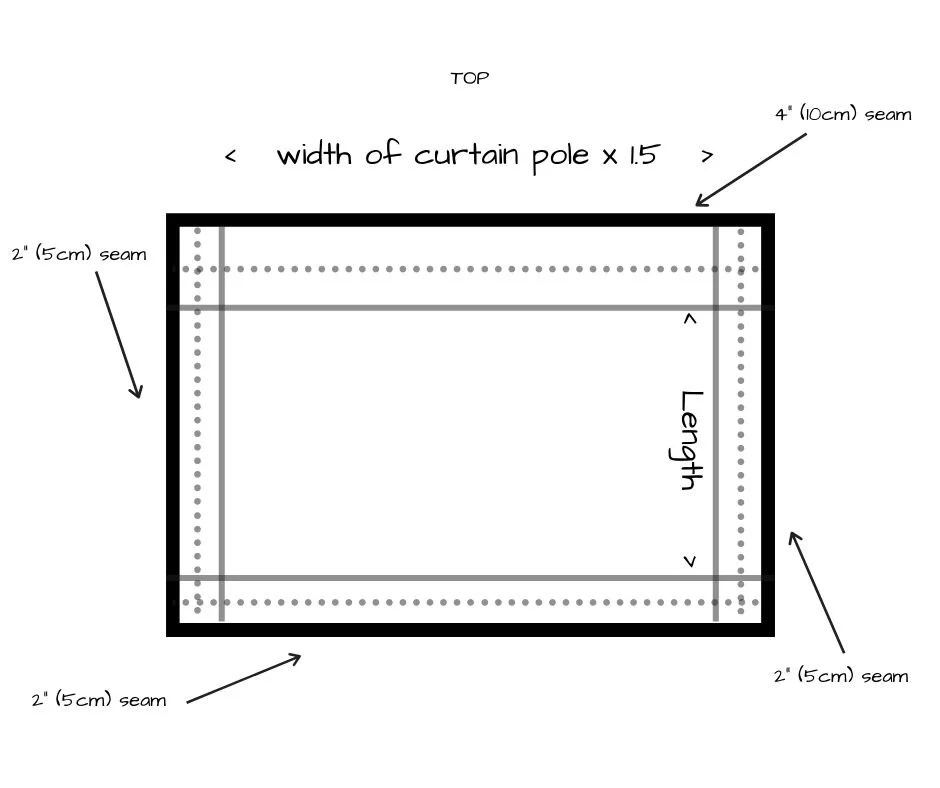
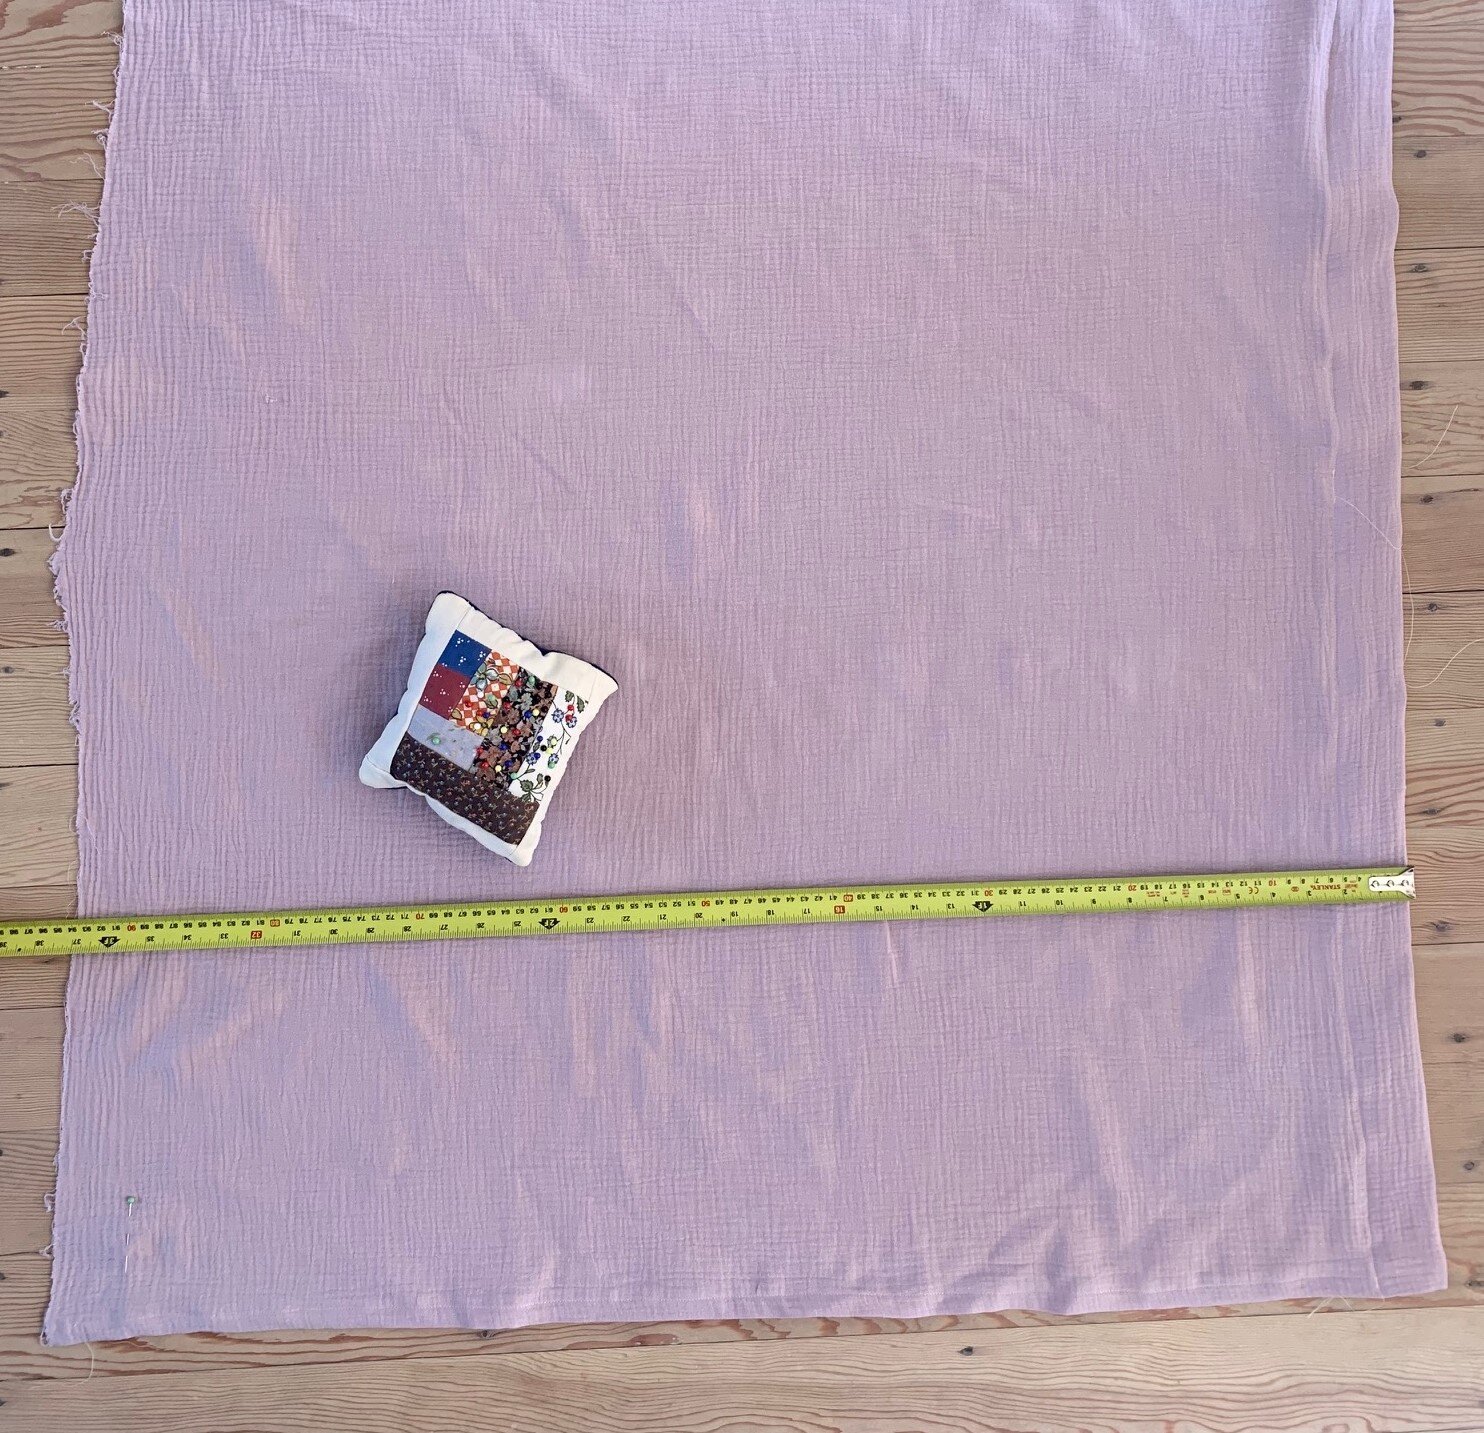
Once in place, measure from the top side of the pole to the floor, to work out the LENGTH of your curtain. Then measure the whole width of your curtain pole to work out the WIDTH your curtain needs to cover. Please note this isn’t the width of the fabric required though as you’ll need more fabric to create a fuller drape rather than having the curtain just hanging flat. (See step 4 for further info.)
This next step is really important - you need to wash and dry your fabric before you start making.. Fabric bought by the metre often shrinks slightly after the first wash. If you forget this step, when the already made curtain requires a wash (which it will at some point as it’s in the kitchen,) it will shrink and sit an inch above the floor. So wash the fabric first before measuring and making, to ensure you can then wash it and not have to remake it because it shrunk (like I did!!!)
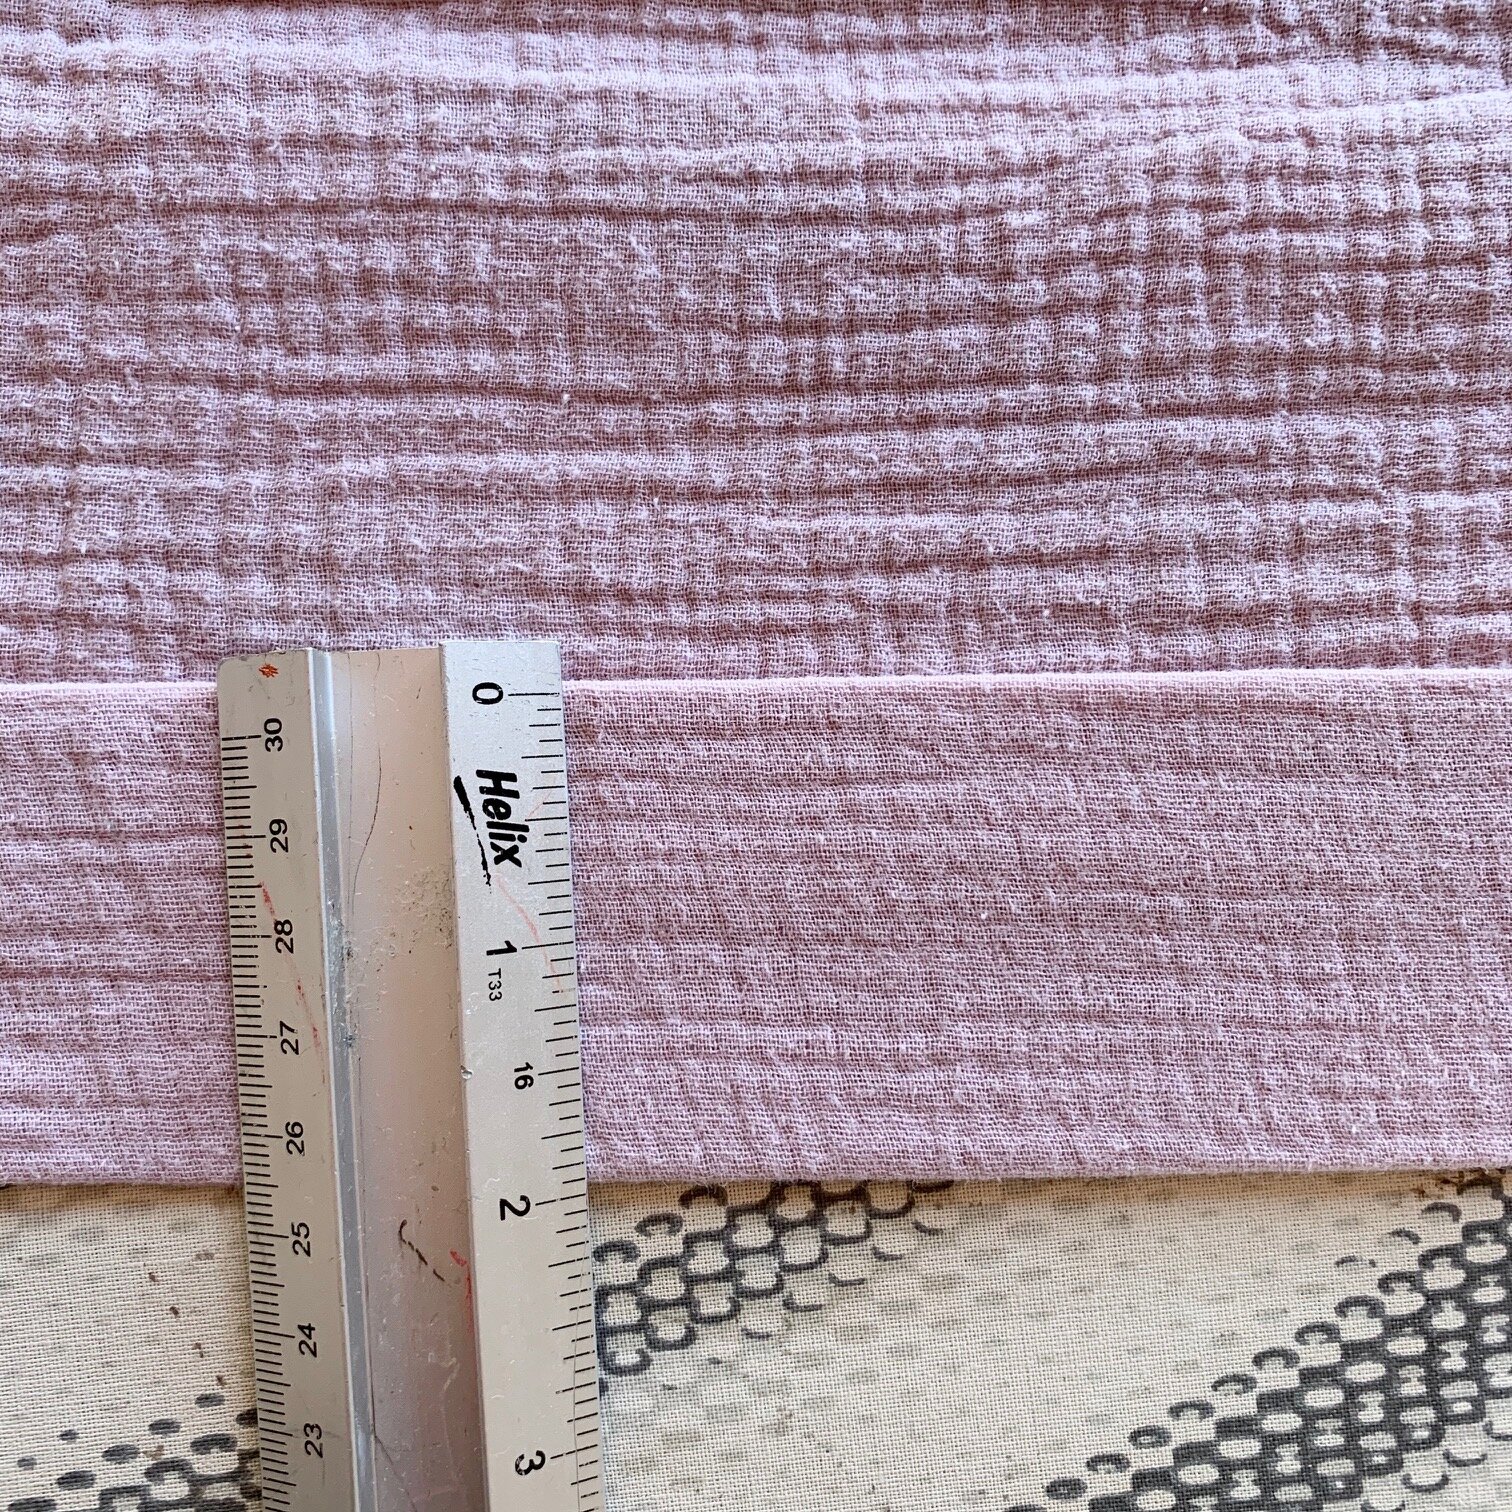
If you want a fullness similar to our curtain, the width needs to be 1.5 times the width of your curtain pole. So, if your curtain pole is 100cm, the width of the fabric needs to be 150cm (plus seam allowance). You need two inches (five centimetres) for seam allowance either end, as shown in the diagram below. Lay the fabric on a flat surface, hold your tape measure along one end (you may need a friend to help with this) and pop little marks using a fabric pen or biro along one side. Double check your measurement and then cut along the pen marks as straight as you can.
5. Now you have the width correct, cut off a rough amount for the length, obviously ensuring there is enough there for your required length plus seam allowances. Don’t worry if it’s a bit over as we will remeasure the accurate length once you’ve sewn the sides.
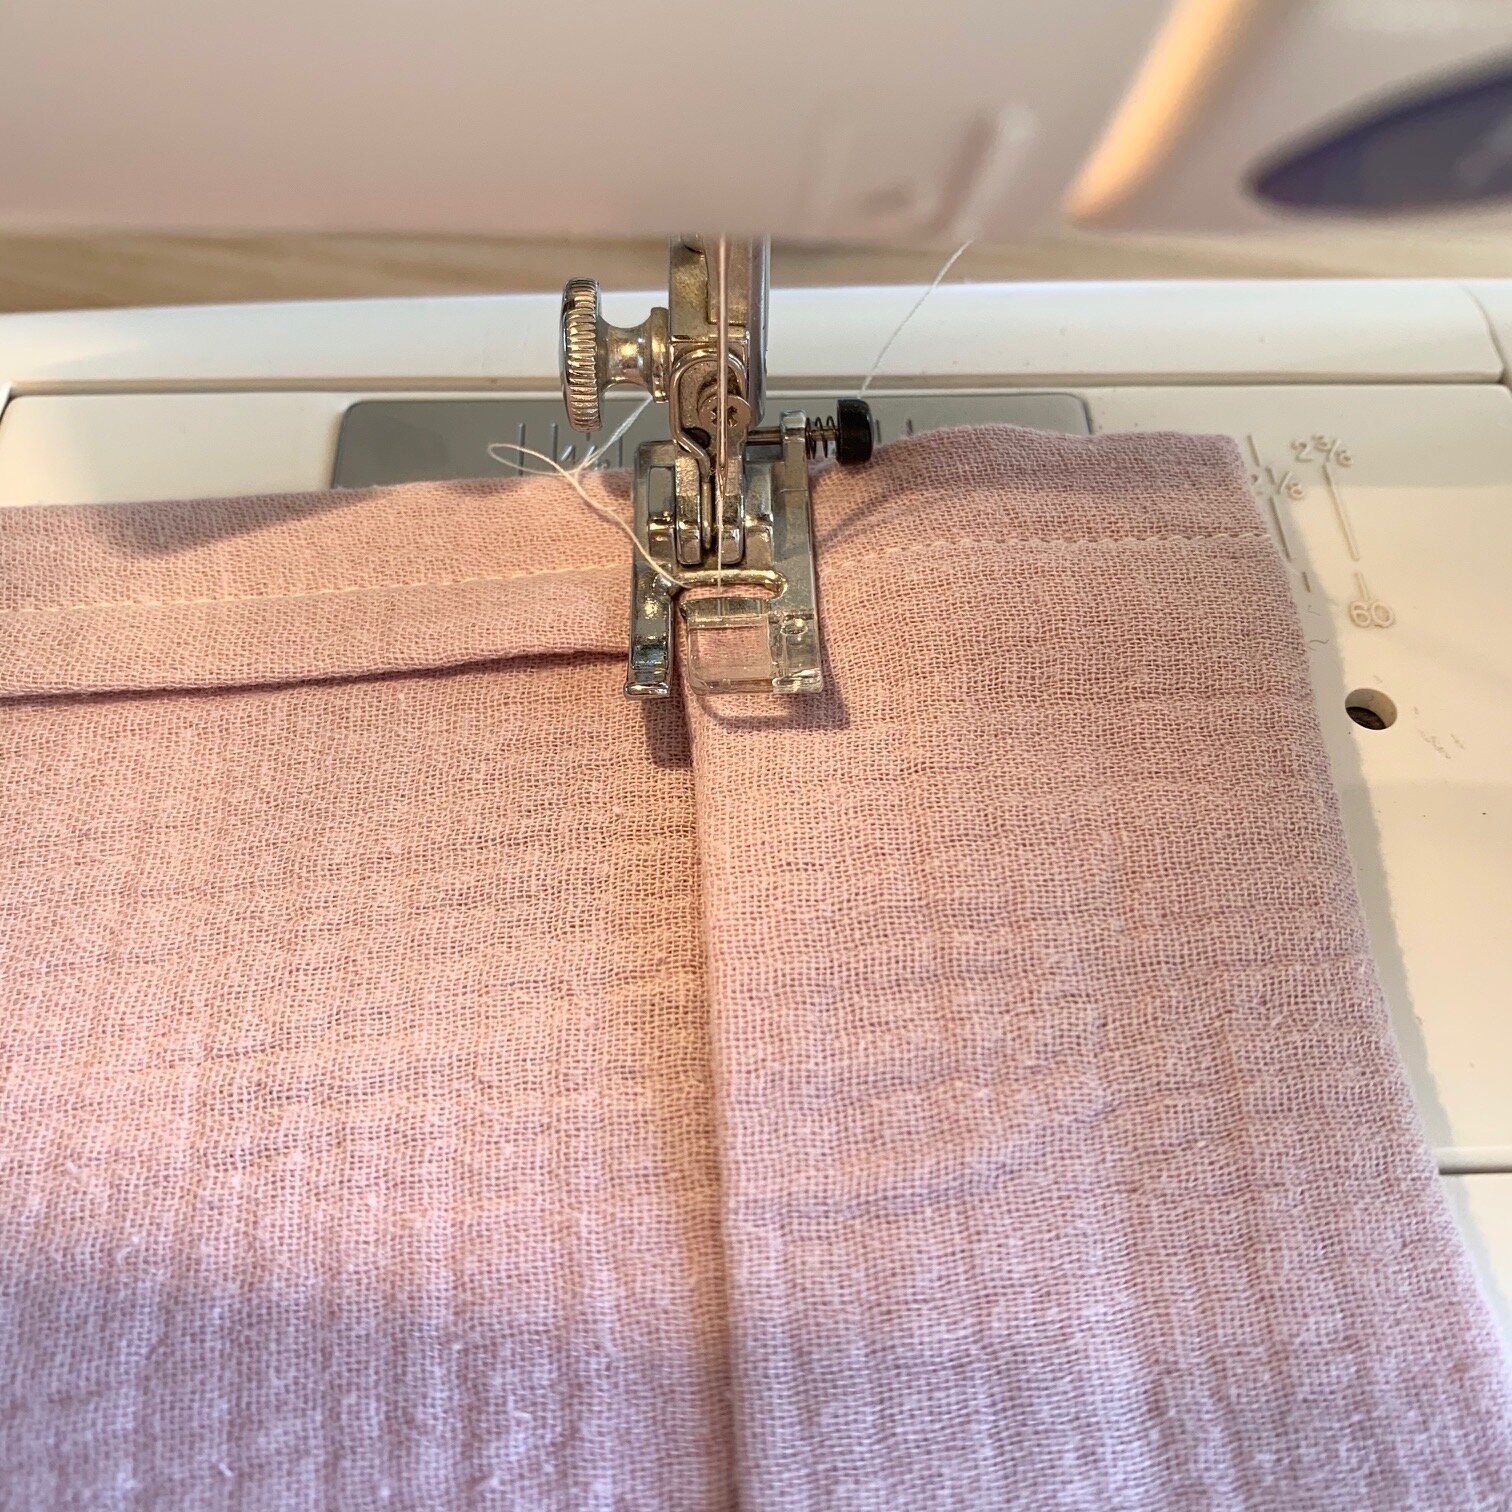
6. Lay the fabric on an ironing board and, using a ruler, fold over the fabric to two inches all the way along one side. Press down with the edge of the ruler so the fabric is folded and holds its position as you measure. Once folded all the way along, iron the crease. Then turn the fabric in on itself so you have a one inch seam. You can use your ruler again to press it into shape before ironing it down to secure it in position. Now follow these steps again on the other side of your fabric, so you have both sides folded and ironed into position.
7. Thread your sewing machine using a thread similar to the fabric colour you are using. Place one of the seams on the machine and stitch a straight stitch along the edge to secure it in place. Now do the same on the other side, remembering to back stitch at the beginning and end of each line.
8. Now your sides are done, it’s time to do the top. Place your fabric on the ironing board again, seams facing up at you. Fold over the top of the fabric to four inches, pressing the ruler down to create a crease and then iron it into position all along the top. Now fold the fabric in on itself to two inches, press down with your ruler and iron to secure. Now you can stitch along the bottom edge of the seam to secure it in place, ensuring you have left enough space for the curtain pole to fit through.
9. Once the top is complete, lay the curtain on a flat surface again, seams facing down, and measure from the top of your curtain to where you want the bottom to be (not including the bottom seam allowance this time). Place pins about 10cm apart along the bottom which will give you a marker on length. Now pop the curtain back on your ironing board, seams facing up at you. and fold all along where the pins are. Remove the pins, and iron fold into place. You should have some fabric left over for the seam that may not be particularly straight. That’s OK, as we need to cut it anyway! Cut two inches along using a ruler as a guide and making sure you don’t cut the front fabric (your curtain) below!!
10. Now you can fold this fabric in on itself to make a 1 inch seam, press down with a ruler, iron into place and stitch along using a straight stitch.
11. Cut off all loose bits of thread and your curtain is finished!

Are you thinking of making a curtain for a kitchen or utility cabinet? Let me know in the comments below if you have any questions - or message me via Instagram.
Related Blog Posts:
You can also follow me on: