How to paint your kitchen cupboards
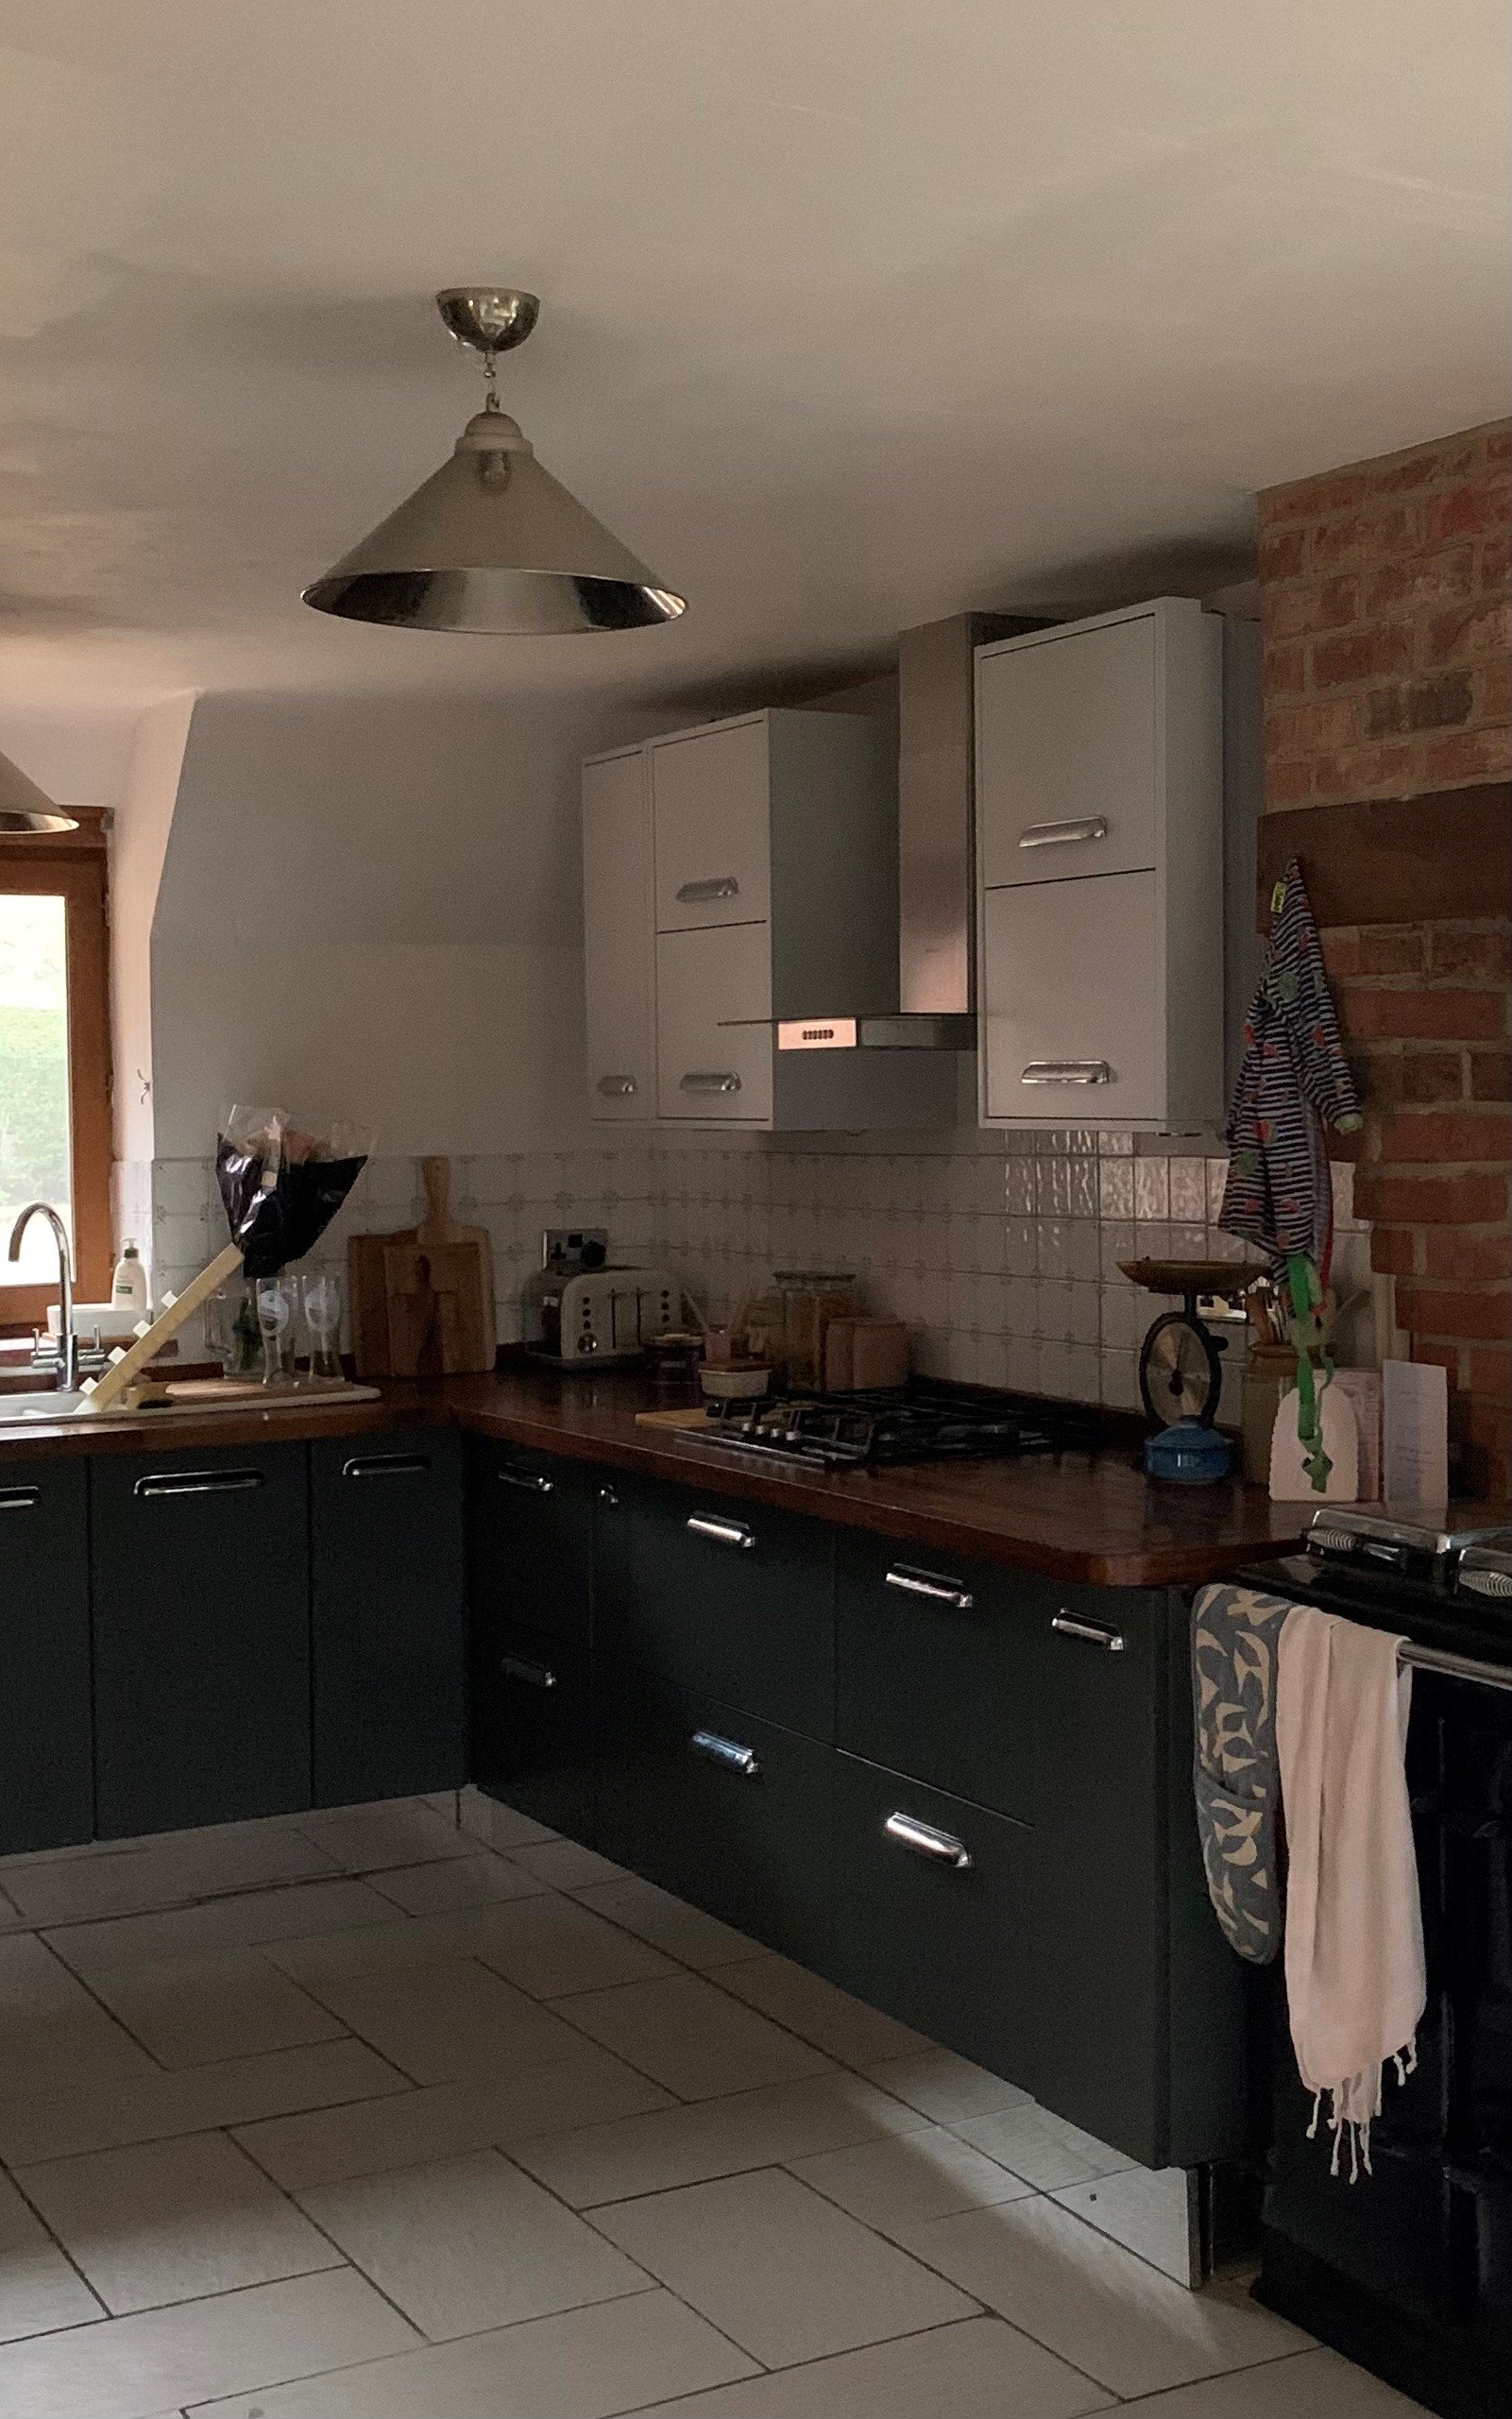
Although I actually quite liked the original colour of our cupboards (some by John Lewis of Hungerford, some by IKEA), they were chipped and looking pretty sorry for themselves after we’d made improvements elsewhere. Once our new flooring was finally in, I decided it was time to give them a refresh.
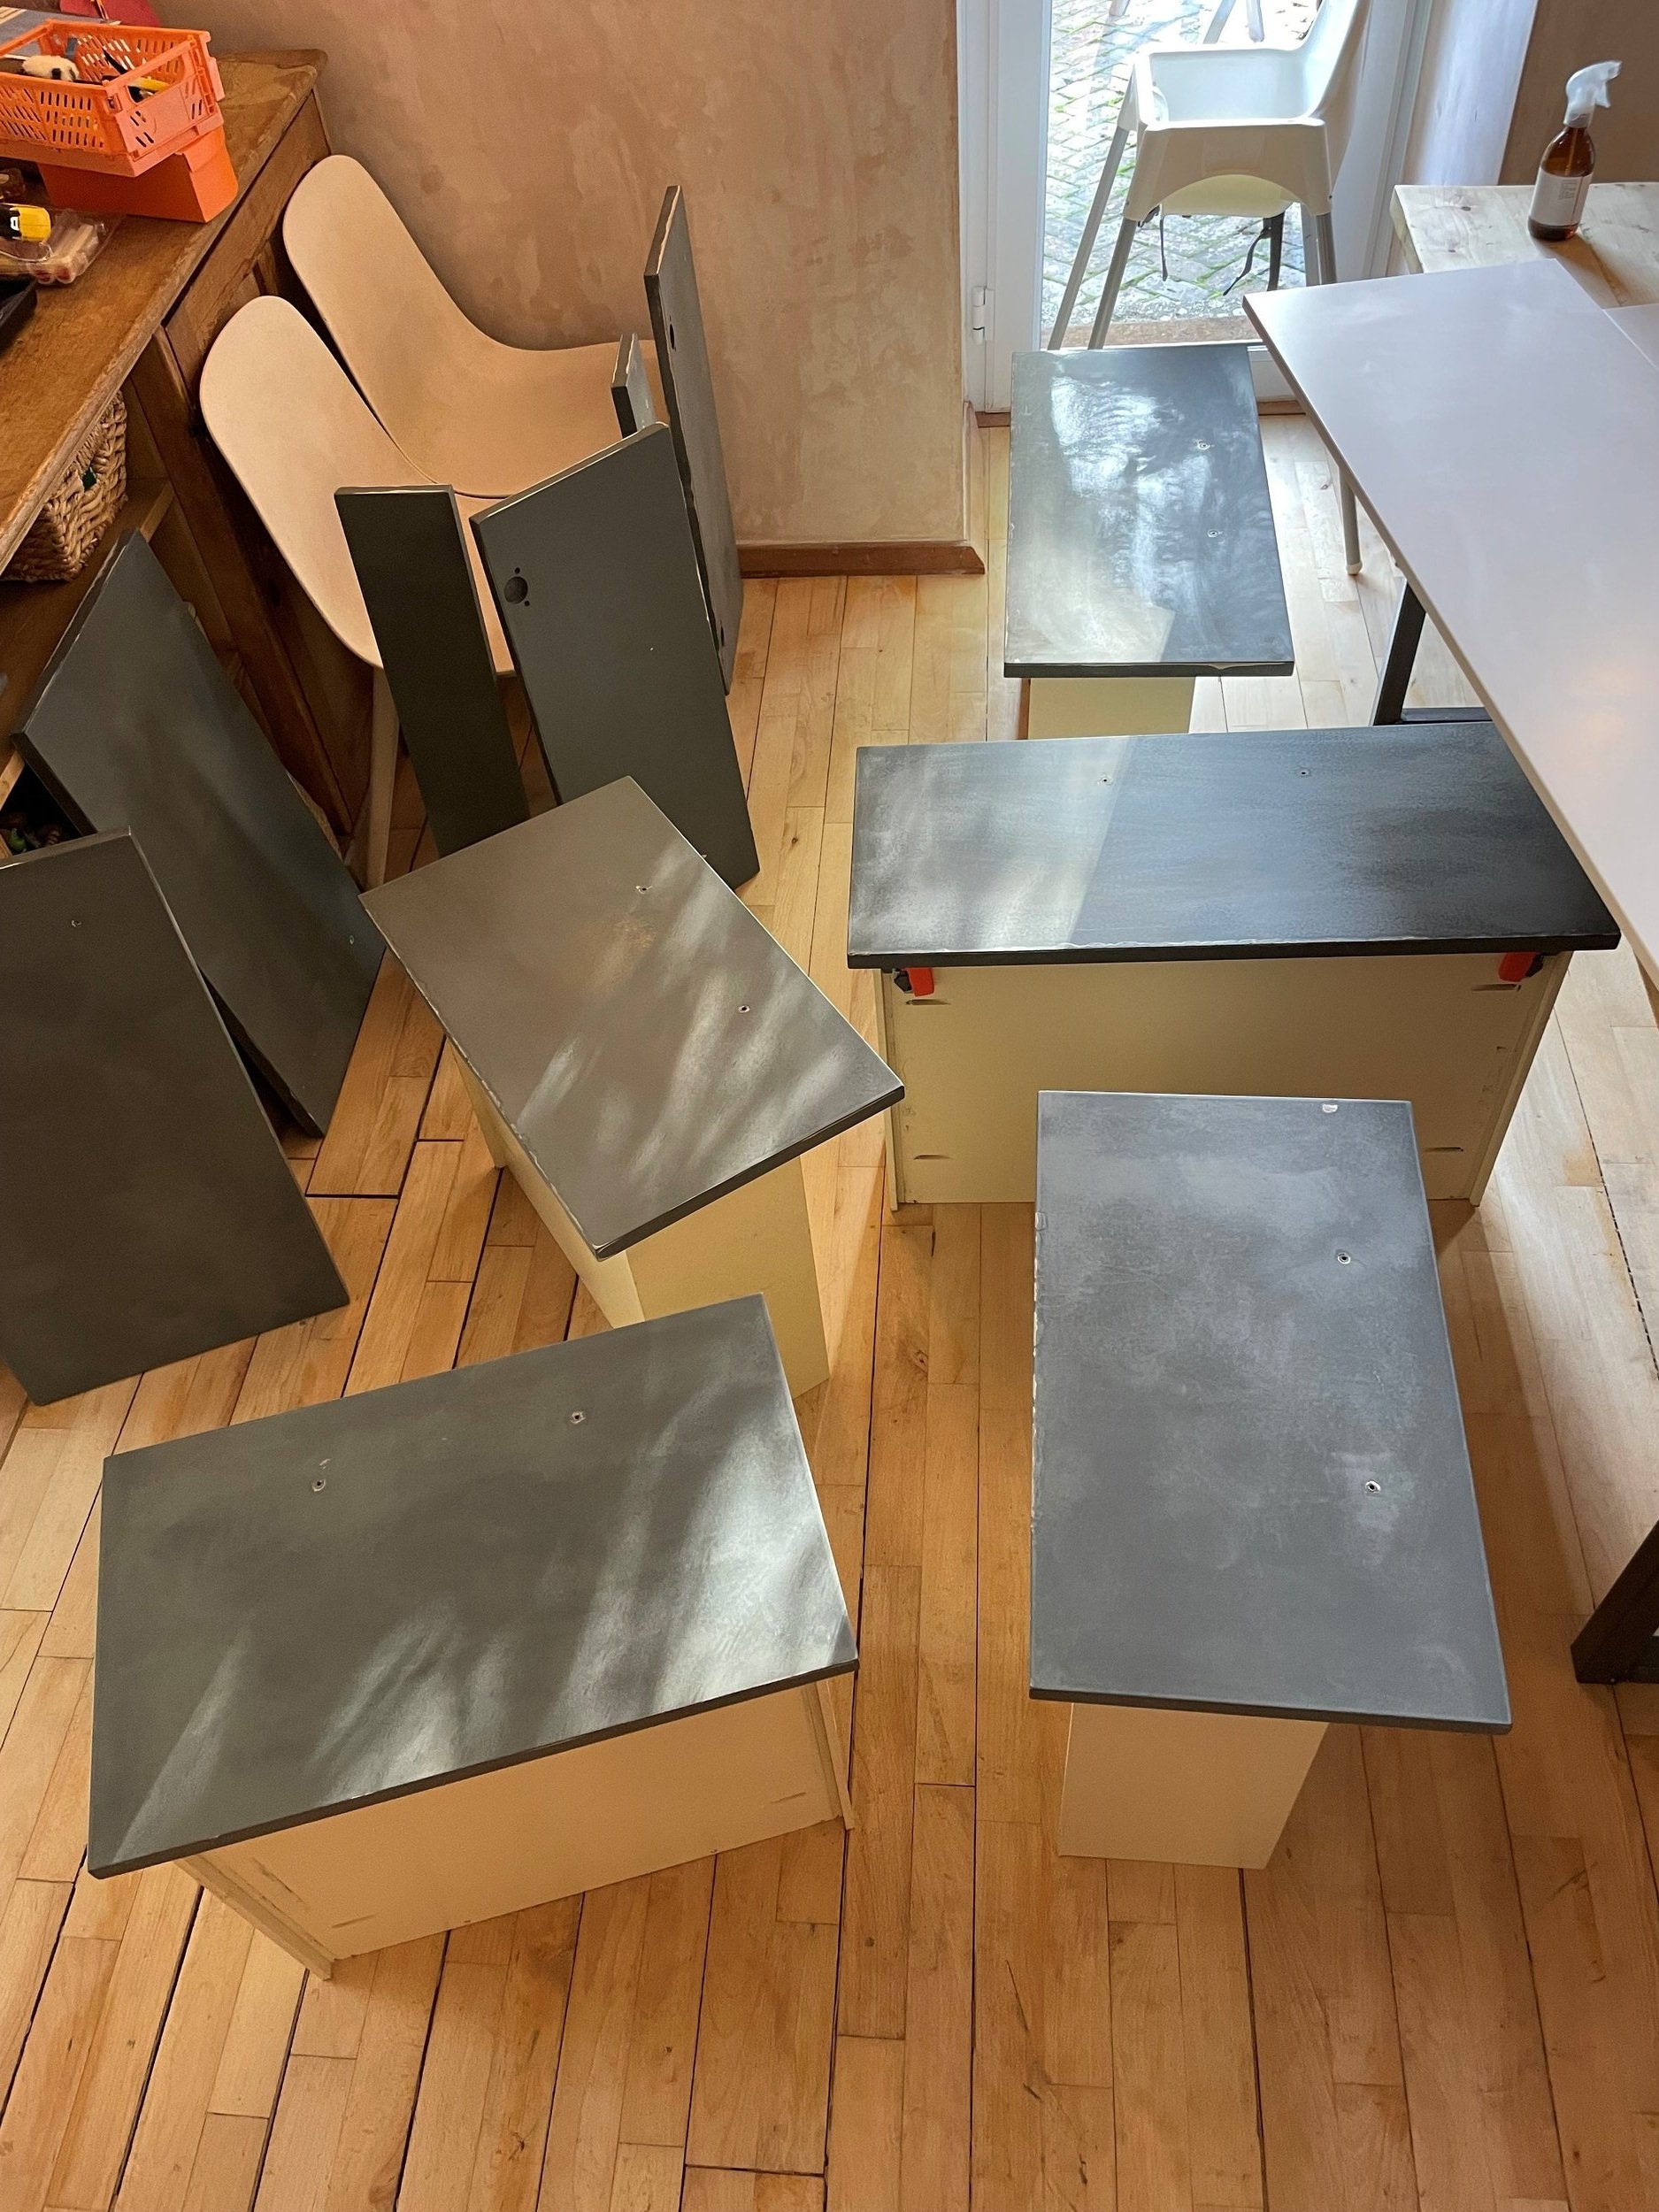
First up, this jobs takes a while. You need a good block of time to do this properly, and it really helped me that my husband took the kids away for three days to his parents. I did three 18 hour DIY shifts in a row (I had time off in between whilst the paint was drying to do other stuff like eat, wash and work) but even then they weren’t completely finished.
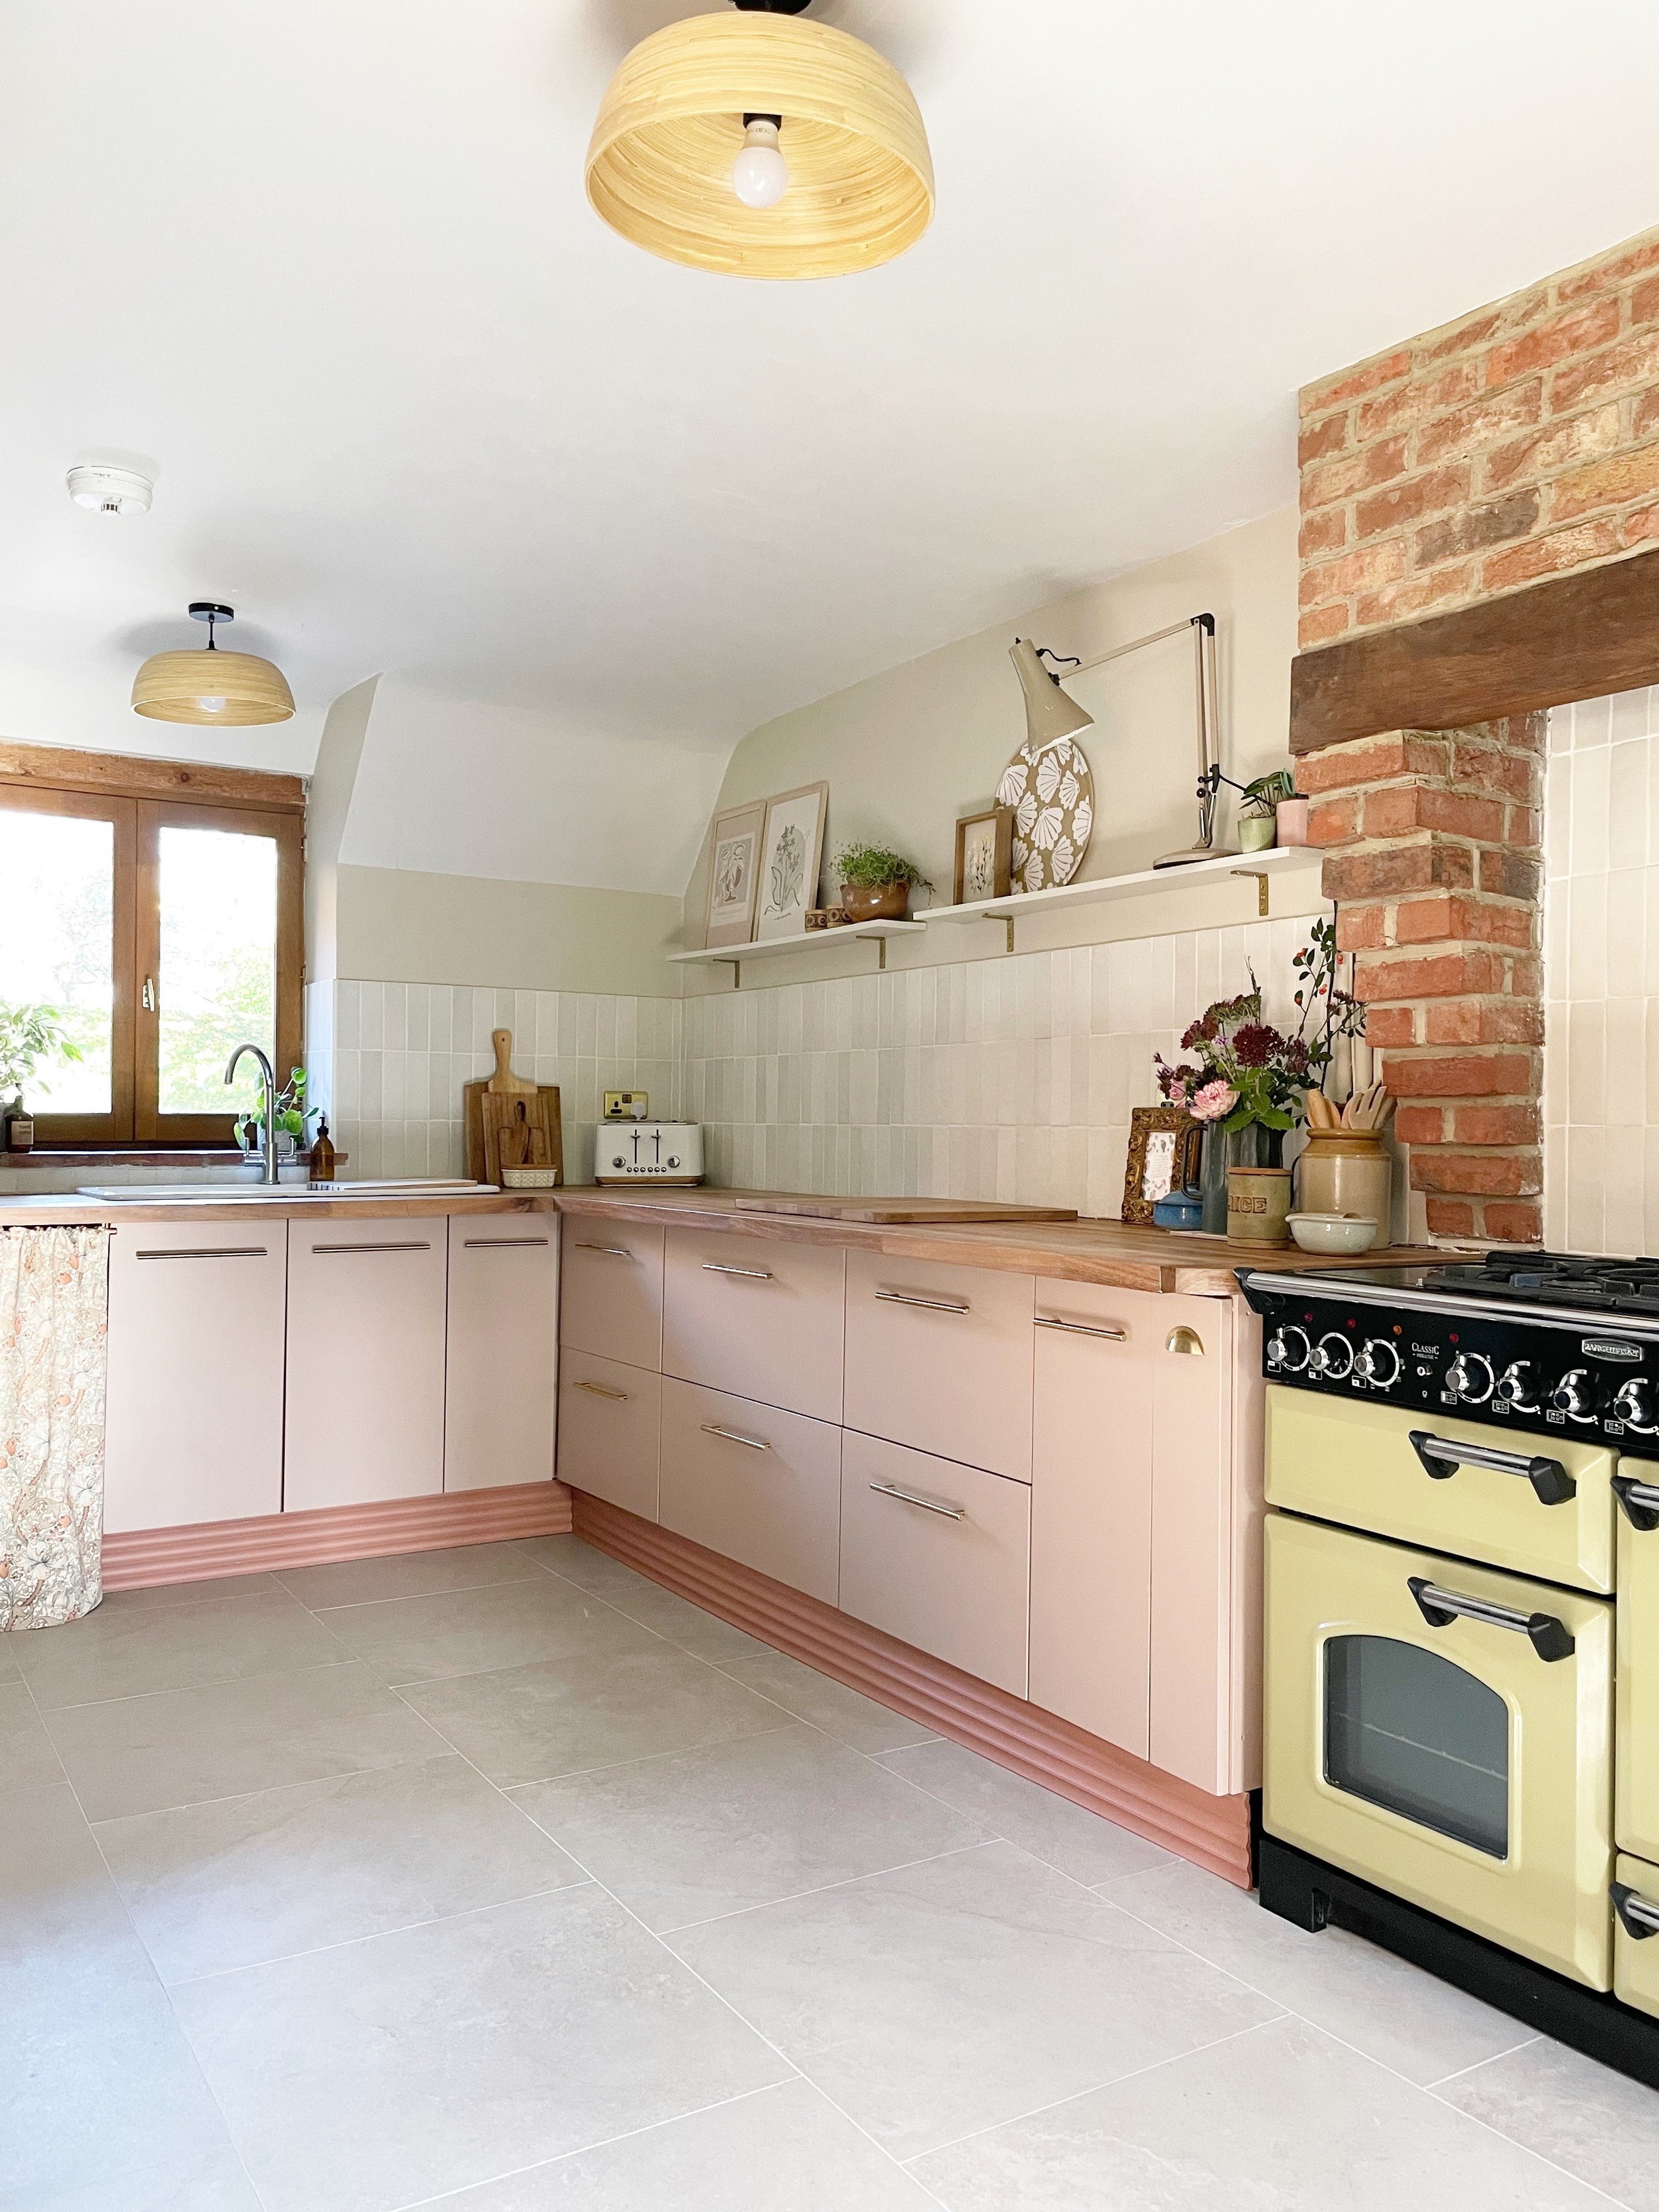
As you can imagine, it also causes a certain degree of chaos as I had to empty all the drawers and remove cupboard doors. But now they’re done, it is like having a brand new kitchen and I am so pleased! Read on for how I did it:
Tools:
Small Foam Roller
Paint Tray
Paint brush
Electric sander or sandpaper (120 and 240 grit)
Screwdriver or drill for removing handles
Sugar soap
Good quality all surface primer (I used Zinsser Bullseye Primer 123) (affiliate link)
Good quality woodwork paint (I used Mylands Wood & Metal Eggshell in Egerton Place) (pr product)
Paint pyramids or food tins to prop the doors on
Step by step:
Empty your drawers and take all the cupboard doors of their hinges. Remove all the handles.
Give everything a good clean with a sugar soap solution to remove any grease or food stains.
Sand lightly with 120 or 240 grit to provide a key for your paint. Some primers say you don’t need to sand, but I really think this is a step worth doing as it will give you a better, longer lasting finished result.
Fill any dents or scratches with wood filler. Sand again once dry.
Hoover your drawers and doors with a brush fitting if you have one, then clean again using a sugar soap solution.
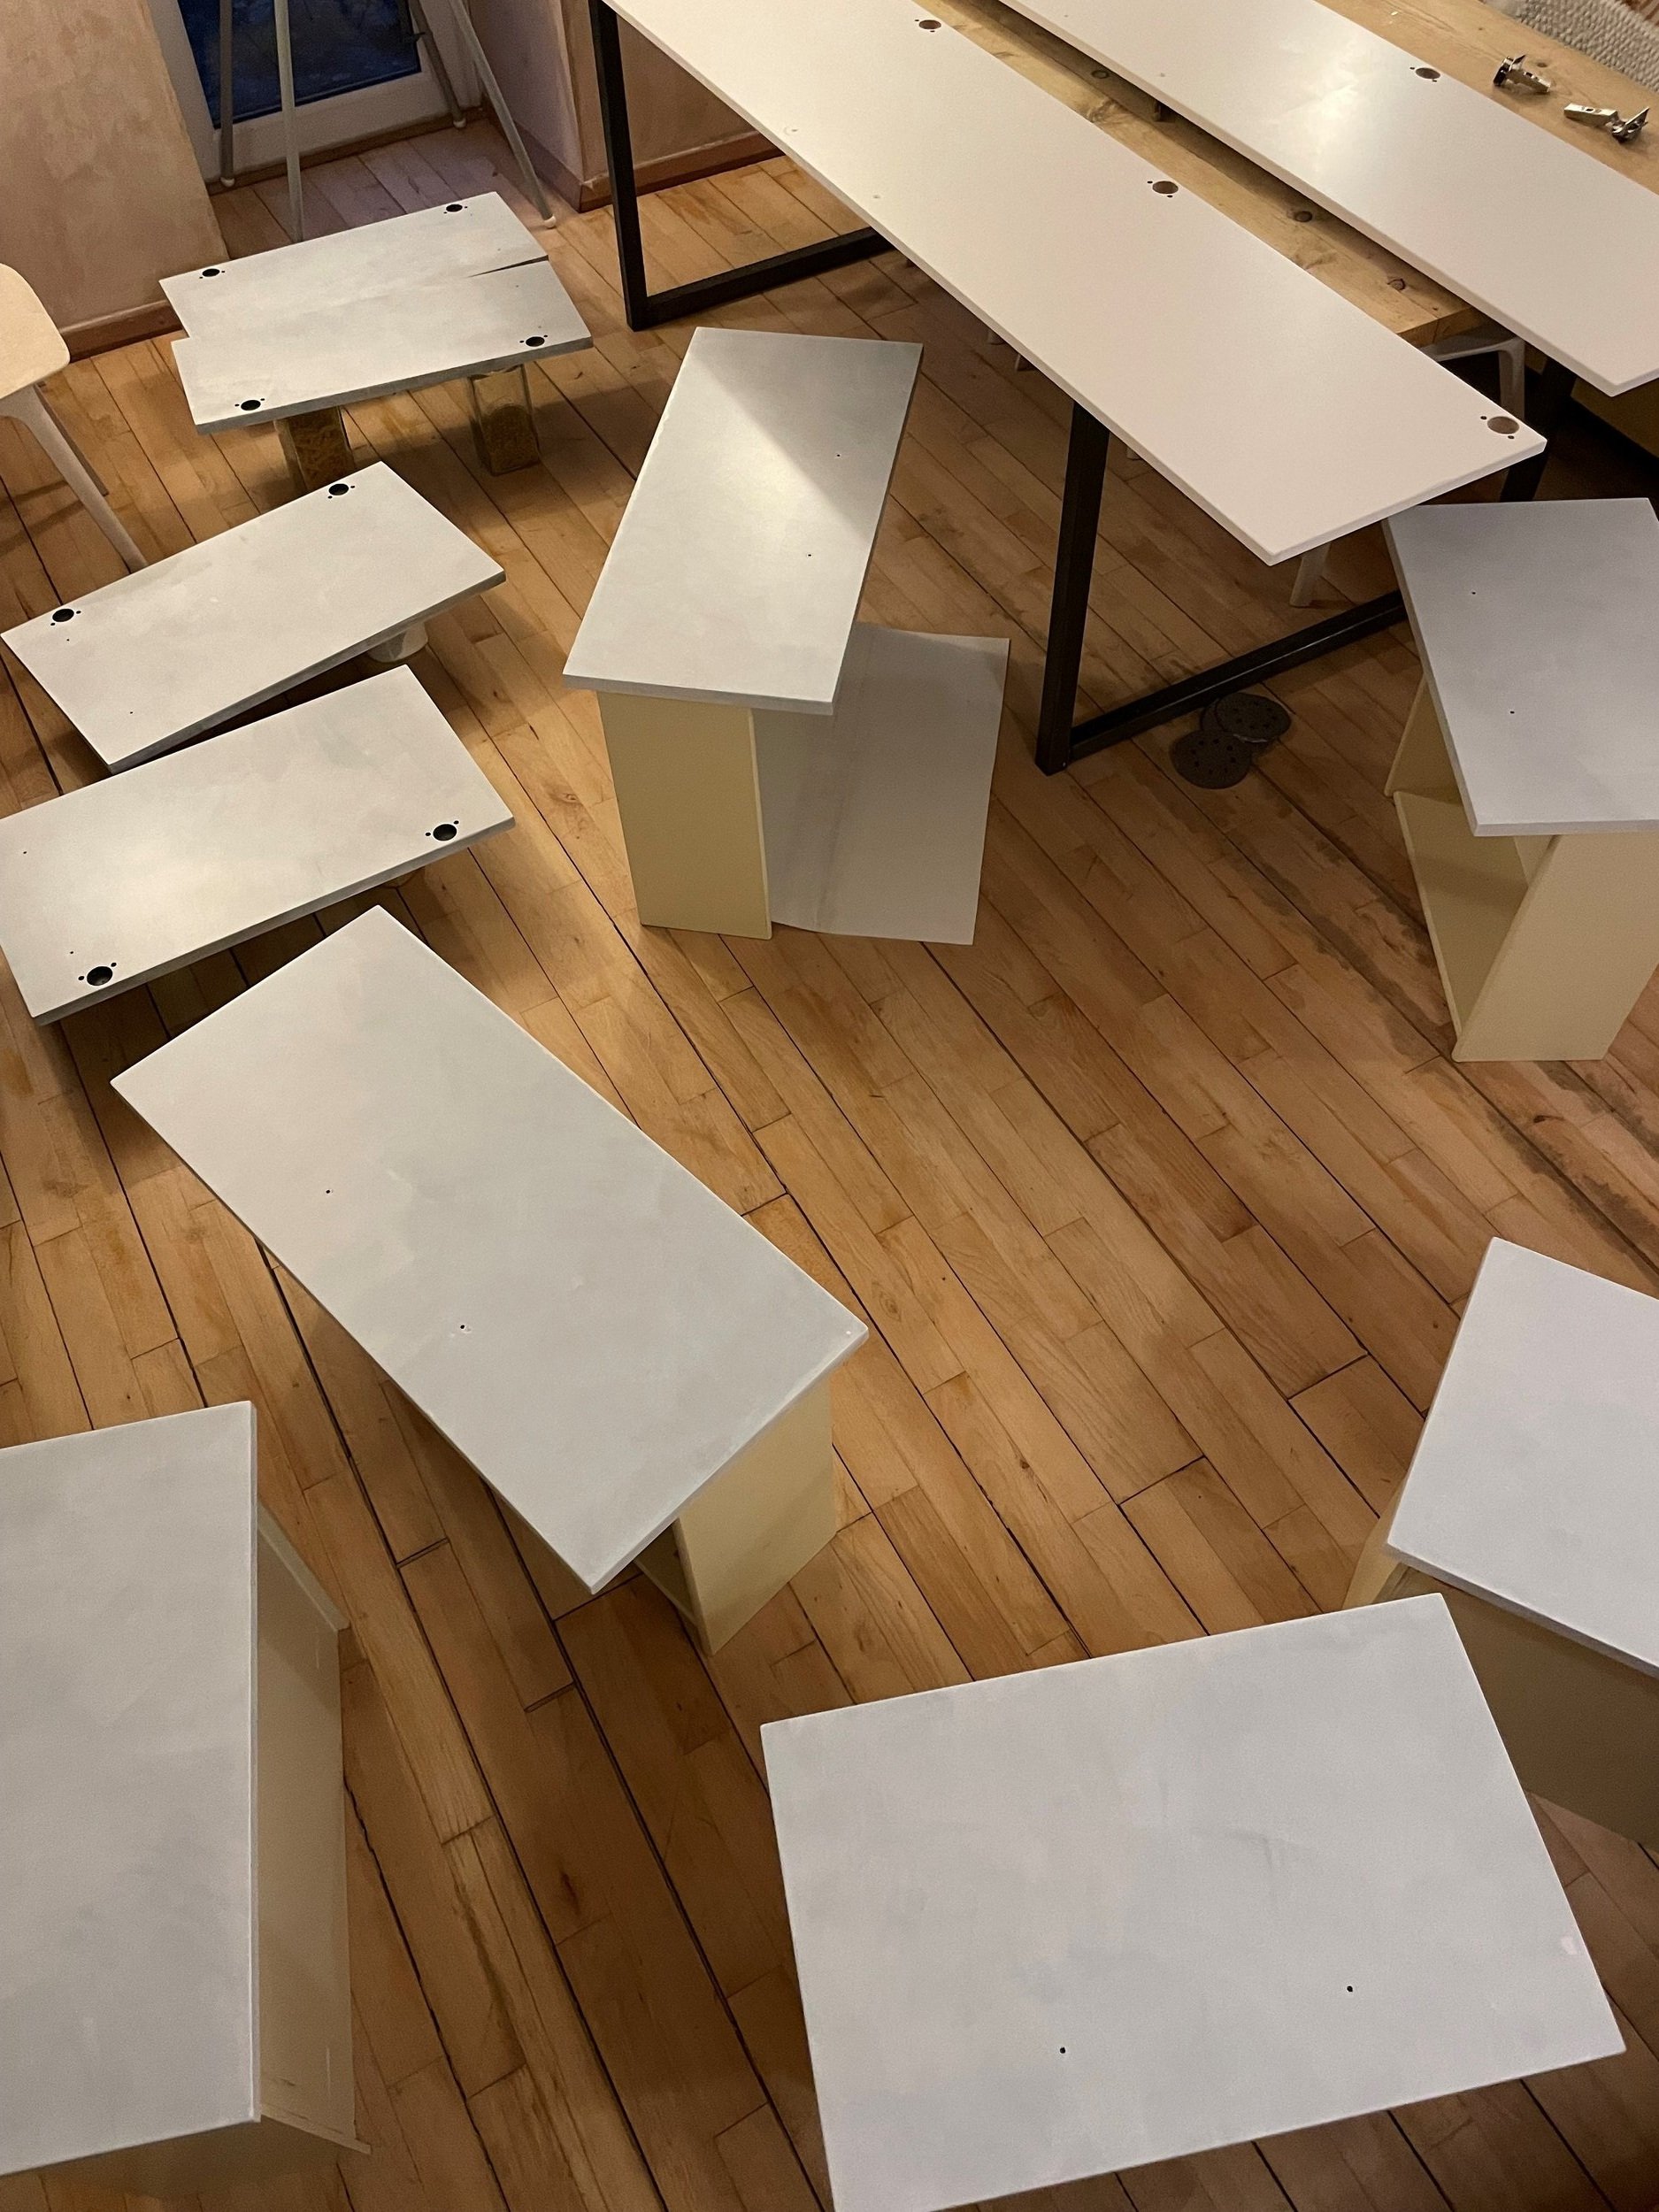
Tape any edges you don’t want painted. For instance, I have left the inner section of the drawers white, so I just taped up around those bits to save me time whilst painting.
Paint two coats of primer using your foam roller, allowing a decent drying time in between. I popped a dehumidifer on 24/7 to speed this stage up and it certainly made a big difference.
After you’ve primed, you may start to feel the surface is feeling a little rough. Now is a good time to sand lightly (I just used sandpaper for this bit) with a 120 or 240 grit. This is a really important step as it helps for a smooth finish at the end and also gives a slight key for the next layer of paint.
Hoover with a brush fitting if you have one, then wipe down with a cloth.
Paint your first coat of wood paint using a foam roller for the main sections and a paint brush for any fiddly bits if necessary.
Once dry, sand again as described in step 8 and 9.
Paint your second coat of wood paint (step 10) followed by sanding again (step 8 and 9).
Finally paint your third and last coat of wood paint. Leave them for at least 24 hours to properly harden and cure before popping the handles and hinges back on.
Be aware that most paint companies recommend 48 hours plus for the paint to cure, so the longer you can hold off putting them back in the kitchen and using daily, the better! If you rush this stage, you may find all your hard work go to waste as the paint could scratch away easily.