
A children's reading nook or den
As we’re well into our third lockdown, this project could not be anymore timely as we all try desperately to find a corner of peace within our own homes. Our kids absolutely love playing in here, and whilst it is currently the only corner of the whole home that actually looks decent, you’ll probably find me hiding in here too - most likely with a sneaky bar of chocolate before they find me!
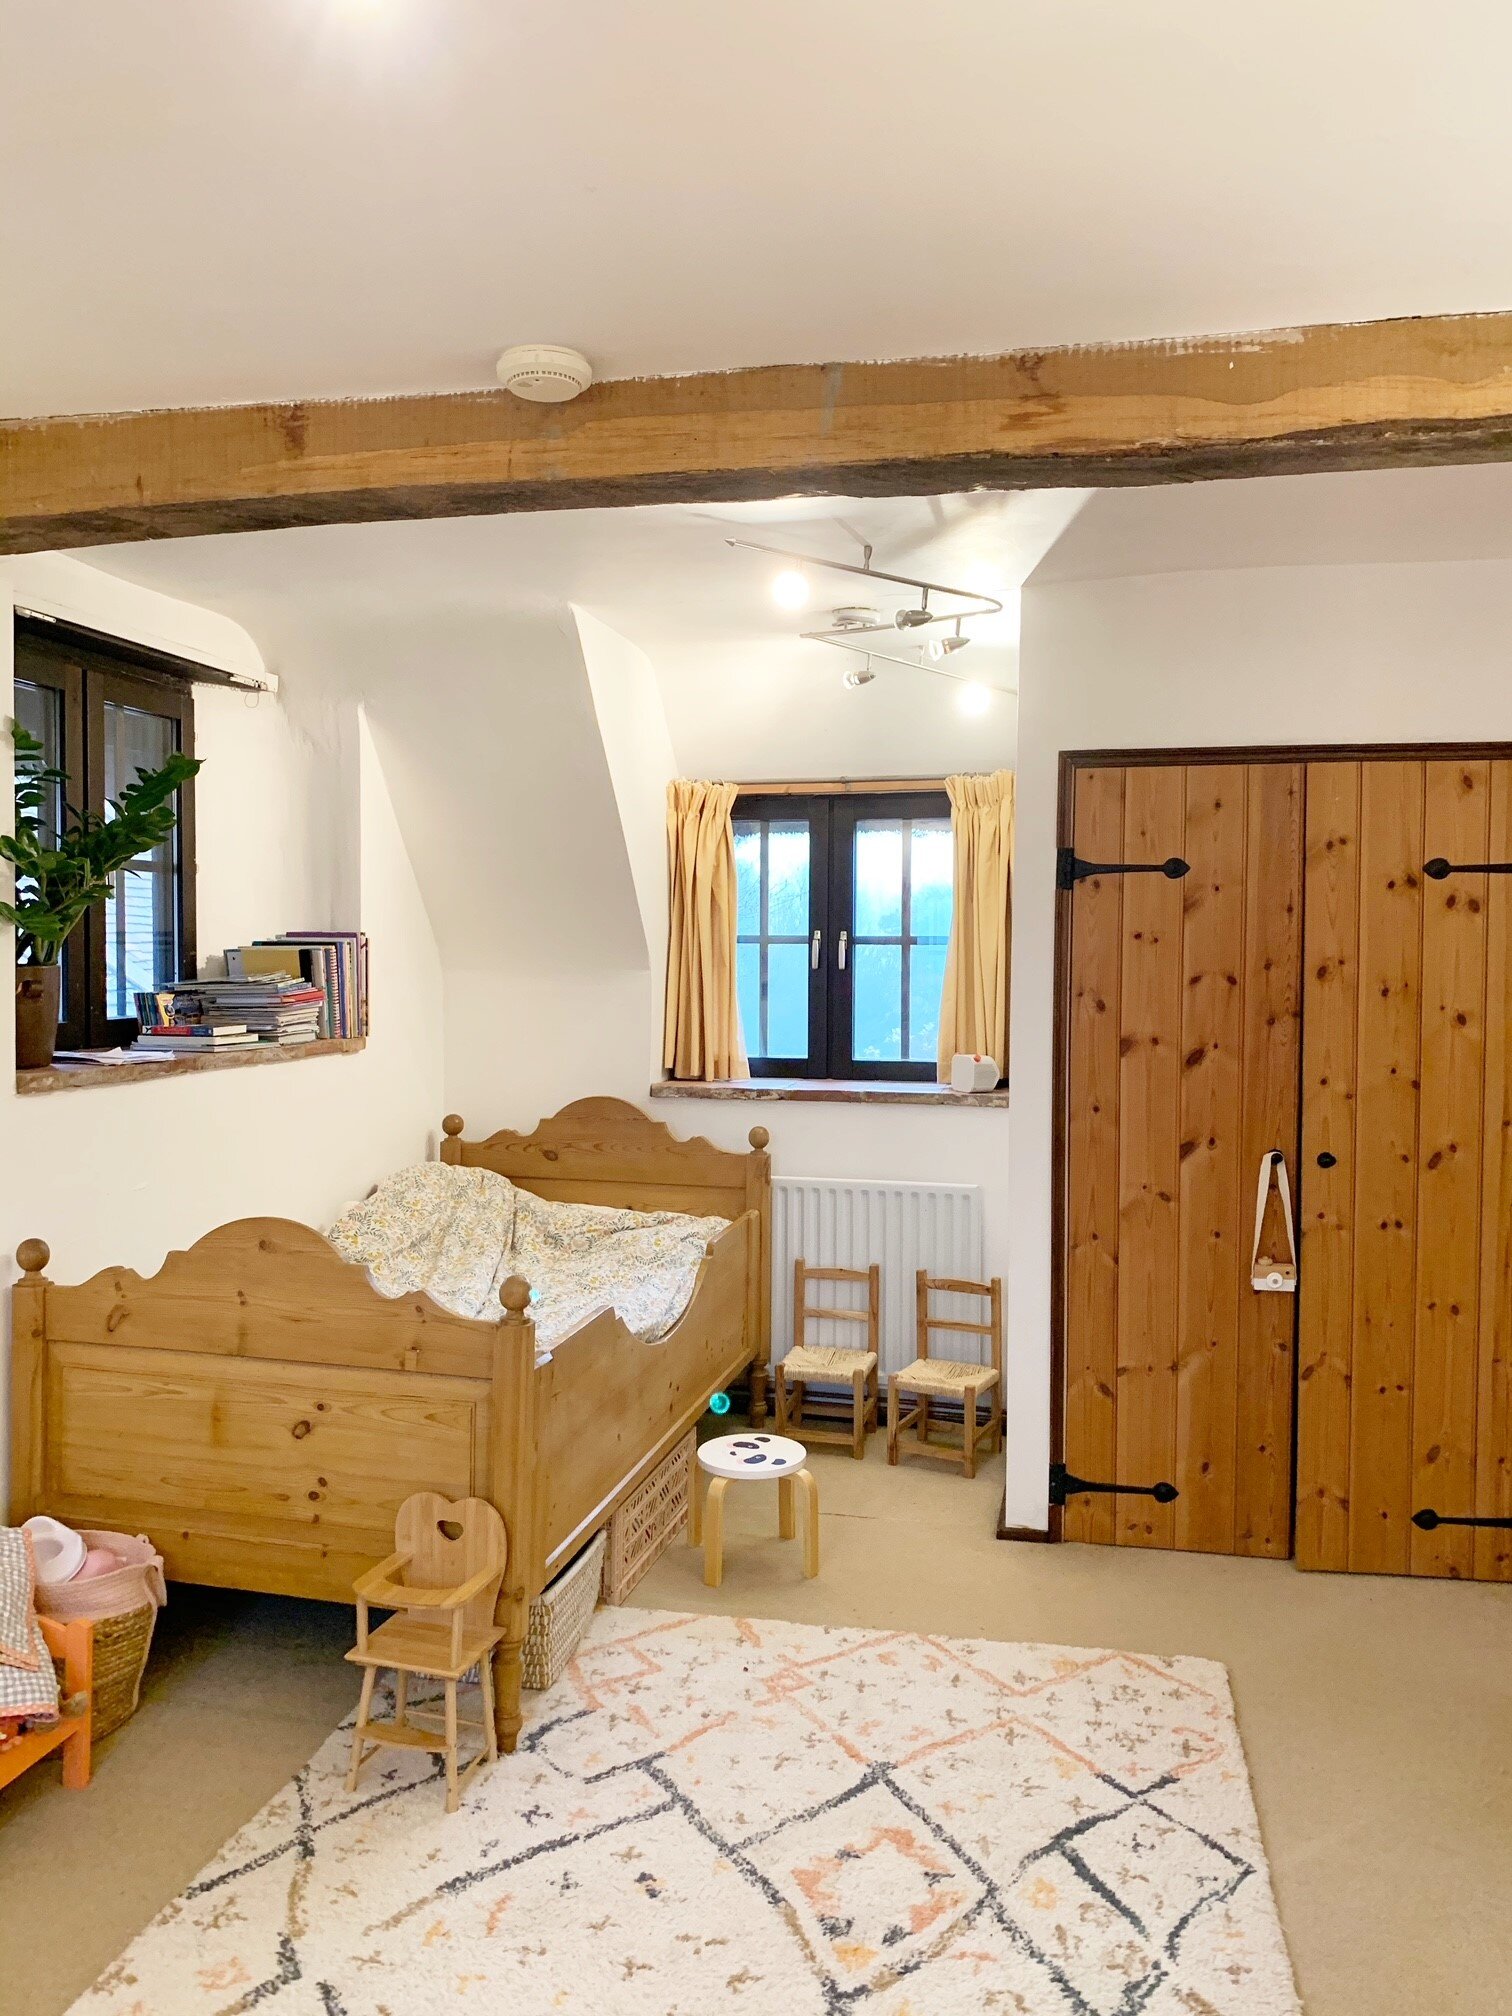
Thankfully this room already has a lot of built in storage so whilst the girls are still young, and they’re not fighting over wardrobe space, it made sense to turn this area into something more fun. The doors were warped and didn’t close properly so they would have needed replacing anyway. This felt like a much cheaper and immediate solution.
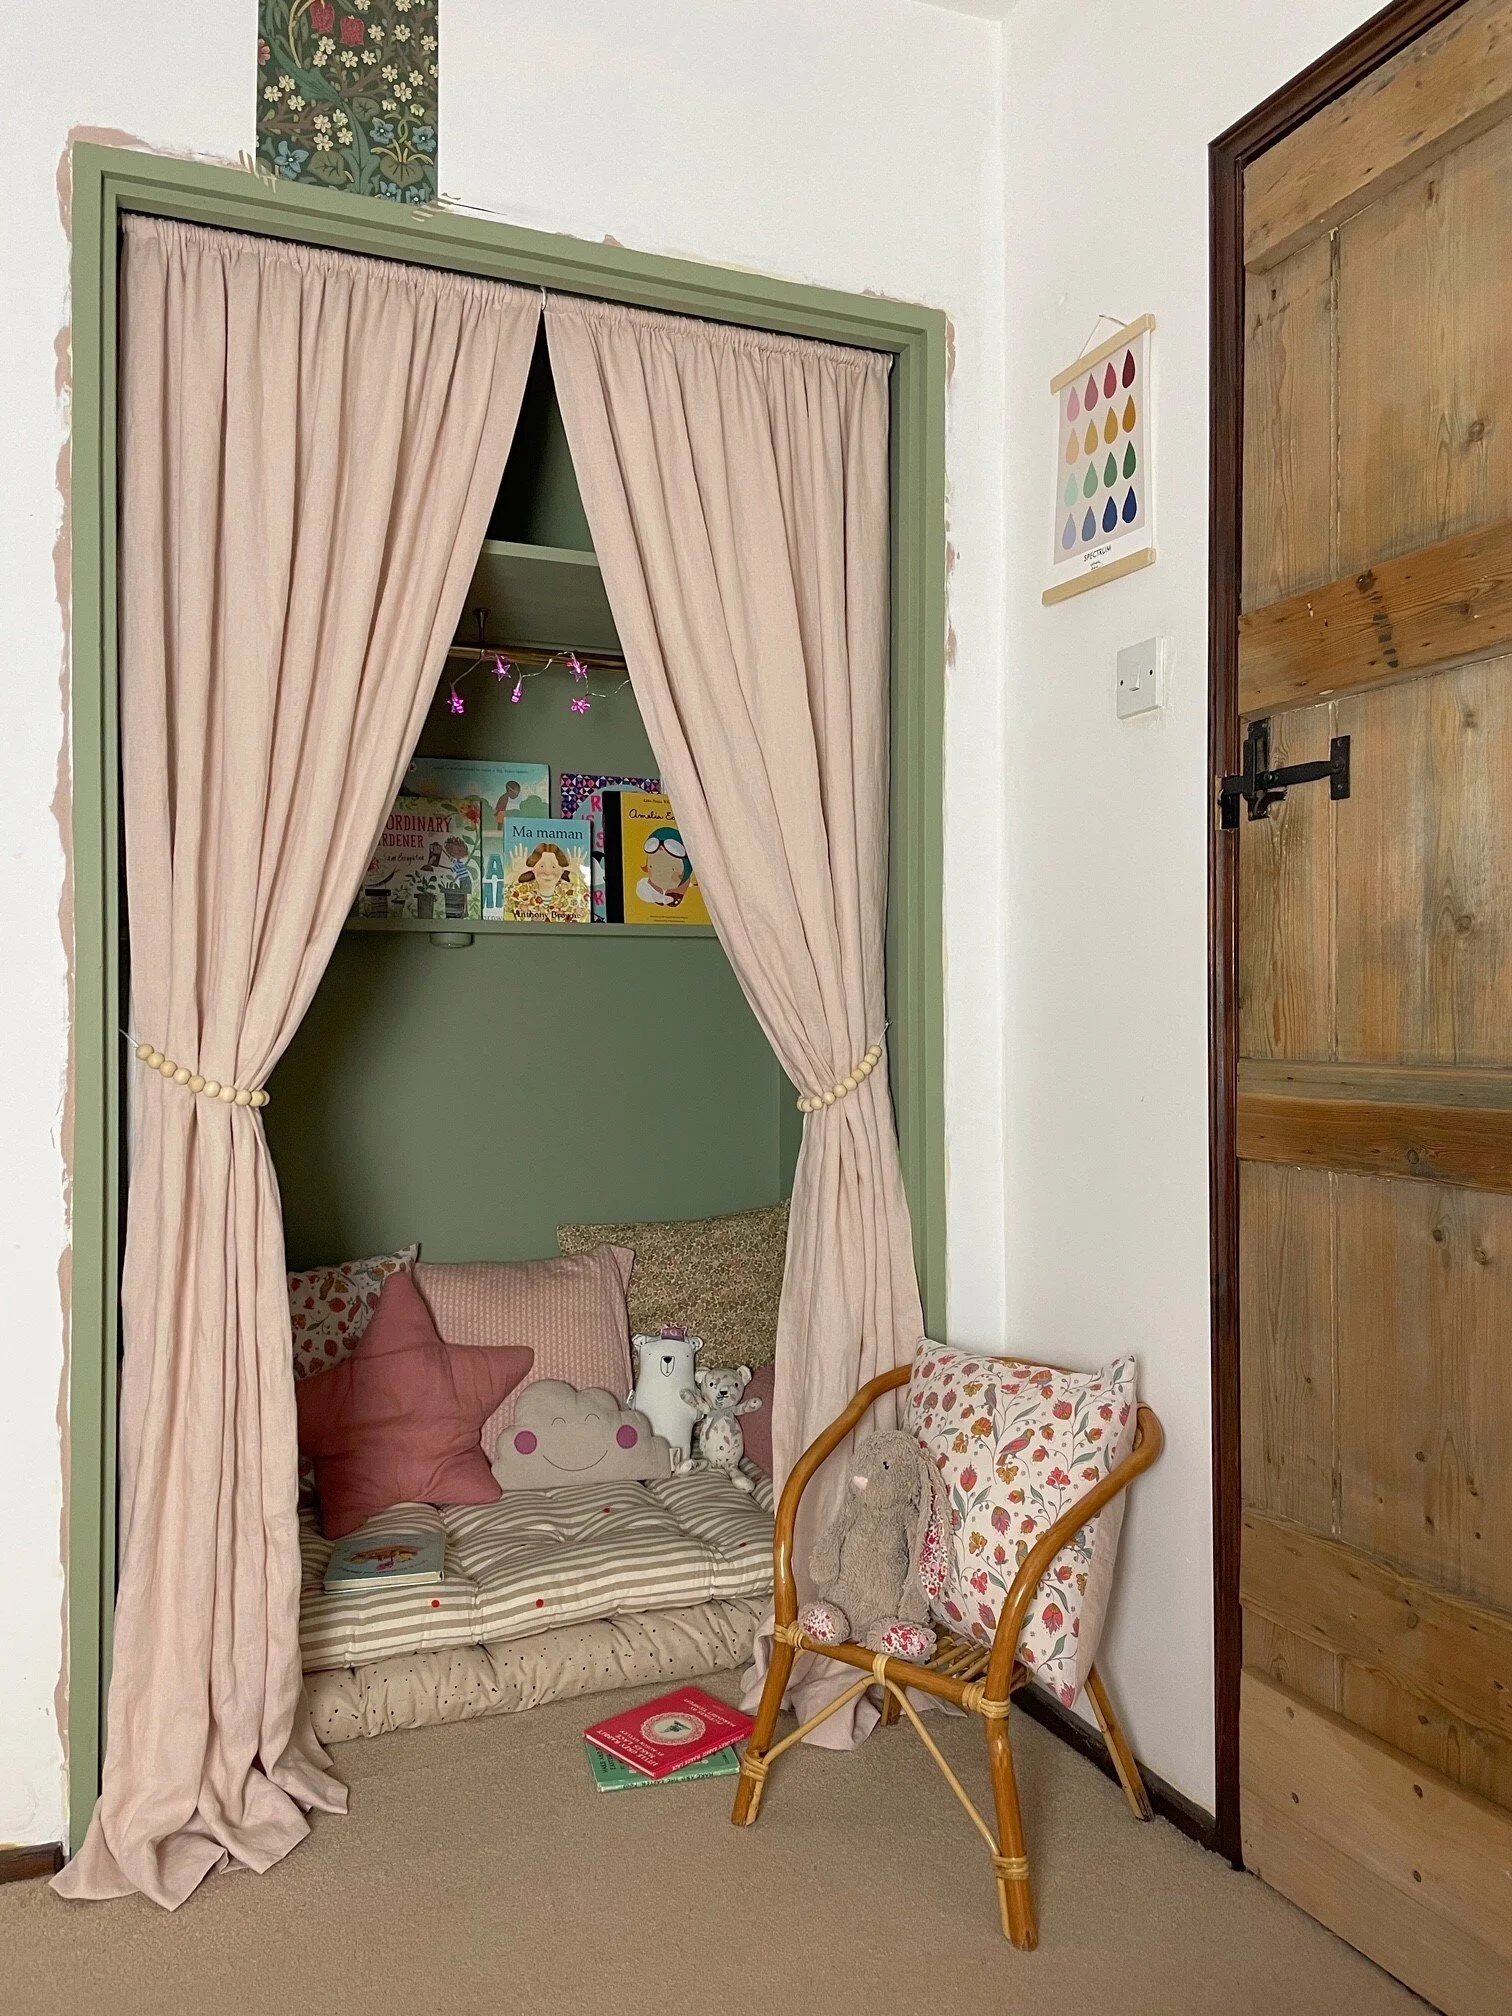
The curtains were made by myself, (I used to be a curtain maker,) using a single duvet cover for the pink linen fabric and an old white cotton duvet cover I had in the cupboard for the lining. If you’re not worried about blocking out draughts or the light, bedlinen is a more affordable way to purchase large amounts of fabric. The tie backs are made using some white cord and natural wooden beads, knotted with loops at the end and attached to hooks in the wall.
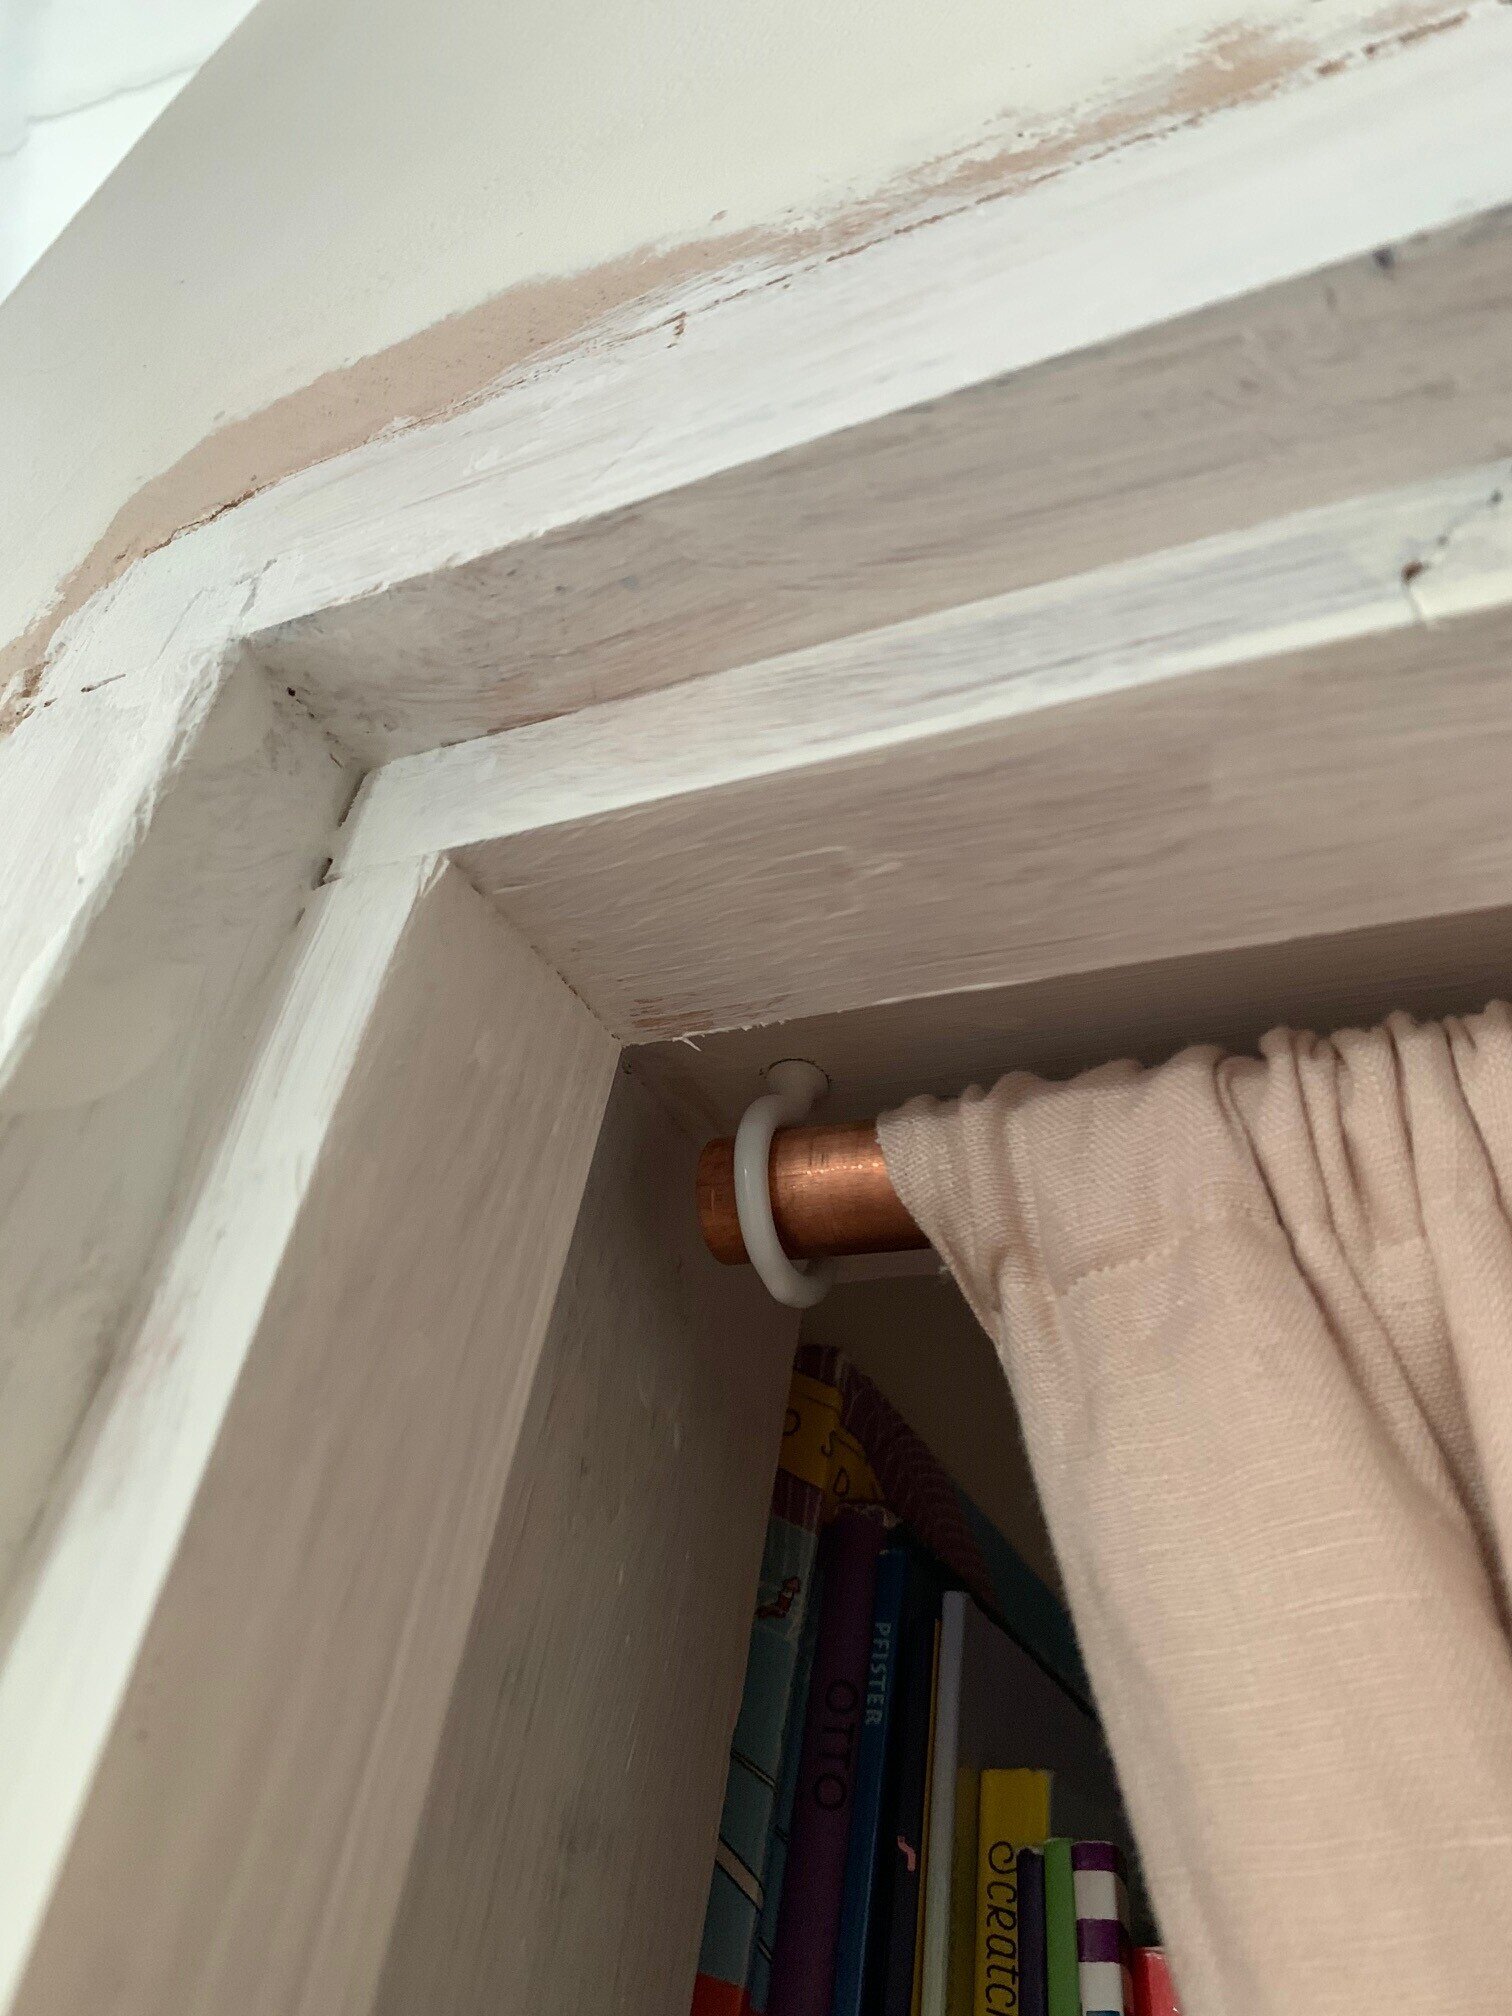
The curtain pole is just standard copper piping available from any DIY store. I cut it to size using a jigsaw and attached it to the top of the doorway using white cup hooks. If you’re attaching the pole to woodwork, you just need to drill a small hole to get you started, and then screw the cup hook into the wood. If you’re attaching the cup hook to your ceiling, then you just need to put a rawl plug in before screwing the cup hook. Please note that using a copper pipe and cup hooks will only work for small, light curtains. If you’re hanging heavier curtains, a standard curtain pole would be required.
The wardrobe already had some shelving in it, but it was too high to actually be useful and made out of slatted wood which I didn’t really like. So I made new brackets and got a new solid MDF shelf cut to size at Homebase. Because the shelf is quite wide, it needed a support bracket. As I’ve never done anything like this before, I felt that using the existing hanging rail would be an achievable option and give the shelf the strength it needed to hold lots of books. Plus, when the girls’ are older and need hanging space for clothes, this space can be easily turned back into a wardrobe.
The picture ledges are also from Homebase. I liked that they were slightly narrower than the more popular IKEA ones and at a very good price point too. I bought two, cutting them down to size to fit the three walls. The shelves were all lightly sanded with 120 grit, primed with Zinsser BIN 123, and painted with Fenwick and Tilbrook (PR-Discount) Interior Eggshell in Clay.
We don’t have enough wall space to display all the girls books front facing, so I am going to store their books on the higher shelf, and then rotate books onto the shelves that they can actually reach every week or so. I’m hoping this will encourage them to read a more diverse range from their collection rather than re-reading the same titles over and over again. I have also used little battery operated Puck lights under the bookshelves which the girls can easily switch on and off themselves. I originally thought about using a wall light with a plug (as their is a socket inside this cupboard) but didn’t like the idea of our youngest pulling at the cable until the whole thing fell on his head. The lights came in white which would have looked too obvious against the green, so I lightly sanded them before applying my Zinsser primer and three coats of the interior eggshell.
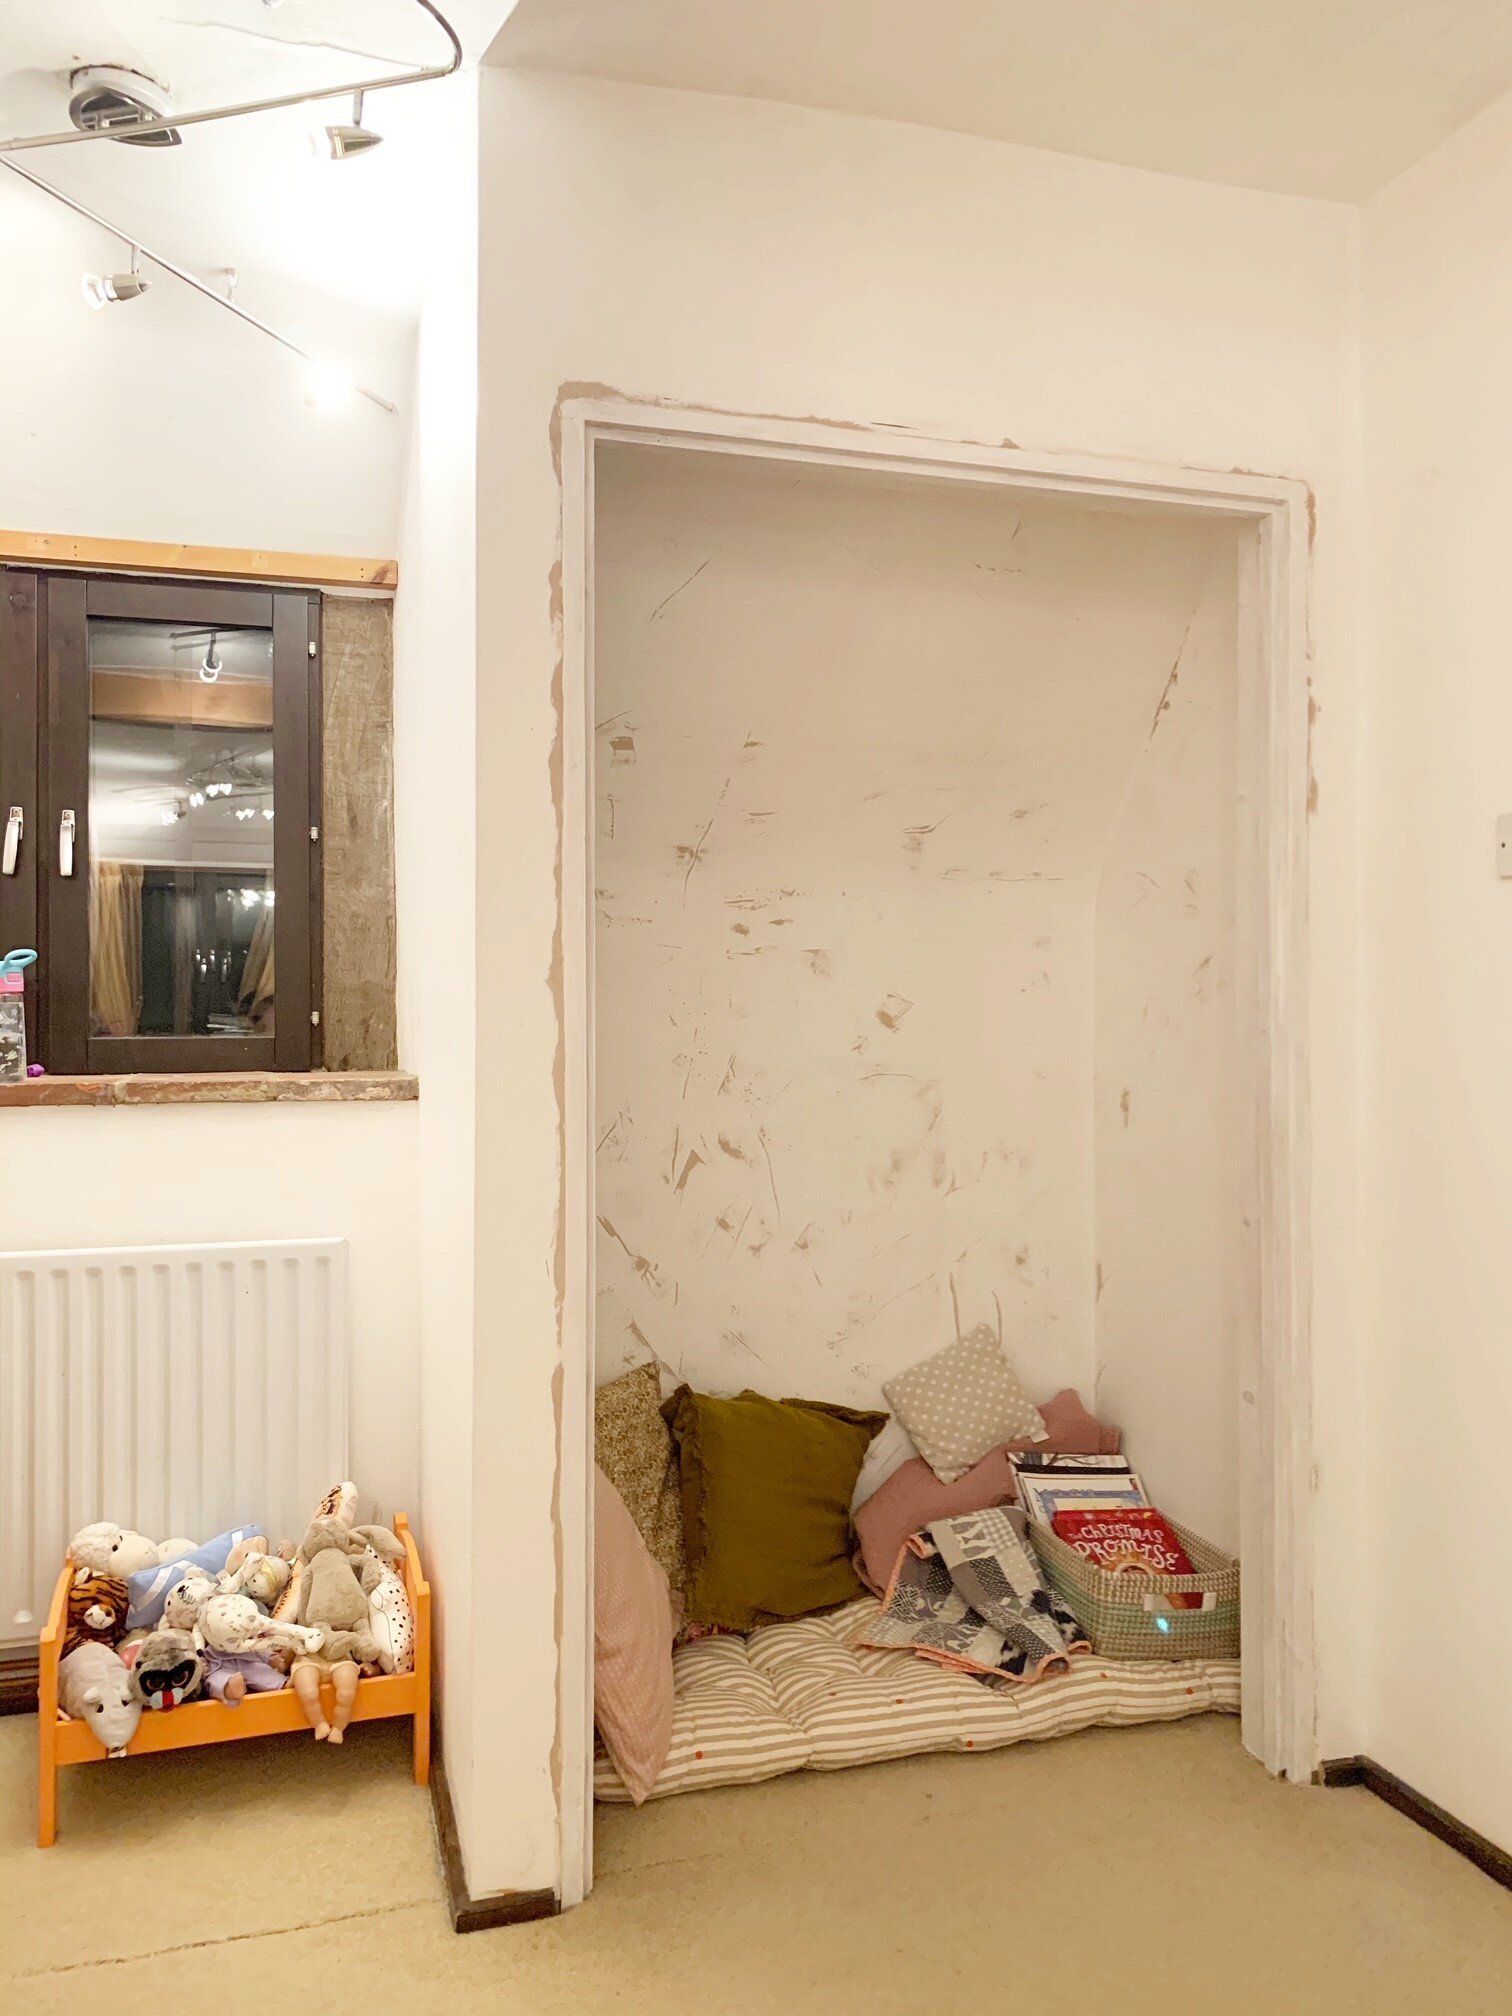
The walls are in bad nick (as are all the walls in the house) so I filled any holes and sanded them down as best as I could before painting with Fenwick and Tilbrook Pure Matt Paint (PR Discount). I chose their more durable option, which is washable, but still has a beautiful matt finish. The paint was amazing to use and only needed two coats to get a lovely rich colour.
The cushions are a mixture of old, very old, and new, including some that I have made and some that my daughter helped me make over one lockdown weekend. The walls around their reading nook haven’t been painted yet as we still need to wait for all the exposed beams to be sandblasted before any major decorating can take place. I am planning on wallpapering the walls around the reading nook too to make it even more fun. I can’t wait to share the finished result with you!
Tool List:
Sander
Drill
Screwdriver
Paintbrush
Roller and Tray
Spirit Level
Jig Saw
Circular Saw
Resource List:
White Cotton Duvet, Single, H&M (affiliate link)
Chair, eBay, £15


