
DIY Tutorial: Ikea Toy Kitchen Makeover with Fluted Wood
Post contains some affiliate links.
Our Ikea Duktig kitchen is definitely our most played with toy. With two girls under five, it has been well loved for over four years and was beginning to show a few signs of looking tired. I've always wanted to upcycle it, and over the years have had various designs in mind, but renovating two houses and a house move took priority over less essential (but way more fun) projects like this one.

Our Ikea Duktig Play kitchen before - all in working order but the doors were scuffed and toys constantly fell down the back
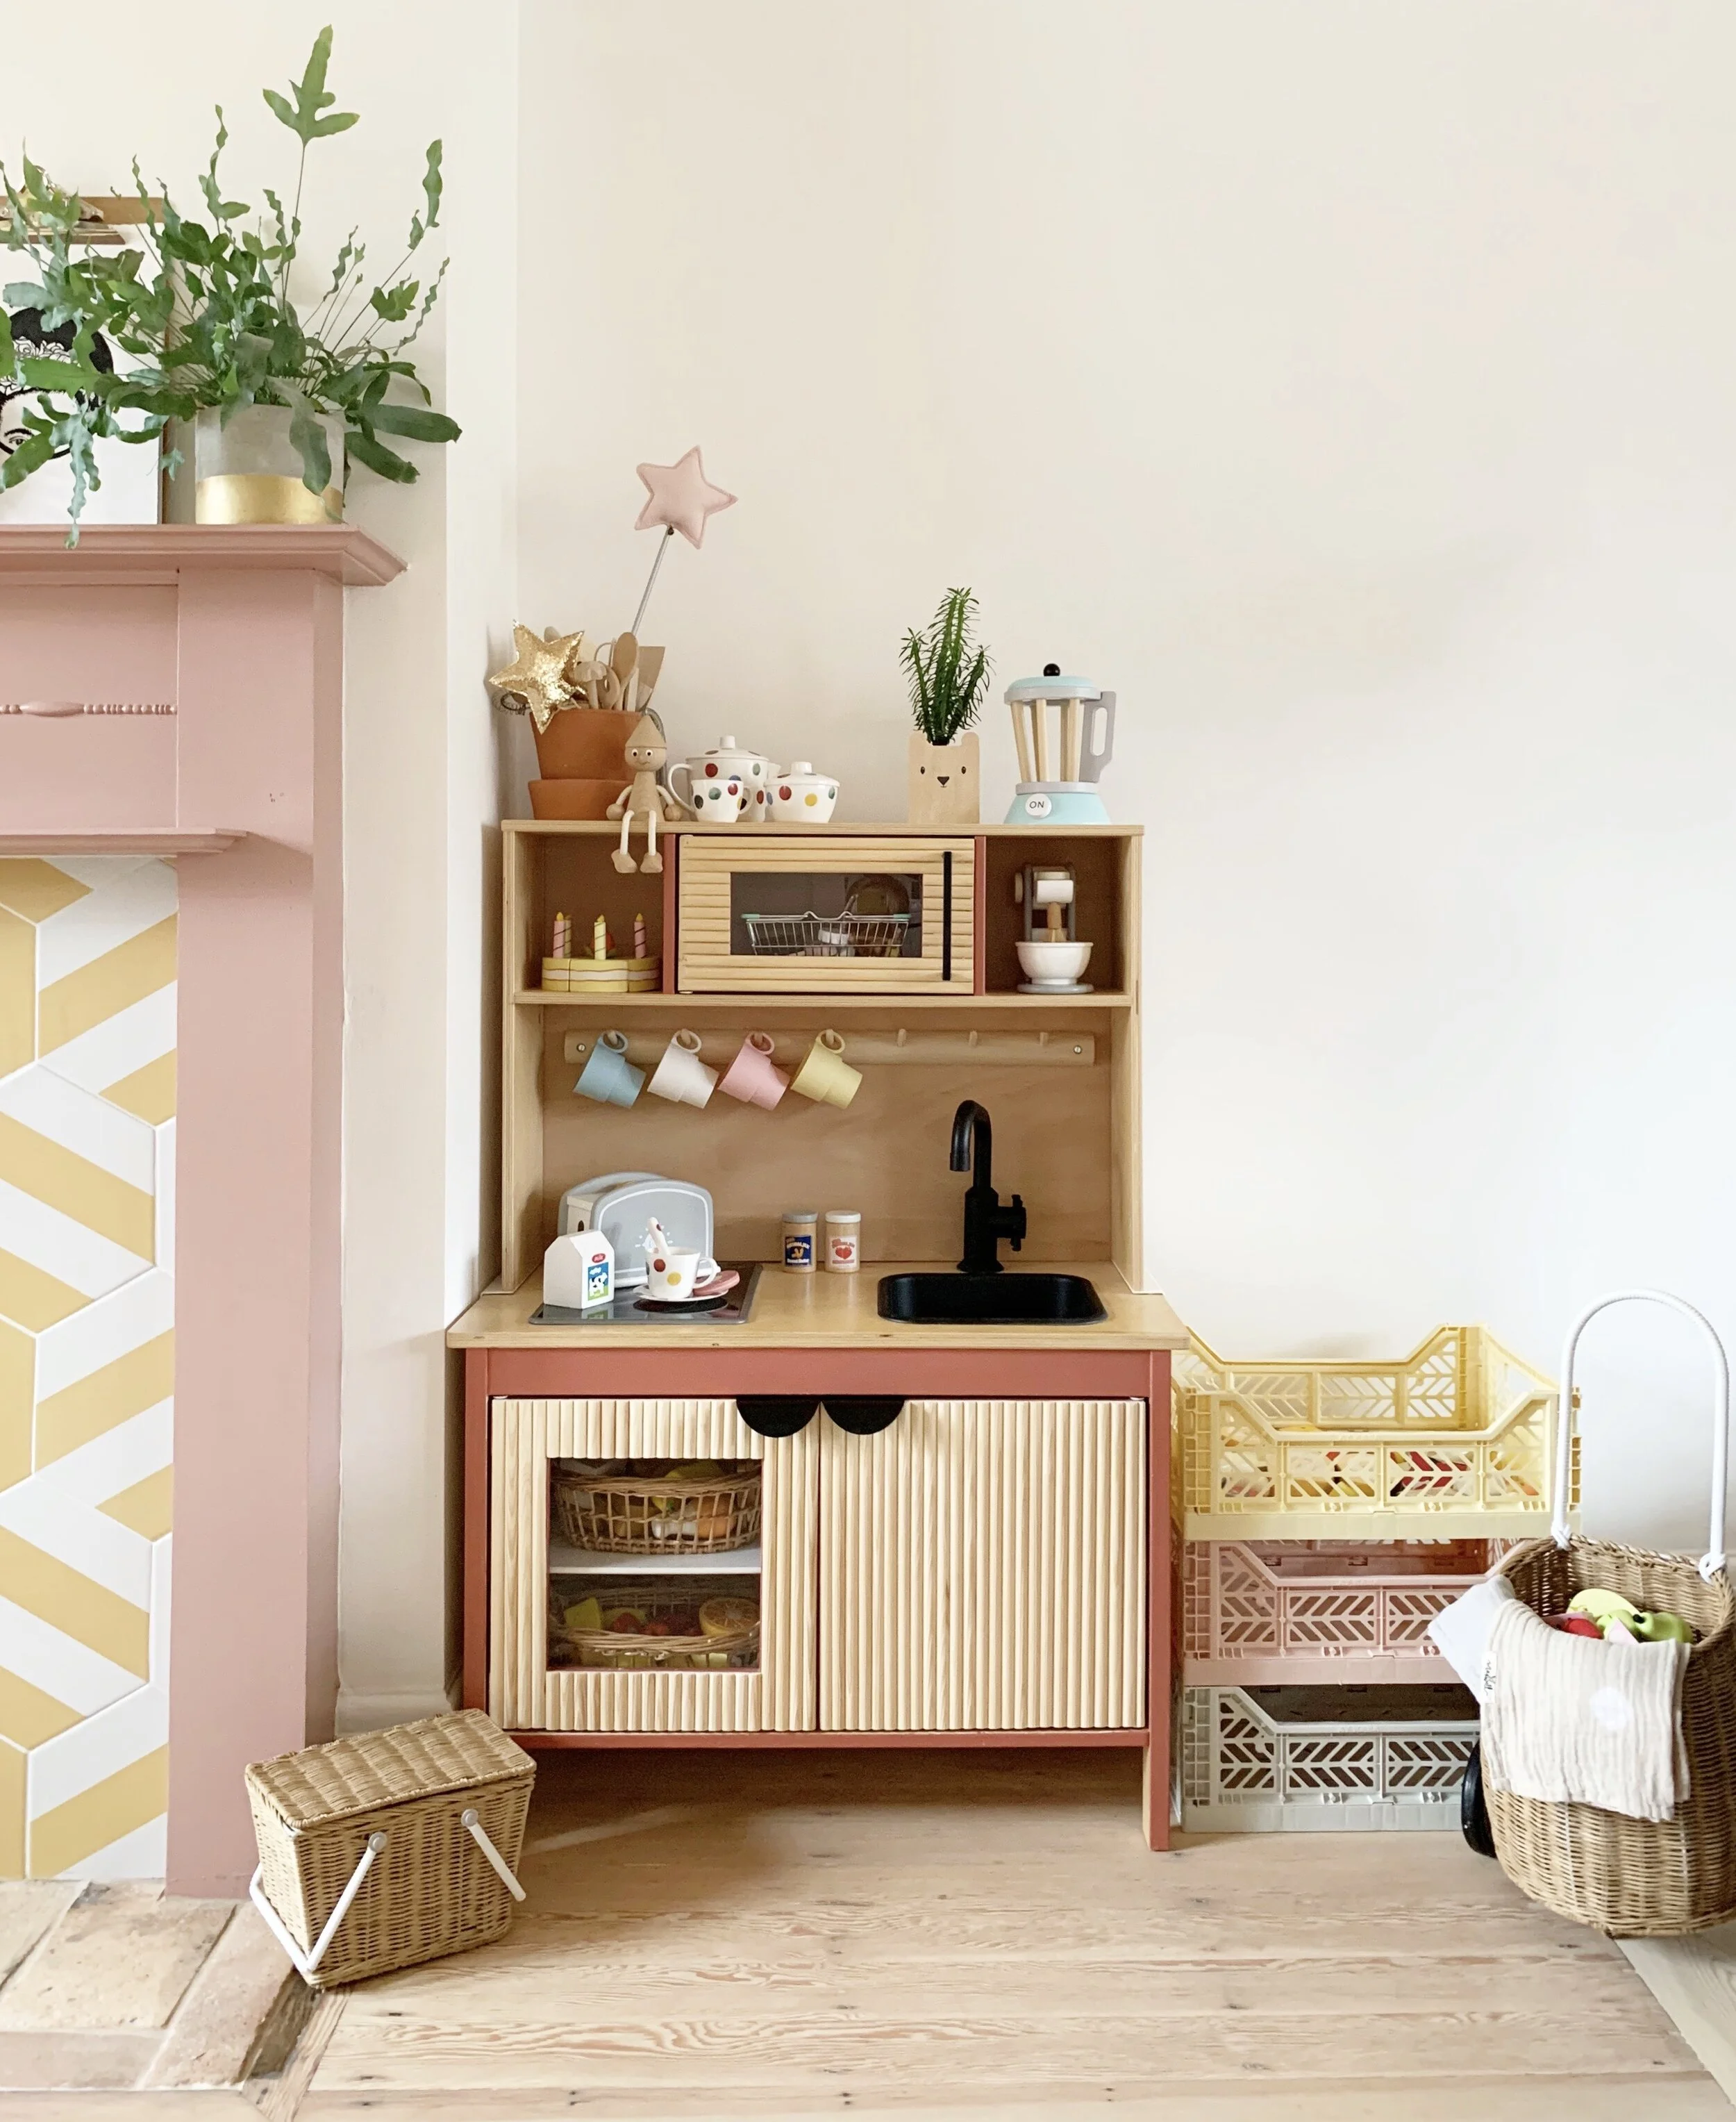
If you've been following me for a while, you'll know we have given our real kitchen a temporary update, whilst we save for an extension. This project, therefore, gave me a chance to put my plywood and ribbed wood dreams into real life, albeit on a smaller scale!! It has also meant I had a chance to change two of the only things I found impractical about the play kitchen - the fact that all the toys fell down the back, and the plastic hooks which the kids constantly pulled off and scattered around the house.
I wanted to create something different from other play kitchen hacks I'd seen, so I looked at 'grown-up' kitchens and furniture for inspiration. I love the texture ribbed wood creates whilst still maintaining a neutral palette.
How to give your toy kitchen a fluted wood makeover
This makeover took very little skill and is relatively simple to create, but it was a bit time consuming! I hope this quick tutorial will make it easier for you and give you the inspiration you need to finally get cracking with your play kitchen makeover.
Step One:
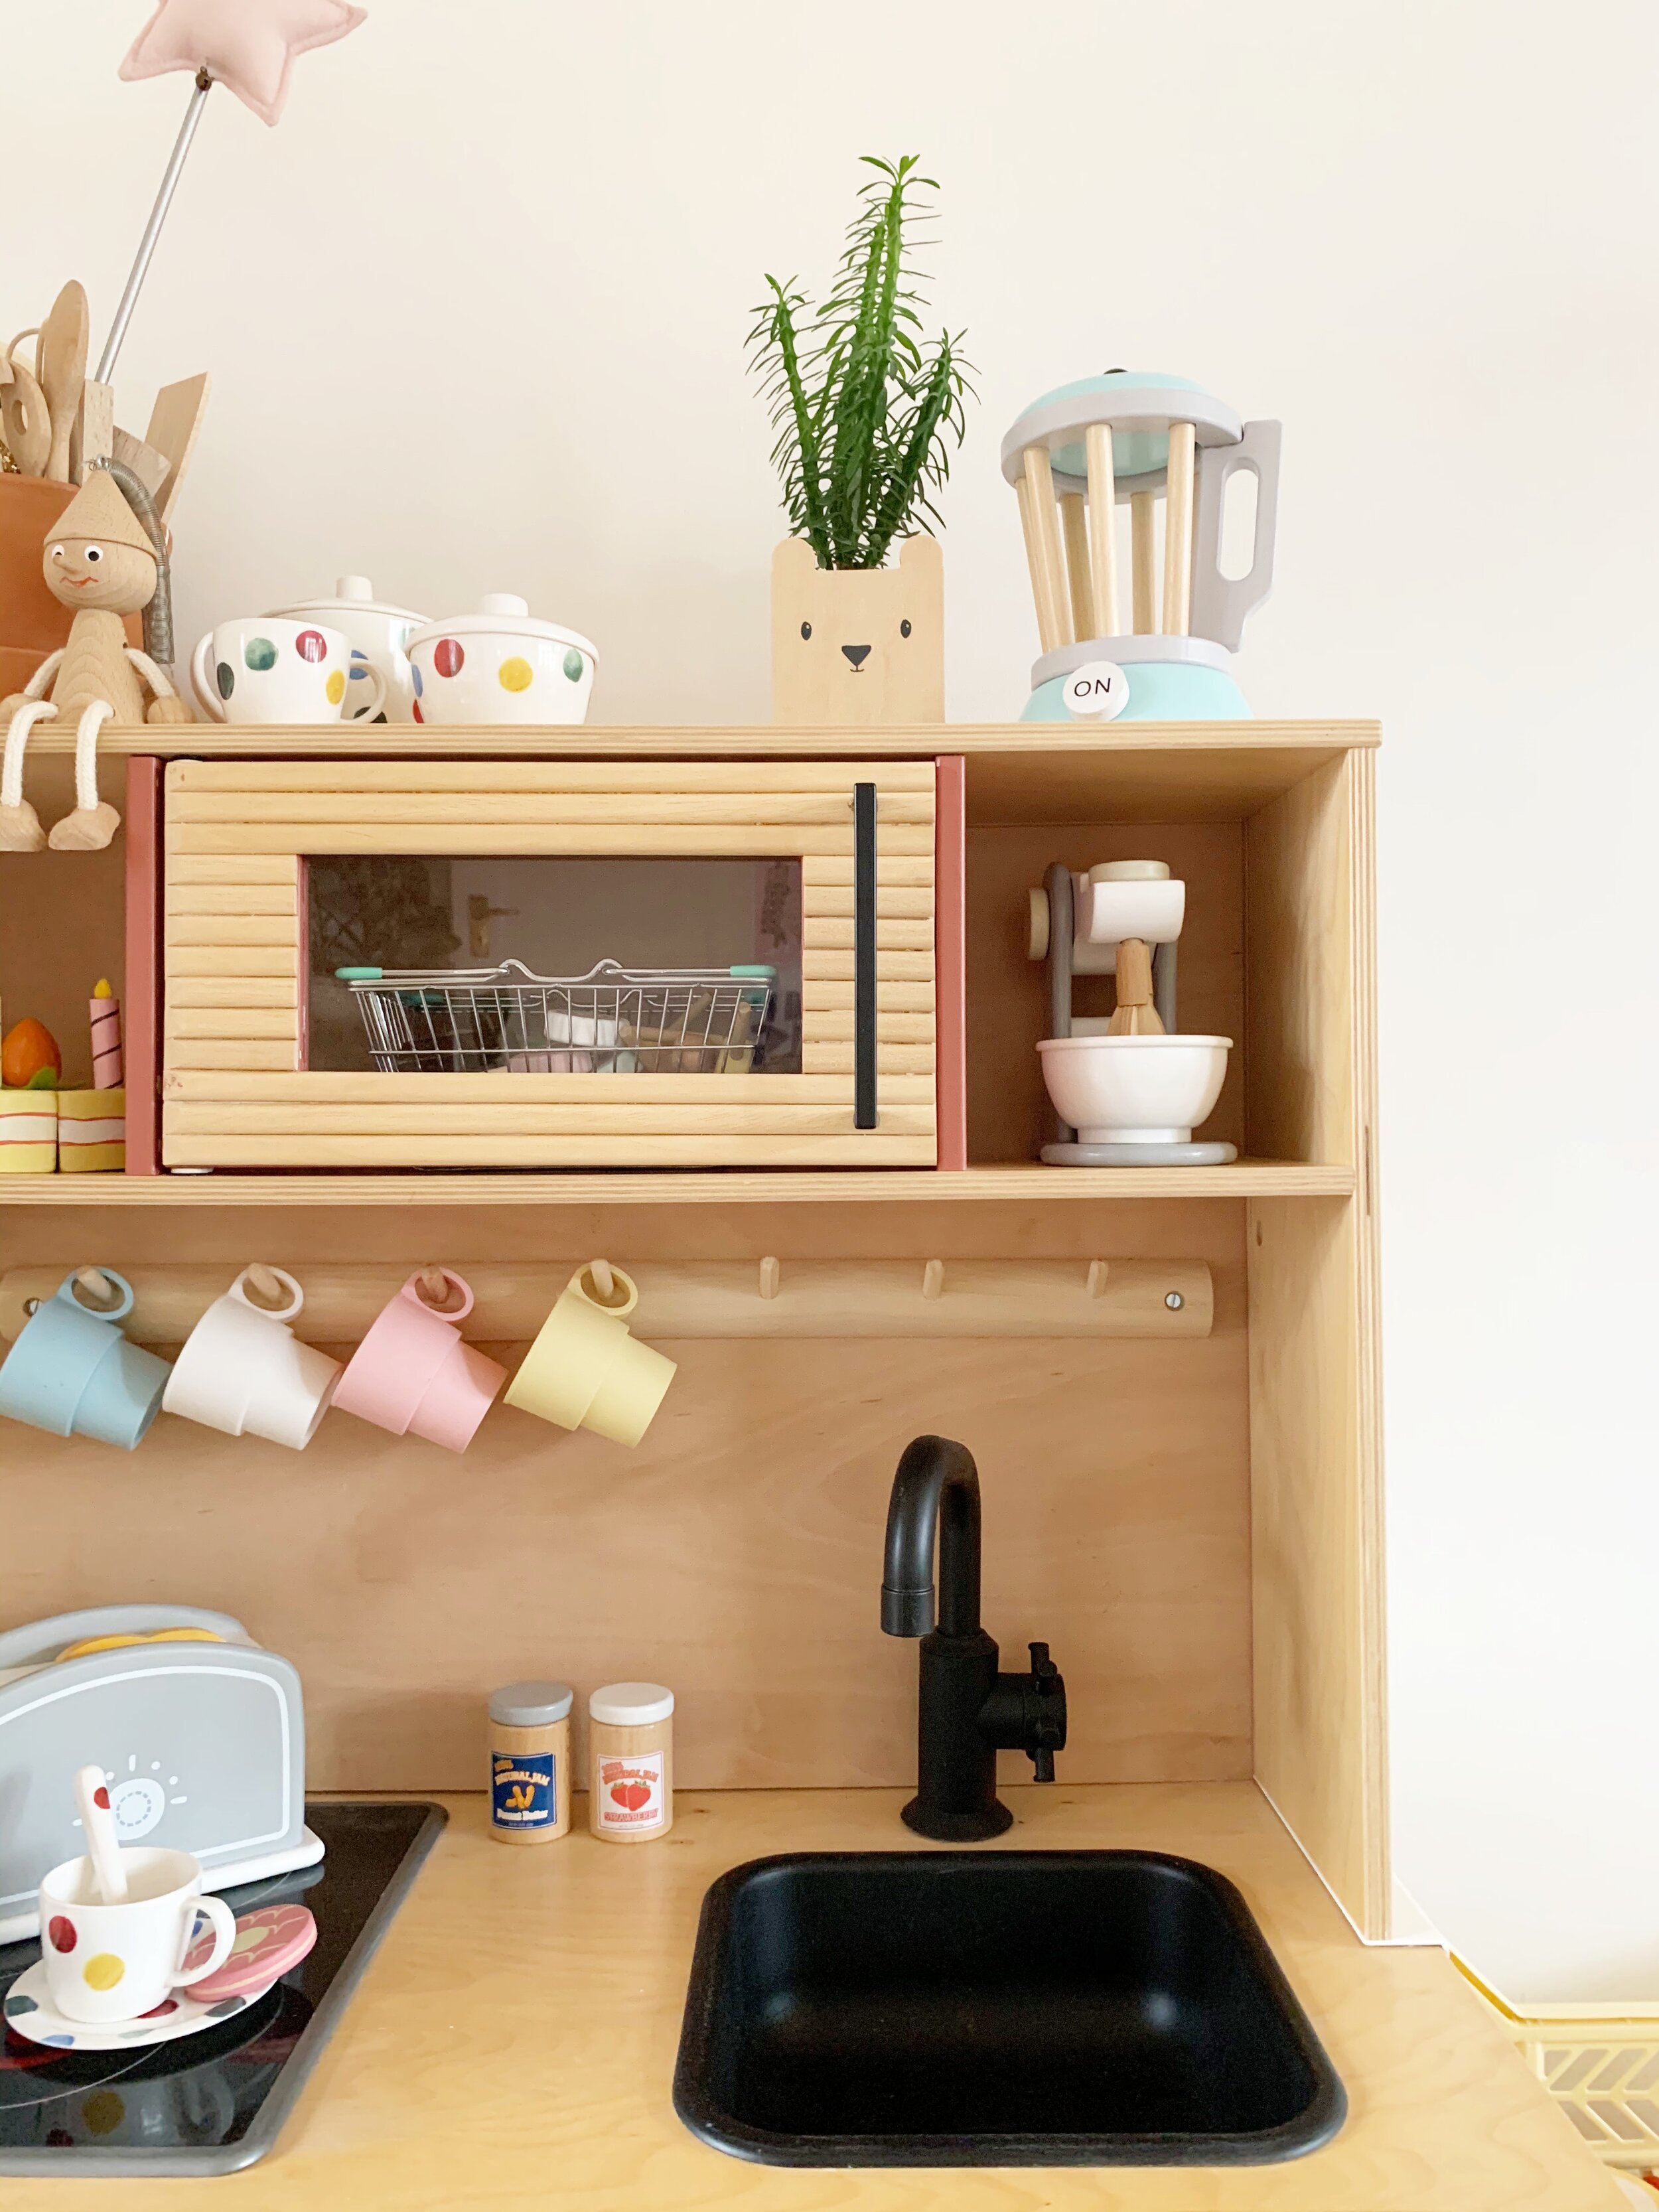
Take the top section off the kitchen and remove the small white panel that Ikea provides (which goes behind the 'microwave' bit) - this is easy to do as it just slides out. Then remove the pole by loosening the sides with an allen key.
Step Two:
For the 'splashback', cut a 6mm sheet of plywood to size using a circular saw (or some local DIY stores will cut it for you). Drill holes in each corner of the plywood, place your sheet in situ, and then drill a small hole where your screw will go. Attach it with four screws in each corner to the back of the kitchen, and if necessary, secure it with an extra screw in the middle at the top.
Step Three:
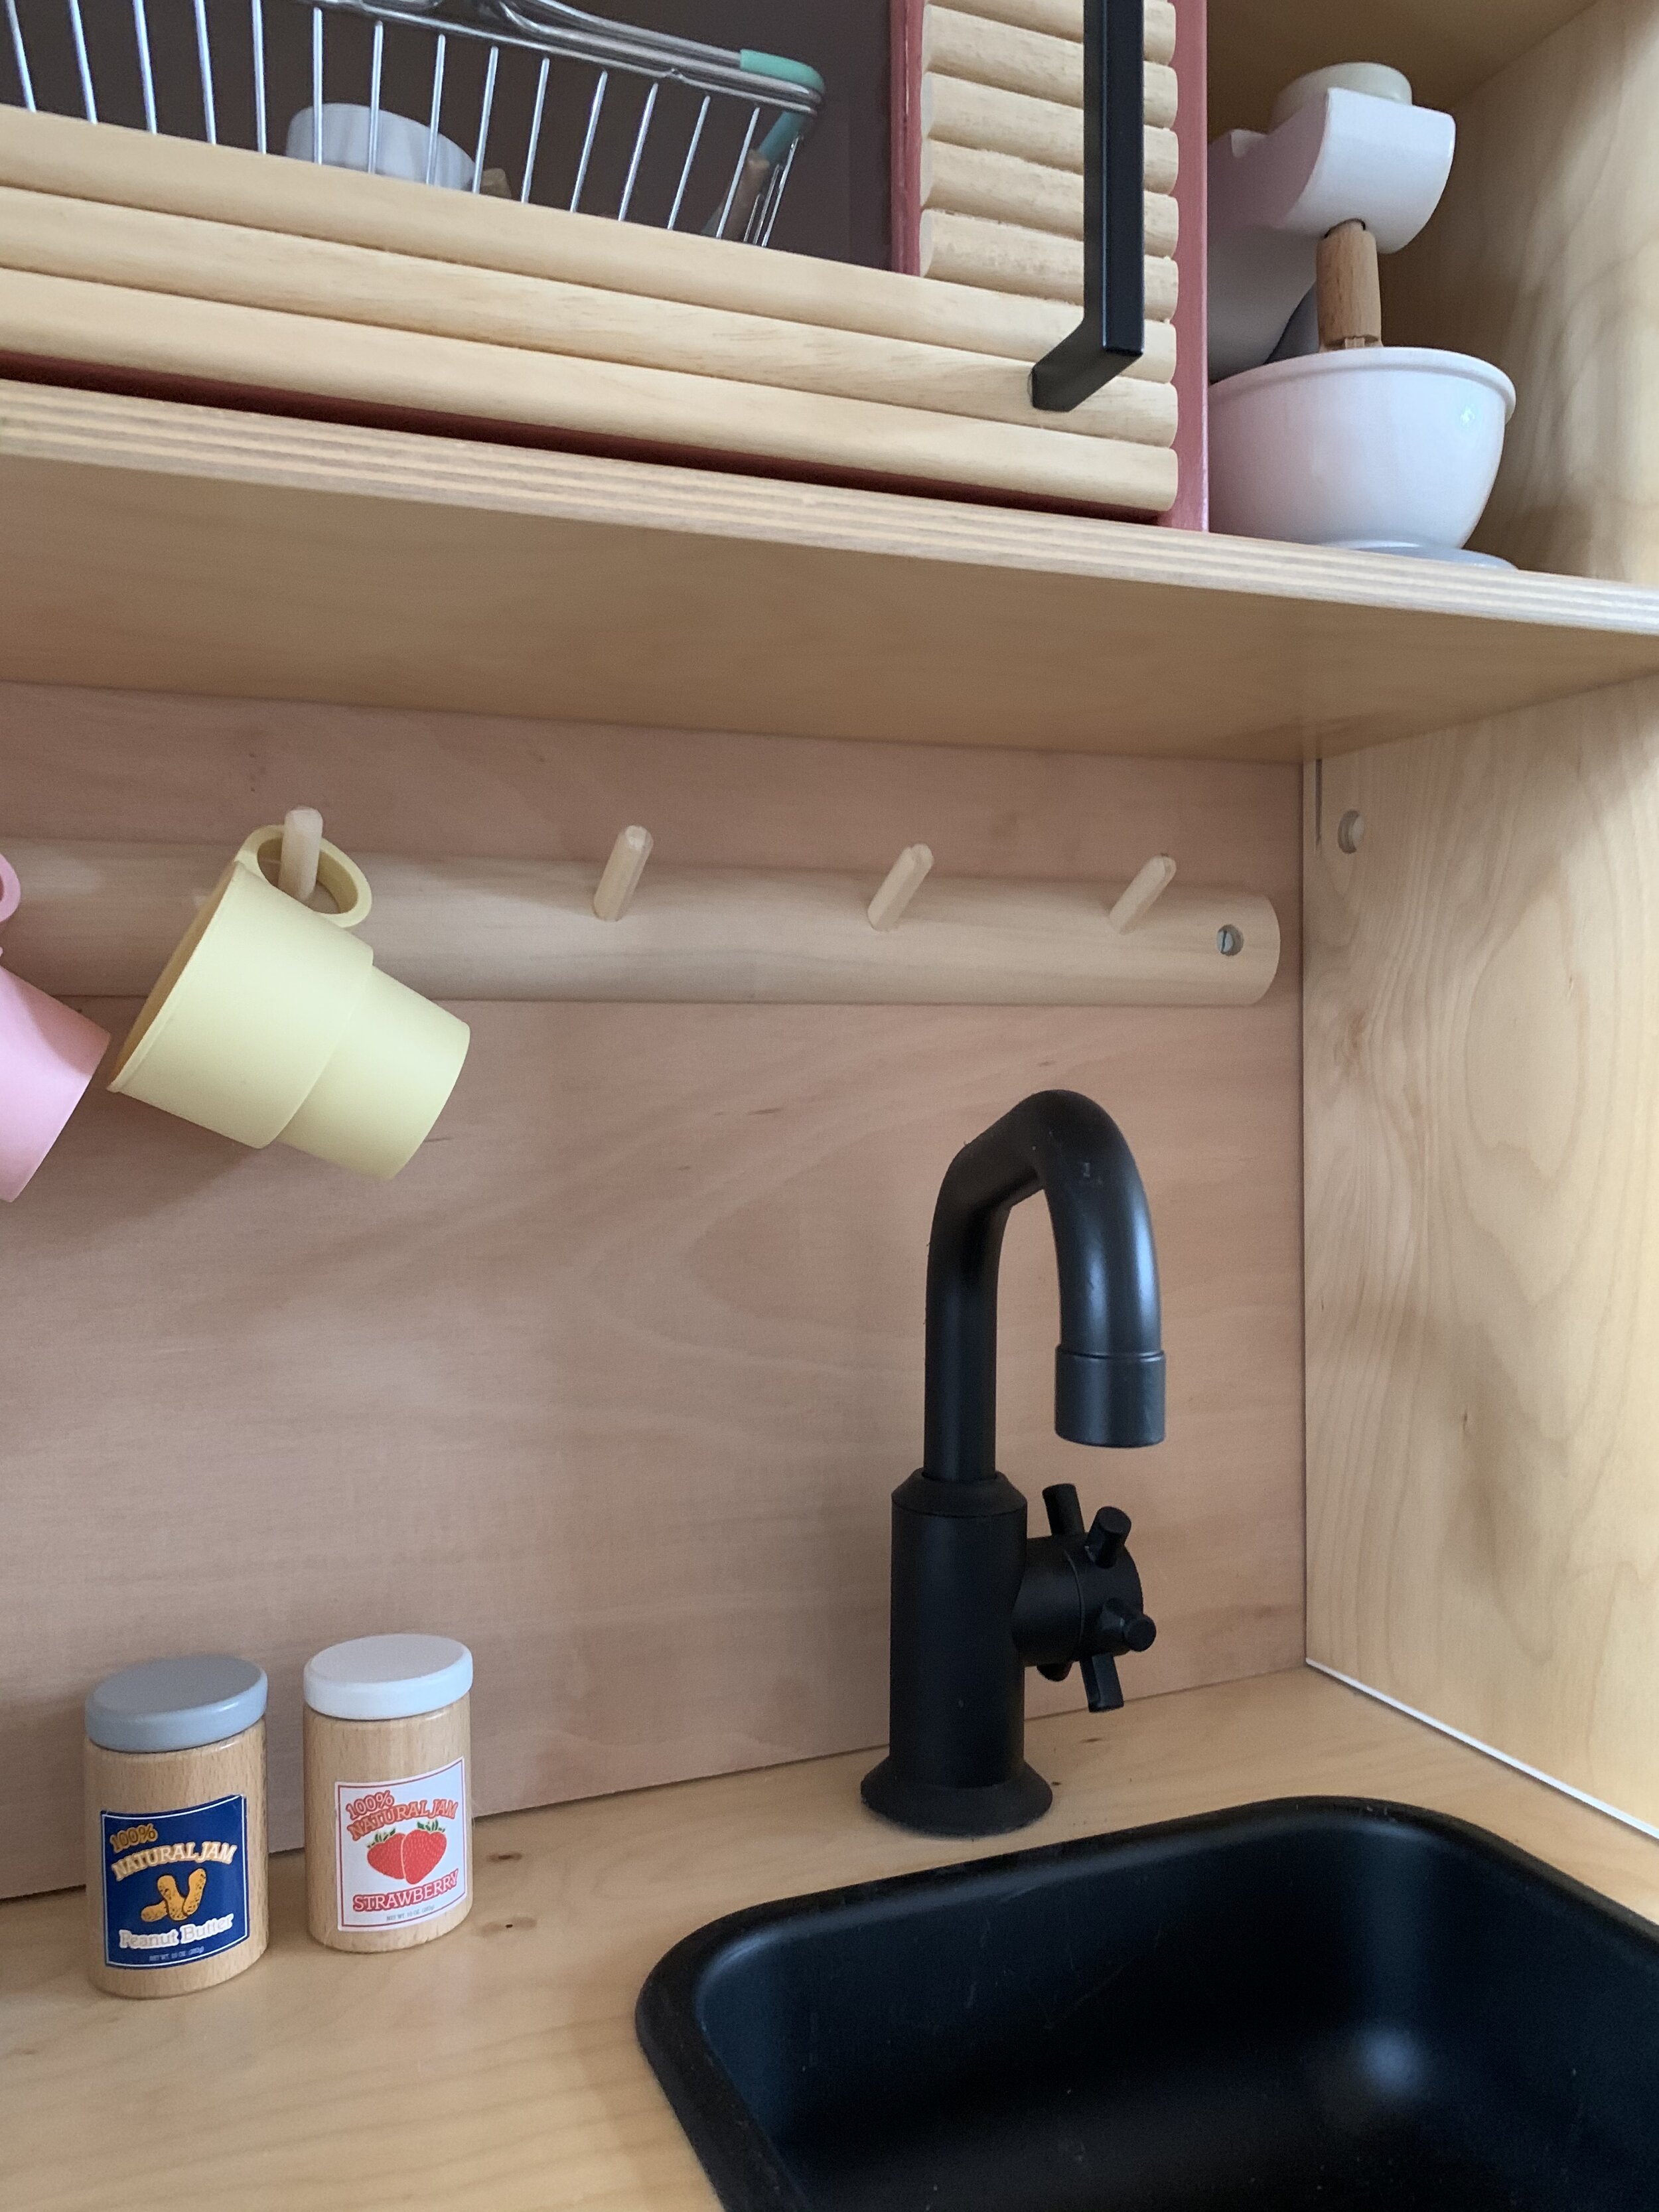
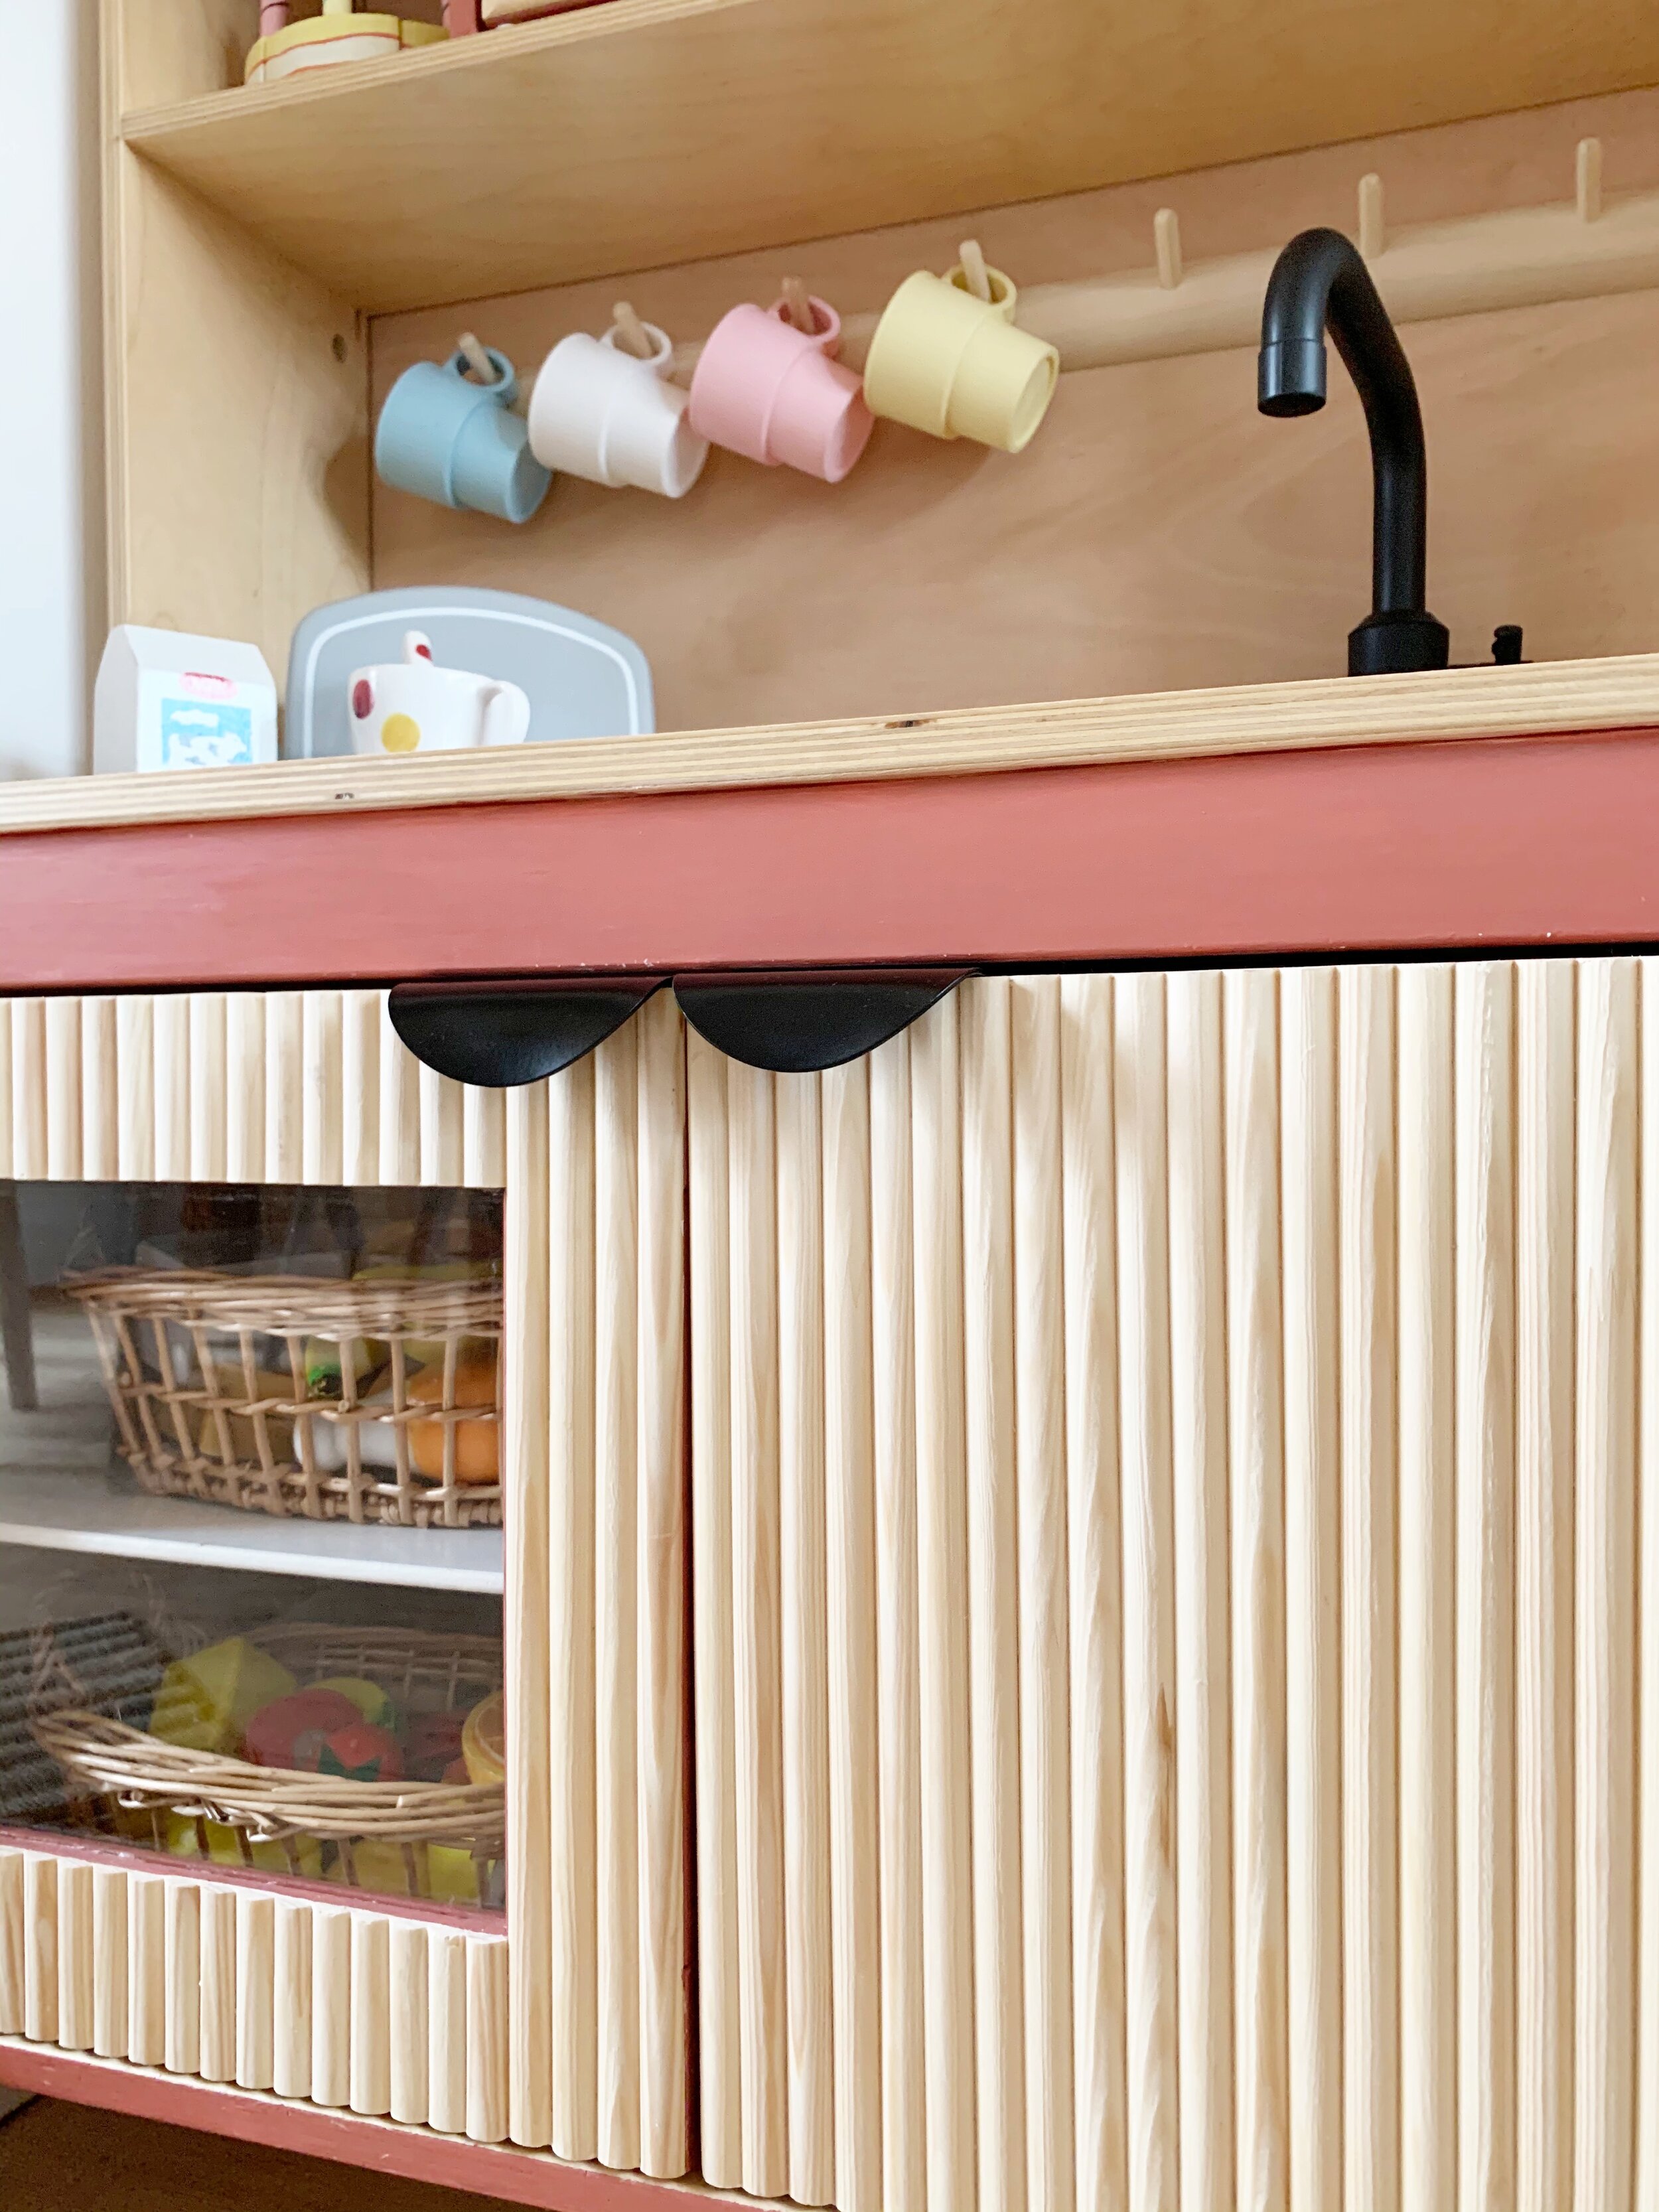
The wooden pegs are from H&M Home and were secured by drilling two holes into the plywood (use a spirit level to get them straight) and then I popped two flat screws through the holes with washers on the other side to tighten them and make sure there is no movement.
Step Four:
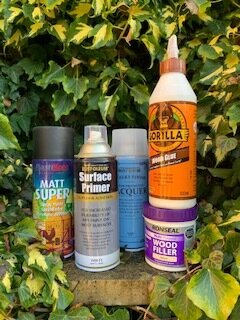
The tap and sink are sprayed with Rustoleum Surface Primer to start with, followed by some leftover PlastiKote spray I had in matt black. I then used Rustoleum Clear Lacquer spray paint to give them an extra coat for durability. I lightly sanded my tap and sink thinking it would help the paint to adhere to the surface but, being plastic, it just made the surface quite rough in places which I have not been able to fix. It's barely noticeable but I would advise you not to sand yours!
Step Five:
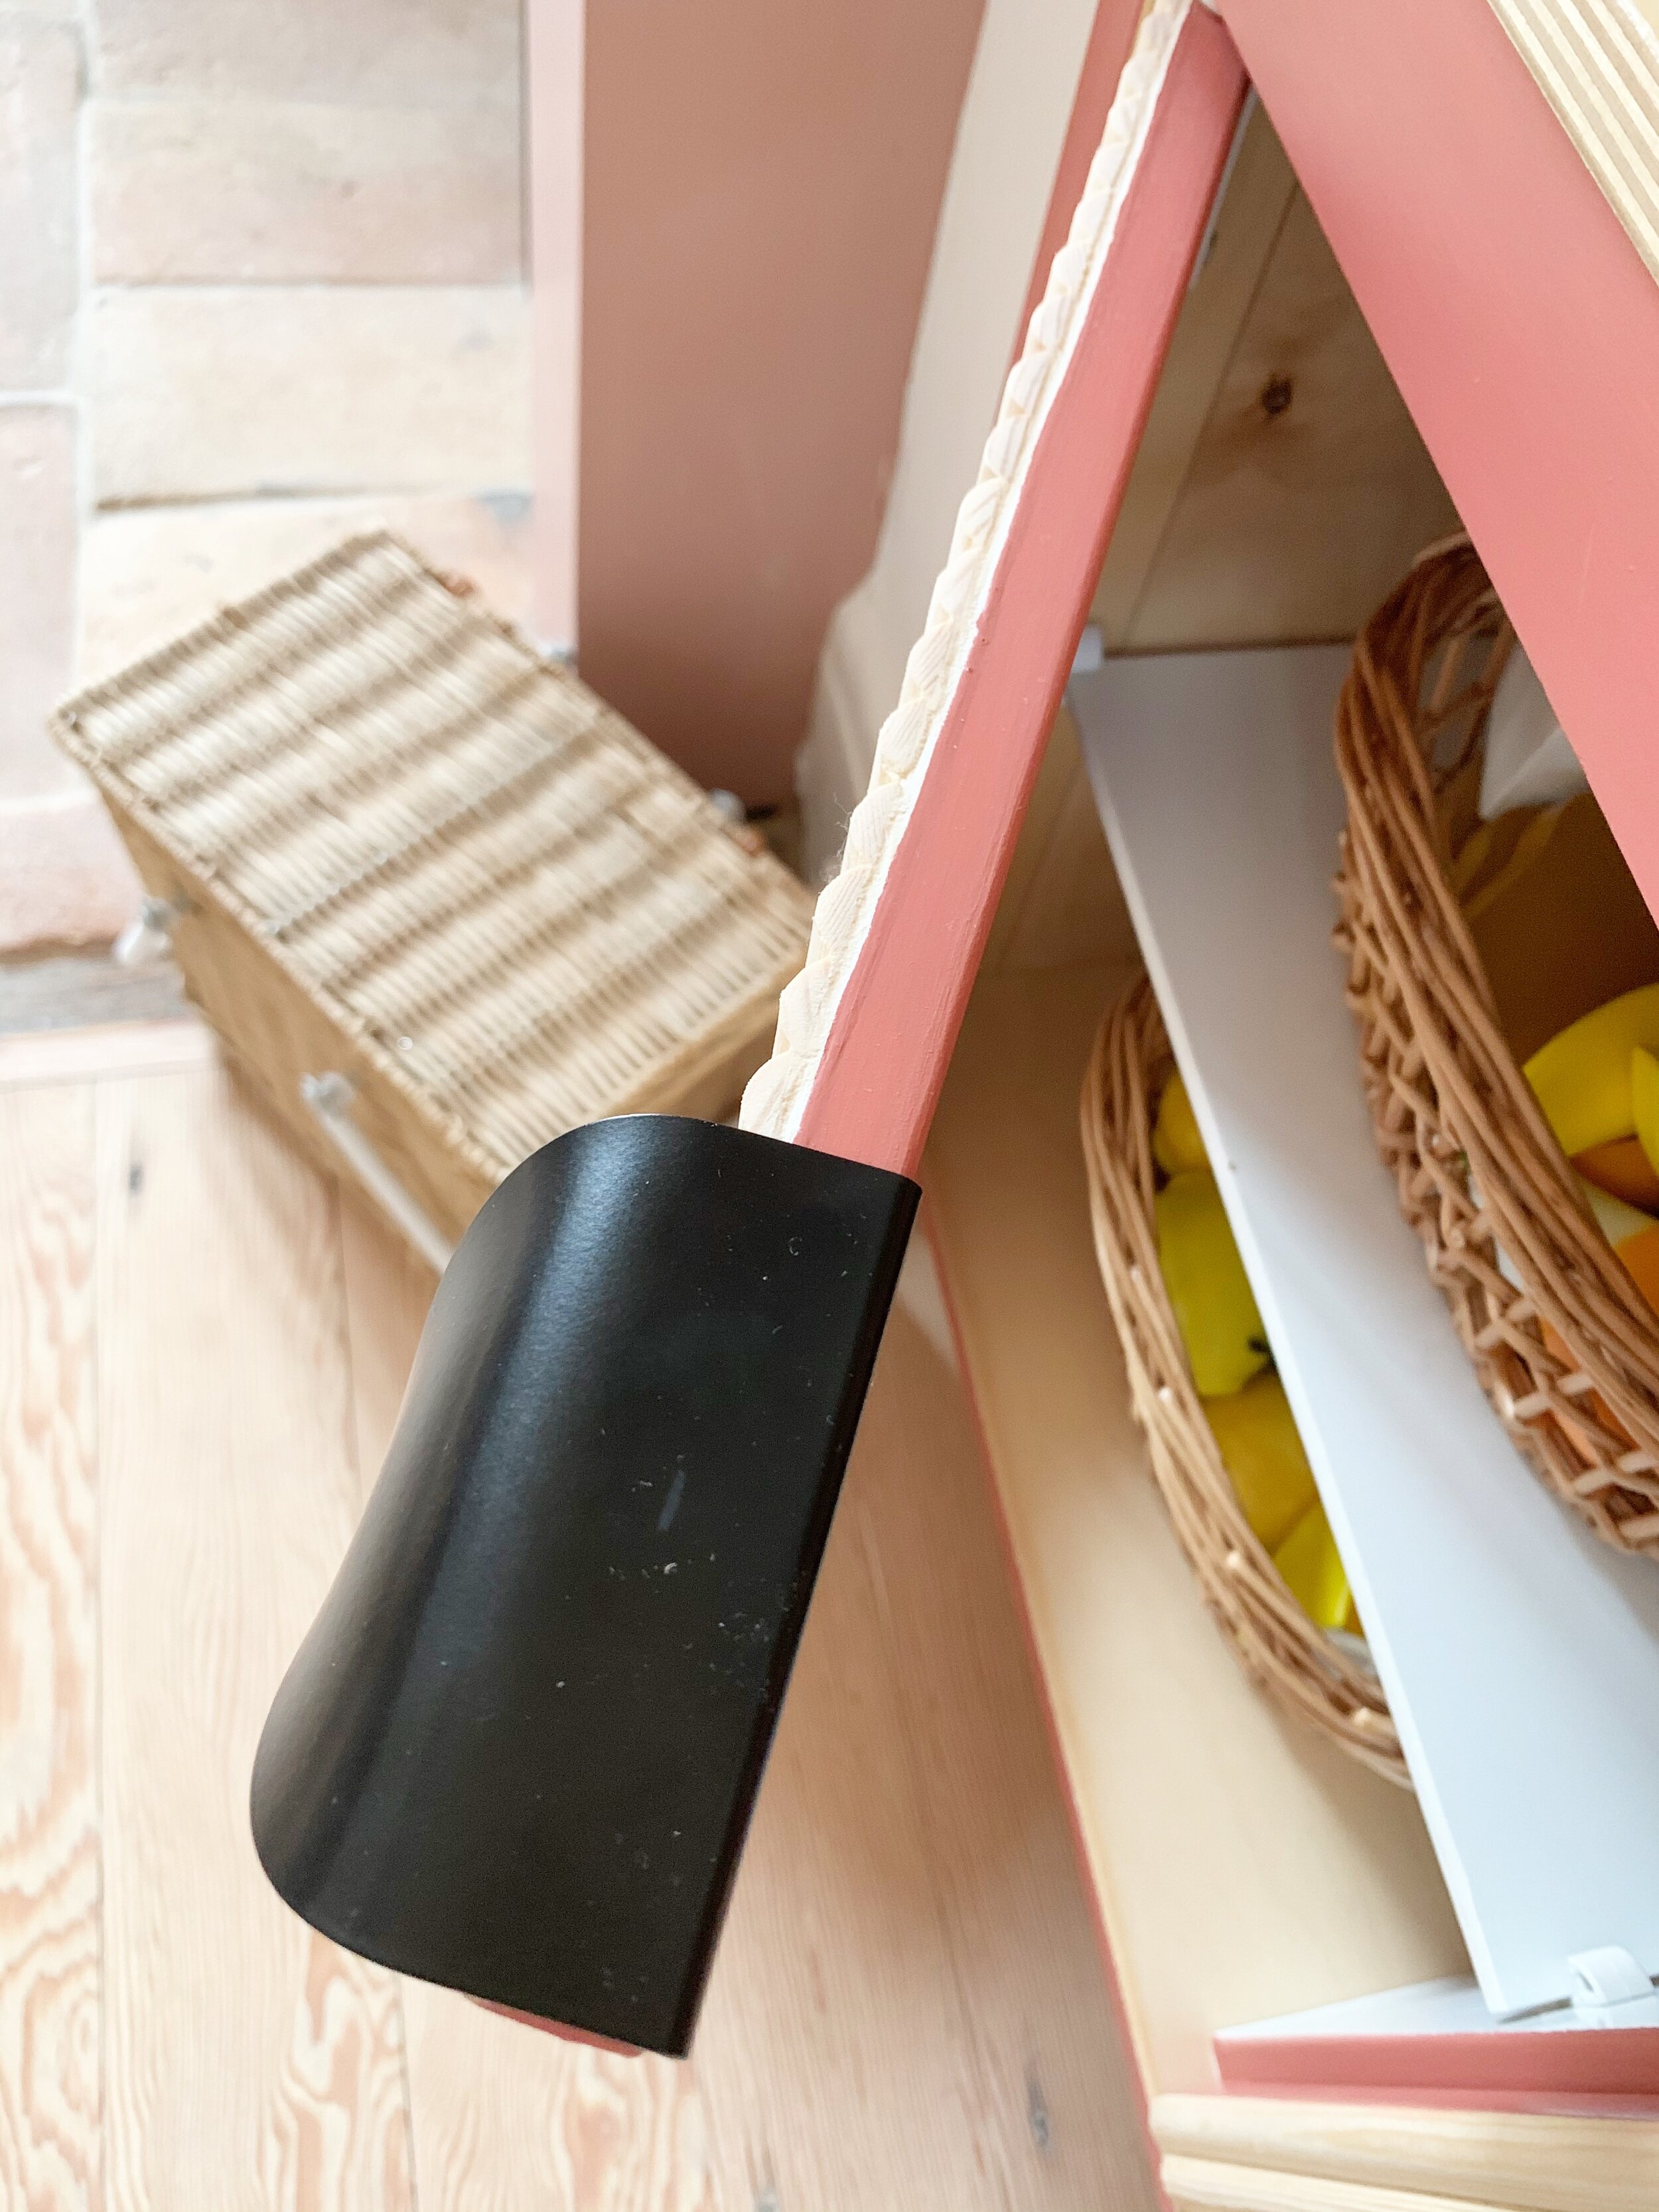
Take the doors off the hinges and paint the surrounding frame. I used leftover paint from our staircase. The colour is Russet by Zoffany, which you can get colour matched at Decorating Centre Online. It's a good idea to sand and paint with a primer first and maybe use decorators tape to get neat lines, if you don't feel confident doing it free hand.
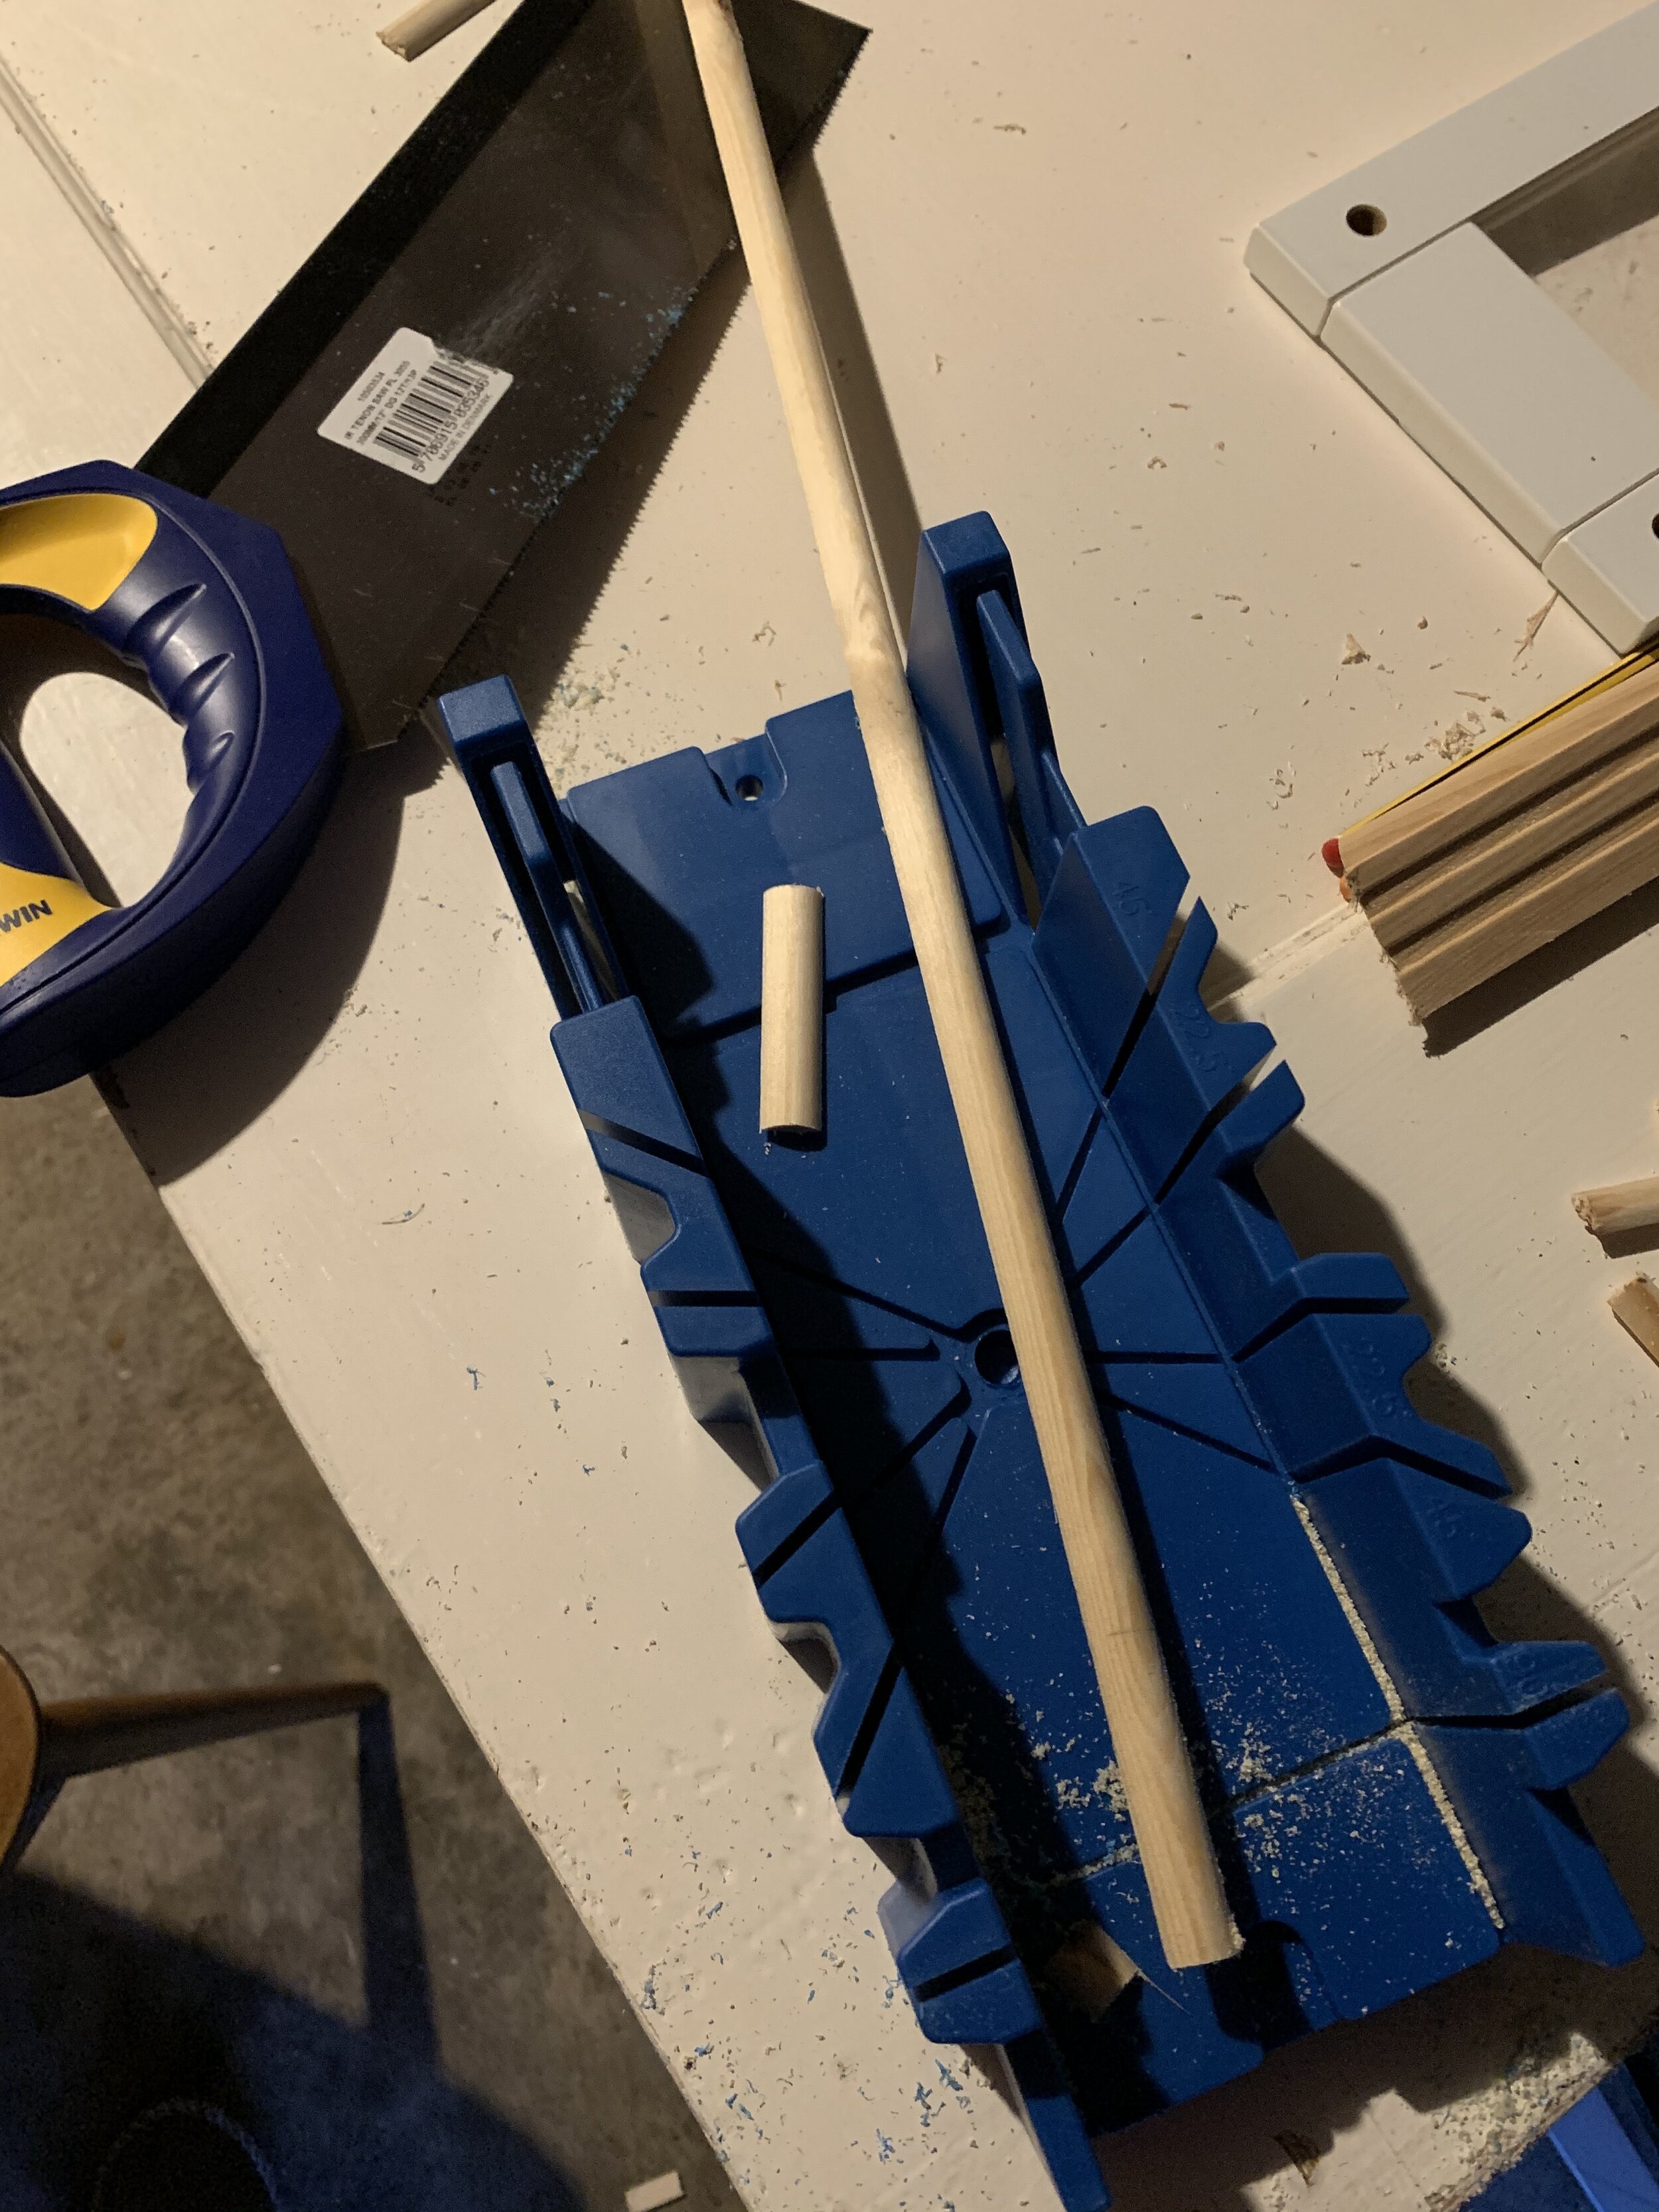
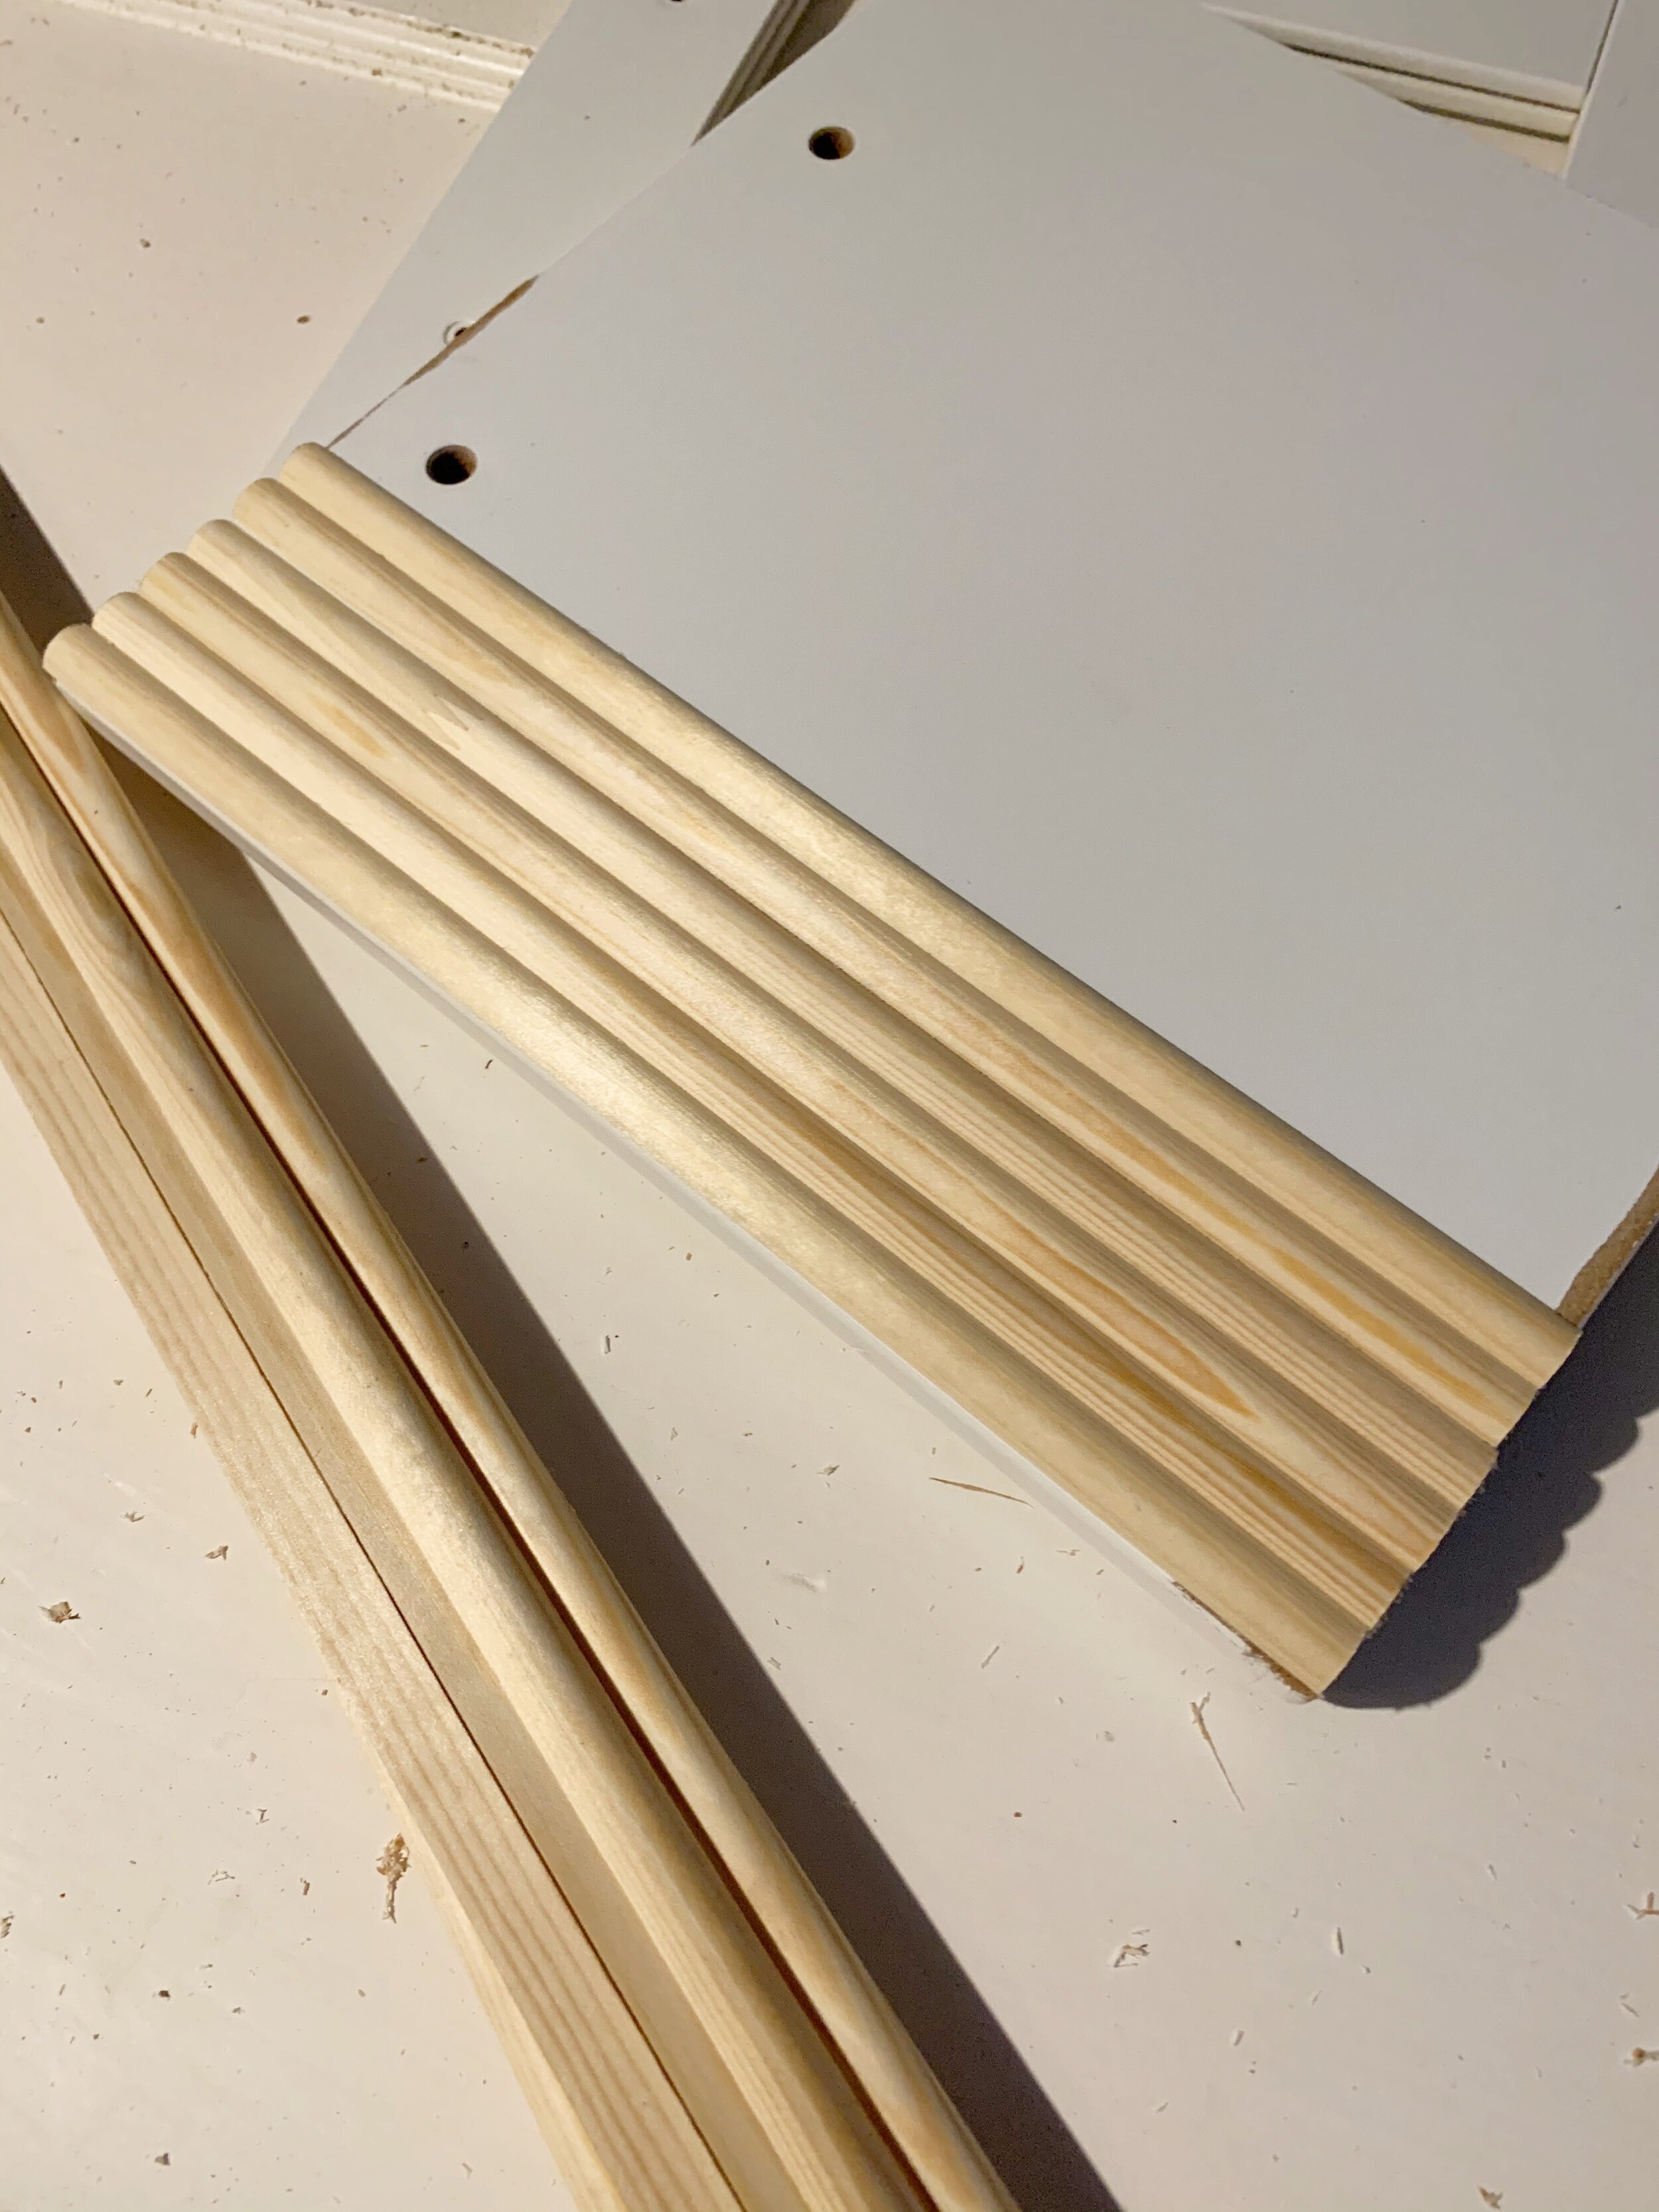
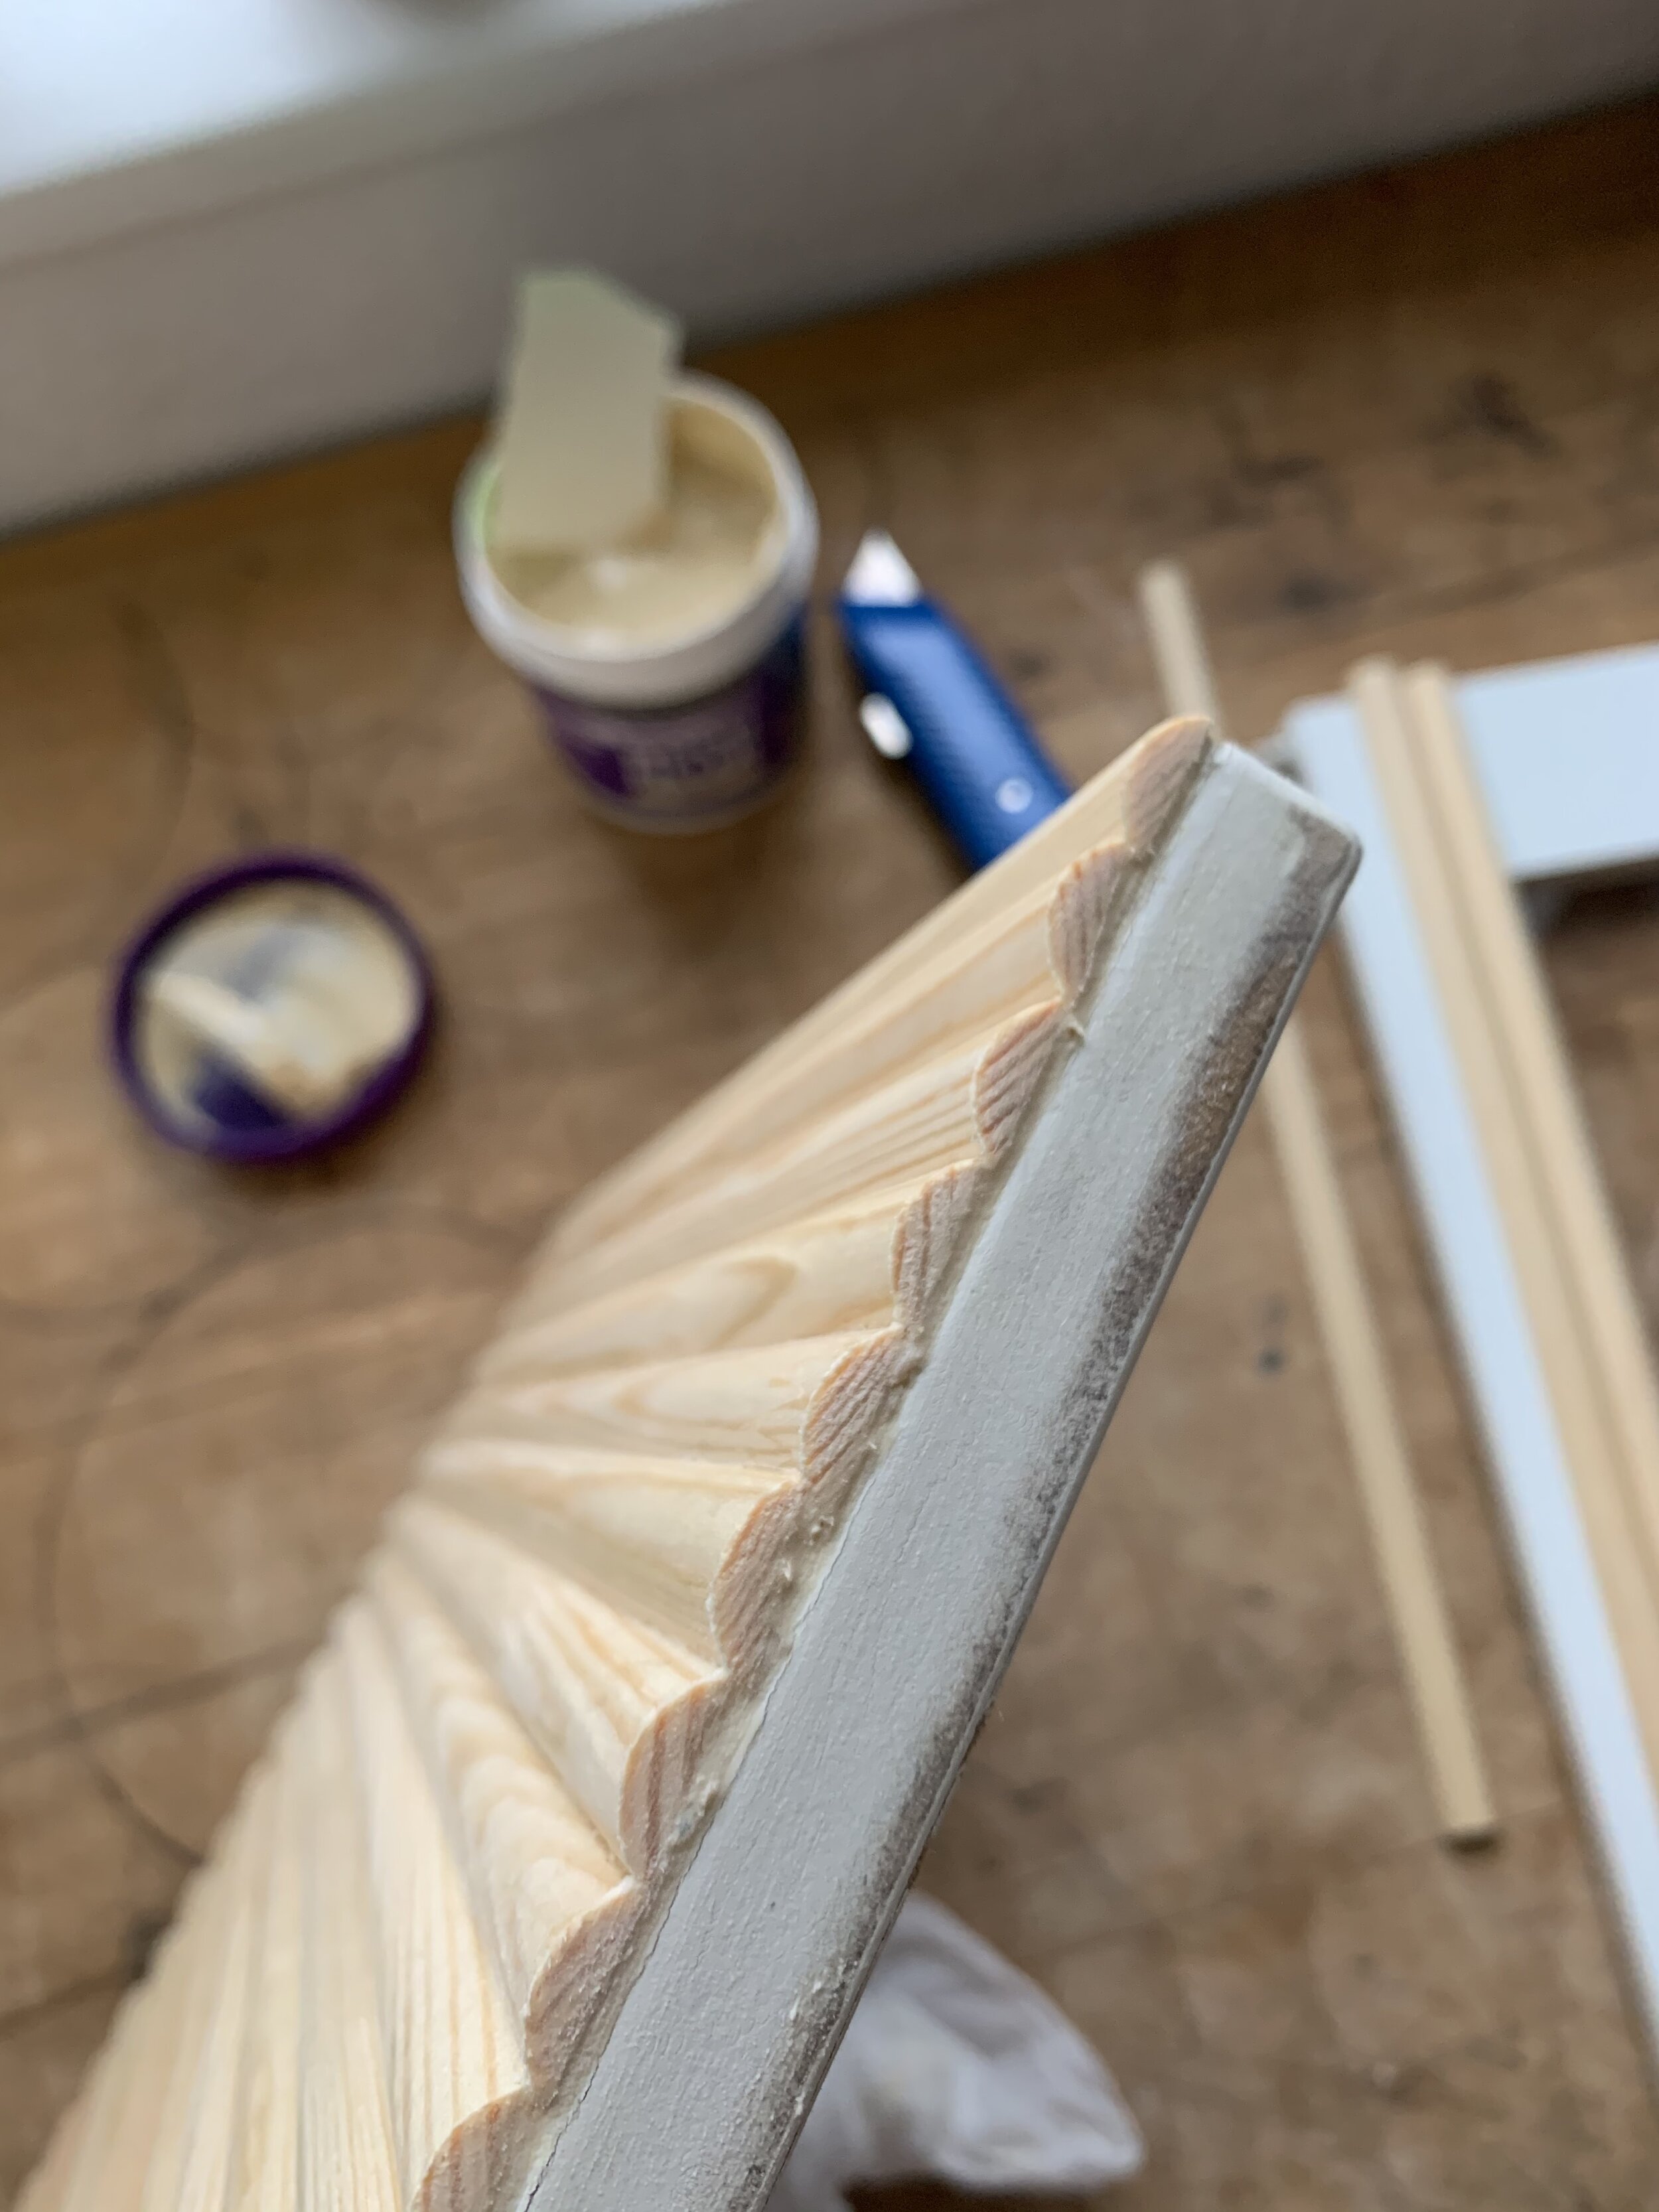
Step Six:
Remove the handles and sand the doors (with regular sandpaper is fine but I use this for speed and ease) and then cut the wood strips to size using a saw and a mitre block. This helps you cut at a straight angle but I also made sure each strip was approx 1-2mm too long, so that there definitely wouldn't be any gaps once they were on the door. Use a strong wood adhesive like Gorilla glue and try and apply pressure on them whilst drying (with a big old pile of heavy books if you're a pro like me).
Step Seven:
Once fully secured, sand along the top and bottom edges to create a smooth and even finish. For the edges where the hinges are, you need to sand the end strips a lot (and at an angle) to ensure the door still opens fully. This was a bit of a trial and error for each door - I just sanded, tested, sanded, tested etc until the doors opened easily without the wood strips getting in the way.
Step Eight:
Please note, for the door with the window, you need to sand the ends of the little strips on the window edge first before sticking them down, as the window will get in the way of sanding once the are fixed to the door frame.
Step Nine:
Use a wood filler (I used Ronseal's Wood Filler in Natural) to fill any gaps along the sides and ends. There is probably a neater way of doing this, but I found using my finger the easiest, smoothing it down first, before wiping any excess away. When it drys, you can also sand it lightly to ensure a seamless finish.

Step Ten:
Now the wood is in place and all sanding completed, you can paint the backs and sides of the doors in the colour of your choice. I did the line across the top free hand with a small brush and it looks neat enough.
Step Eleven:
Finally, attach the handles again and the doors are ready to go back on to their hinges. I have used the Mercury Pull Handles in Black for the lower cupboard doors and the one above is from The Handle Studio which I spray painted black. You can buy similar handles in black already but I had initially thought I wanted gold so I changed mine at the last minute.
And that's it!!
Let me know how you get on updating your play kitchen hack, and if you have any questions, do pop them in the comments below or contact me through Instagram.