
How to use tile stickers
Naff. That was the first thought in my mind when I came across tile stickers.
But then we moved to this house with a lime green kitchen and my opinion began to change. I knew we needed to come up with a quick and cheap solution so we could transform it (or at the very least, make it 'liveable') before all the major building works began.
You can find tile stickers on eBay and Amazon, but after heaps of searching, we personally struck gold with moonwallstickers.com. It's an unassuming website, with limited and rather uninspiring social media activity but, my oh my, some of the tile stickers on there are gorgeous! (This is NOT an ad by the way!) There are also multiple size options available for every design making it compatible with the tiles you already have.
How to install tile stickers:
Ensure your tiles are in relatively good condition because stickers, whilst great, will ultimately not 'fix' a broken tile underneath.
Wash and lightly sand the tiles so the paint has something to adhere to and there is no grease or grit left behind.
Depending on the colour of the original tile and the sticker/decal you are using, you may find it helpful to paint the tiles to avoid any colour coming through. It is certainly worth painting the grout as that shows up between the tile stickers so it needs to look as fresh as the new 'tiles' you're applying.
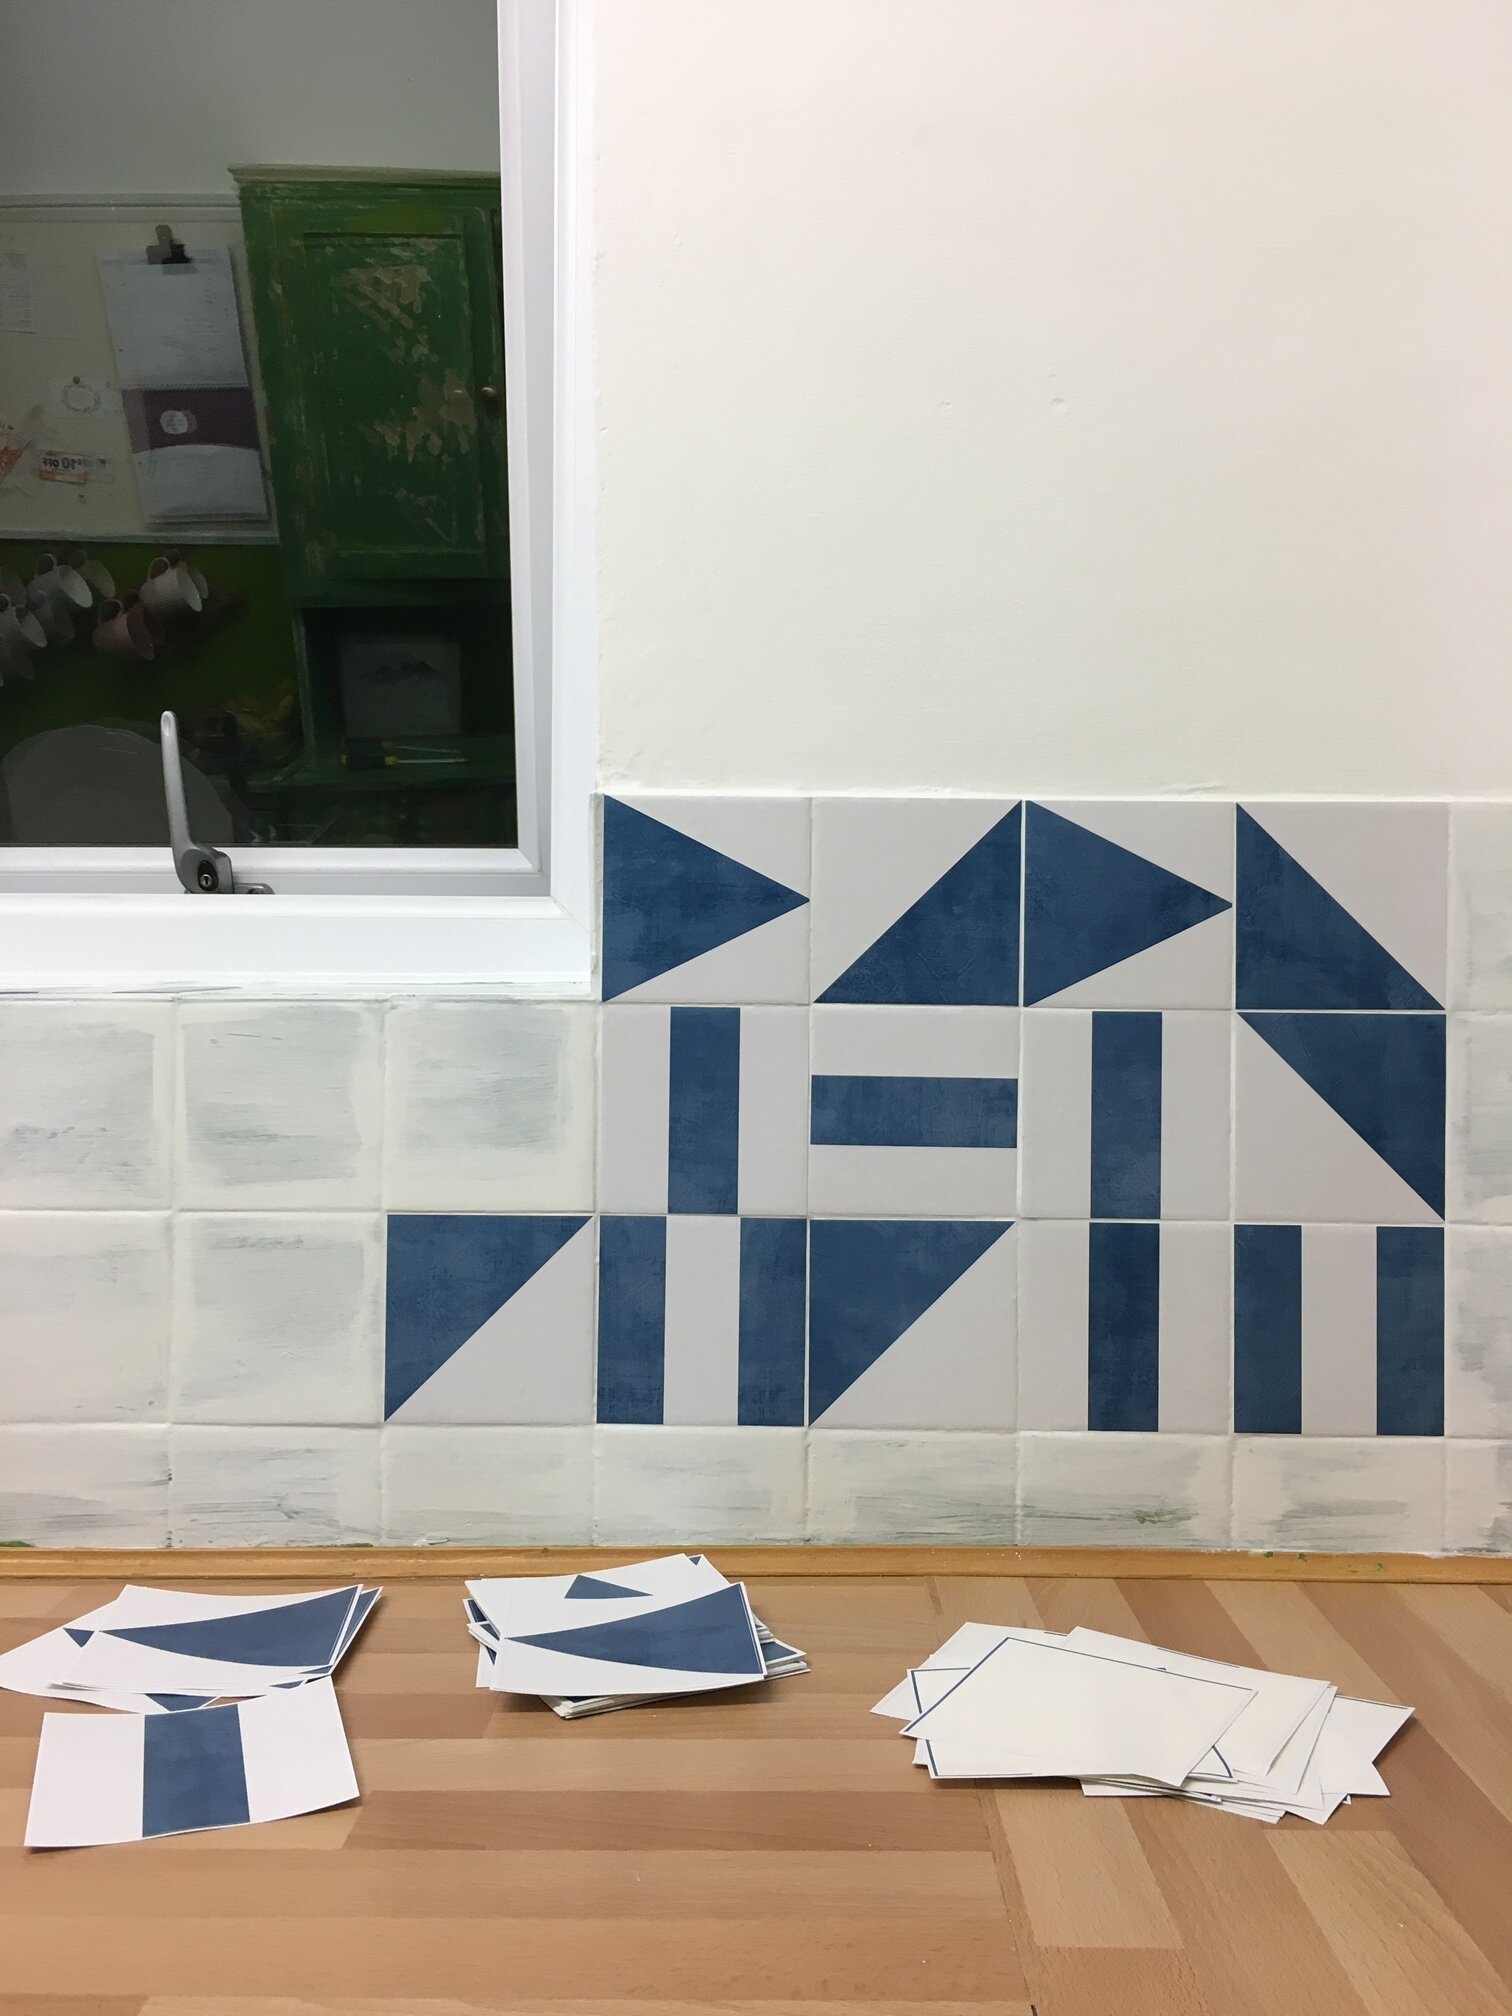
Once the tiles are dry you can start to apply the stickers. Ours were super simple to use, you just peel the back off and stick them on to the tile, ensuring it's straight and inline with the grout.
You can unpeel stickers off the tile if you need to make them straight, but be aware the more you do this, the more likely you are to have a loose 'curly corner' which may not stick down so well long term.
For edges and corners, I found it easier to apply the sticker on first loosely, then use a metal ruler and Stanley knife to trim off any overhanging areas in a straight line.


And there you have it - it really is that easy!! It is a little time consuming of course, but if you've never tiled before then it really is a simpler, less stressful option which is worth considering. Supposedly, the stickers can be peeled off without damaging the tiles underneath which makes it an amazing solution for renters too. All you need to do is blow hot air on them using your hair dryer whilst you carefully peel them off.
How are they looking six months on?
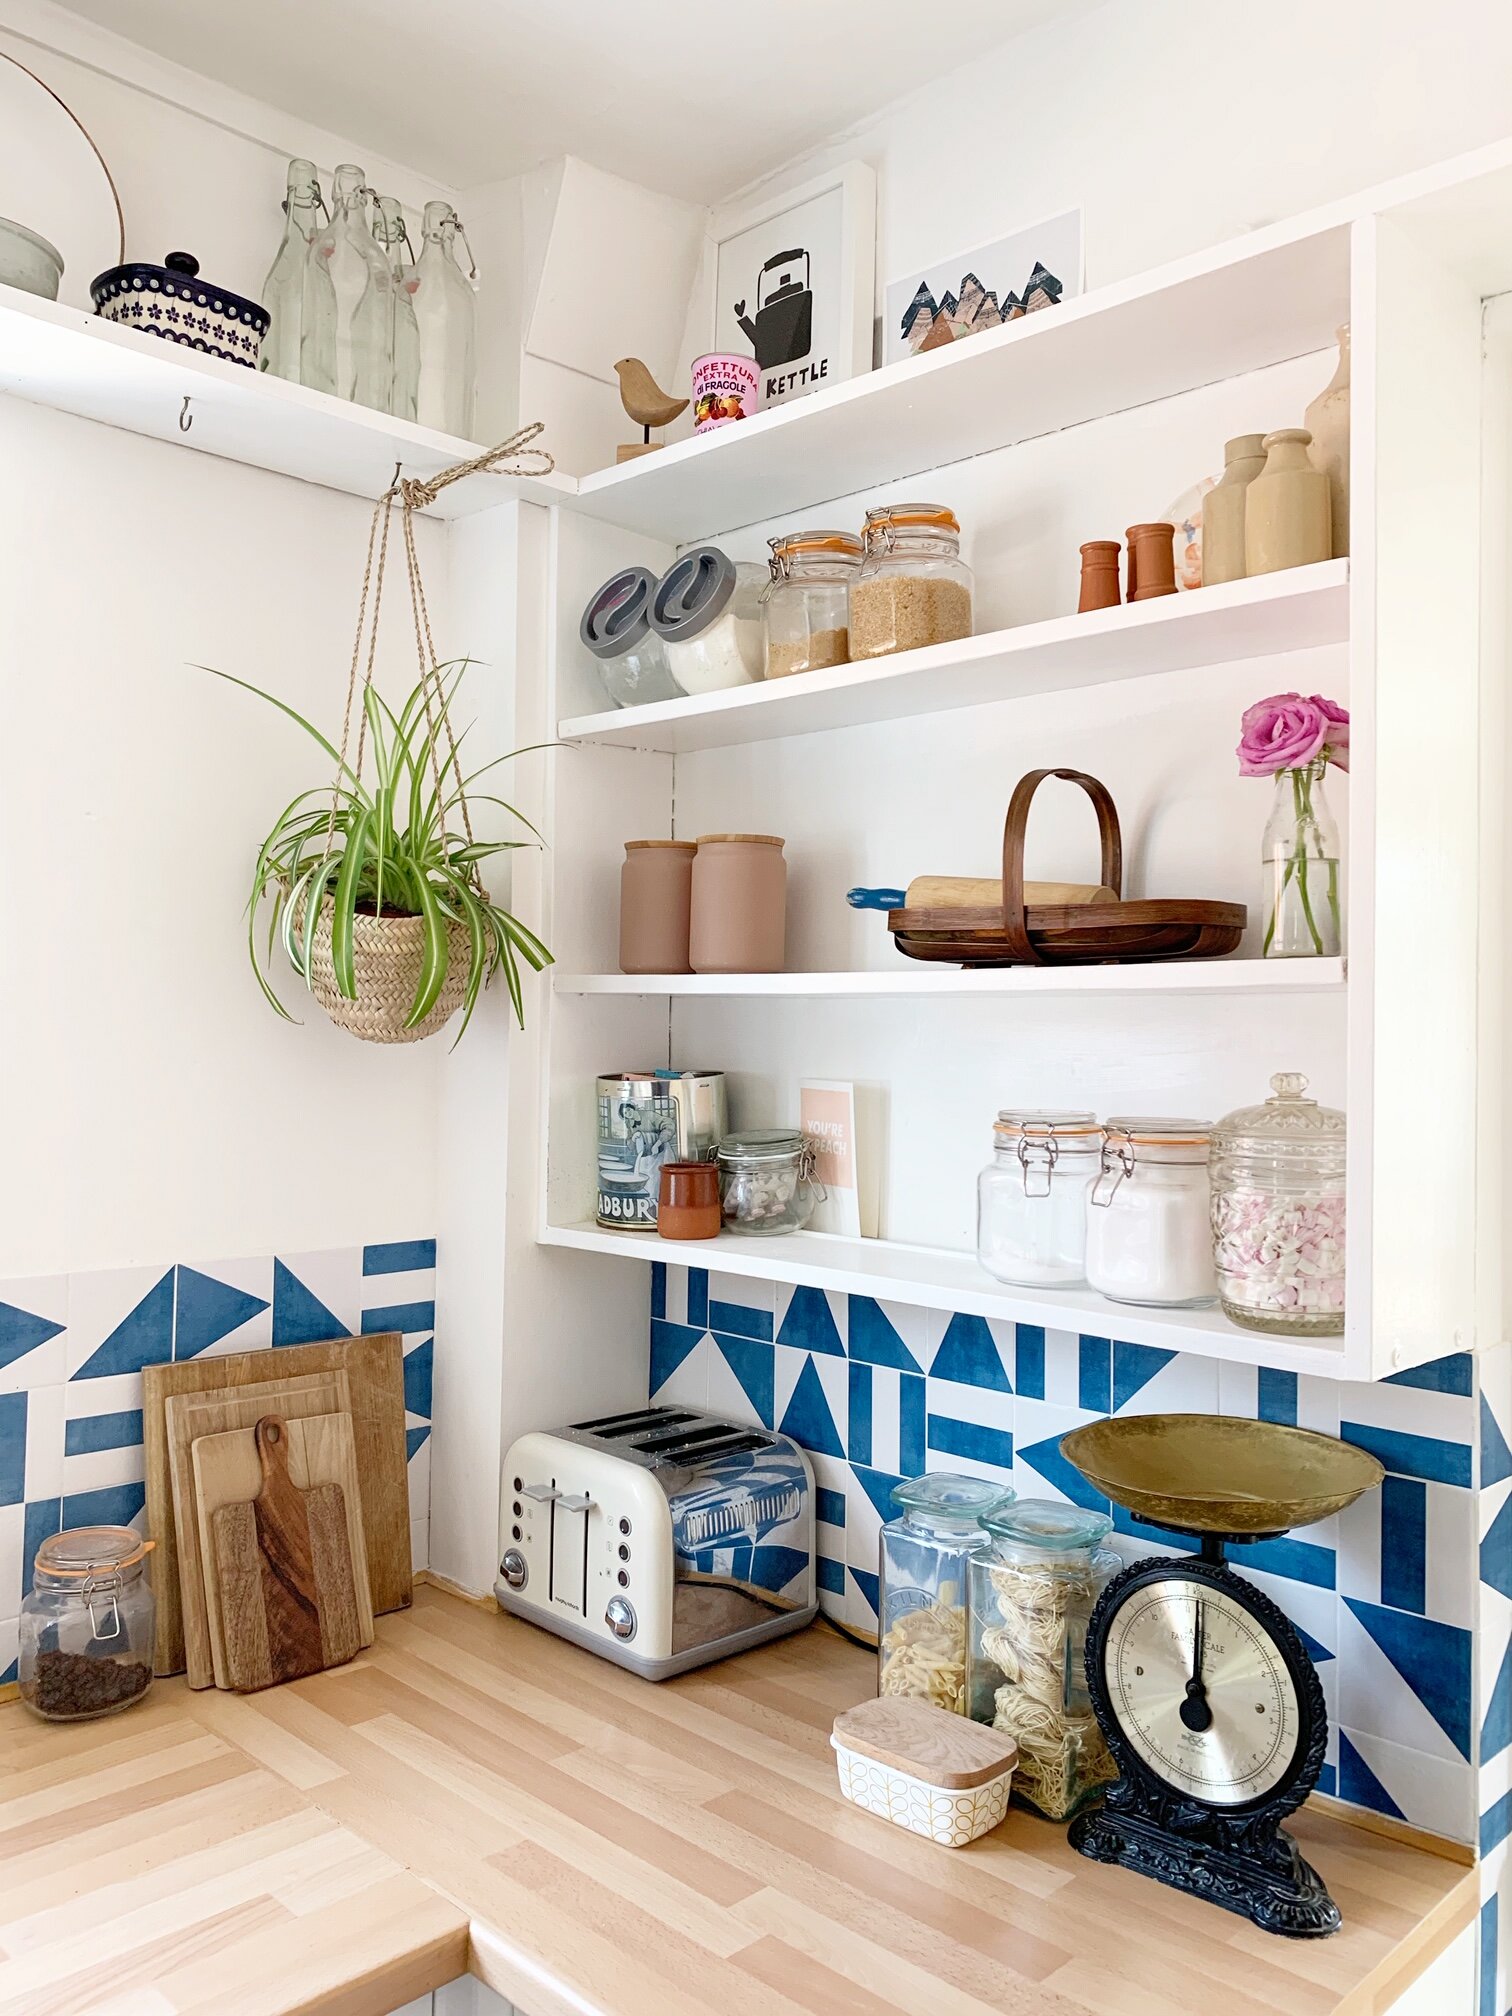
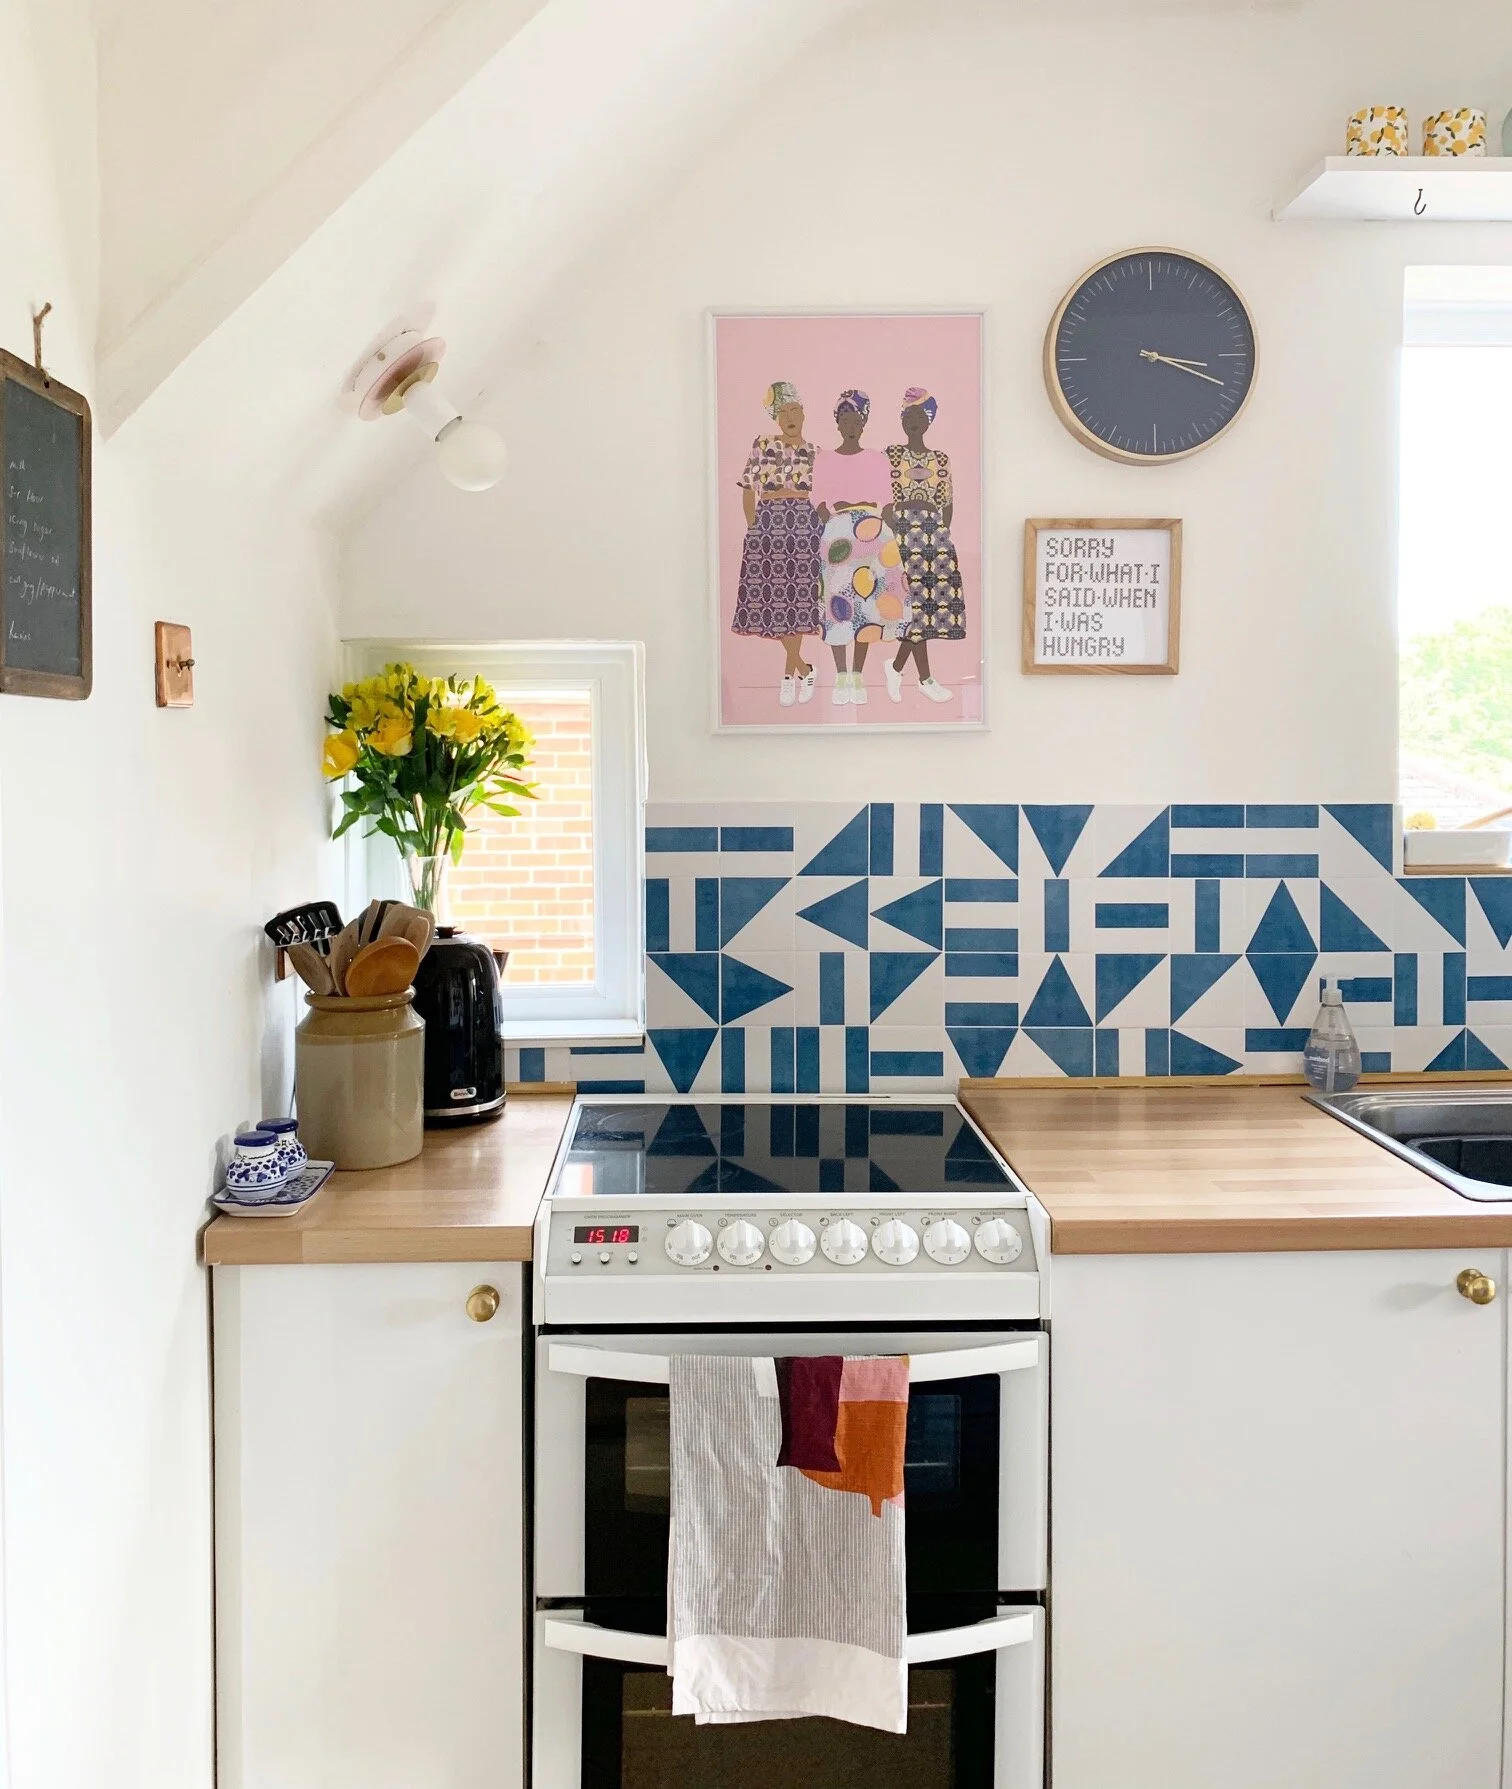
They look great and pretty much exactly as they did when I first applied them. The tile stickers wipe off easily and haven't marked at all - even when I've splashed it with Bolognese or emulsion from various painting projects! I am careful not to wipe back and forth on the edges too much though as I don't want those to 'lift' and unstick. Even behind the cooker, which is the area I was least confident about, the tile stickers have held up well and not been affected by the heat or steam regularly coming from the hob.
As for the overall effect, I think they look really realistic. In fact, everyone who comes to visit can't believe they are actually stickers and some wouldn't even have noticed unless I told them or they looked super close. Maybe my expectations were low in the first place but on the whole, I have been very impressed.
So are you considering tile stickers for a job? Let me know in the comments below...
You can also follow me on:
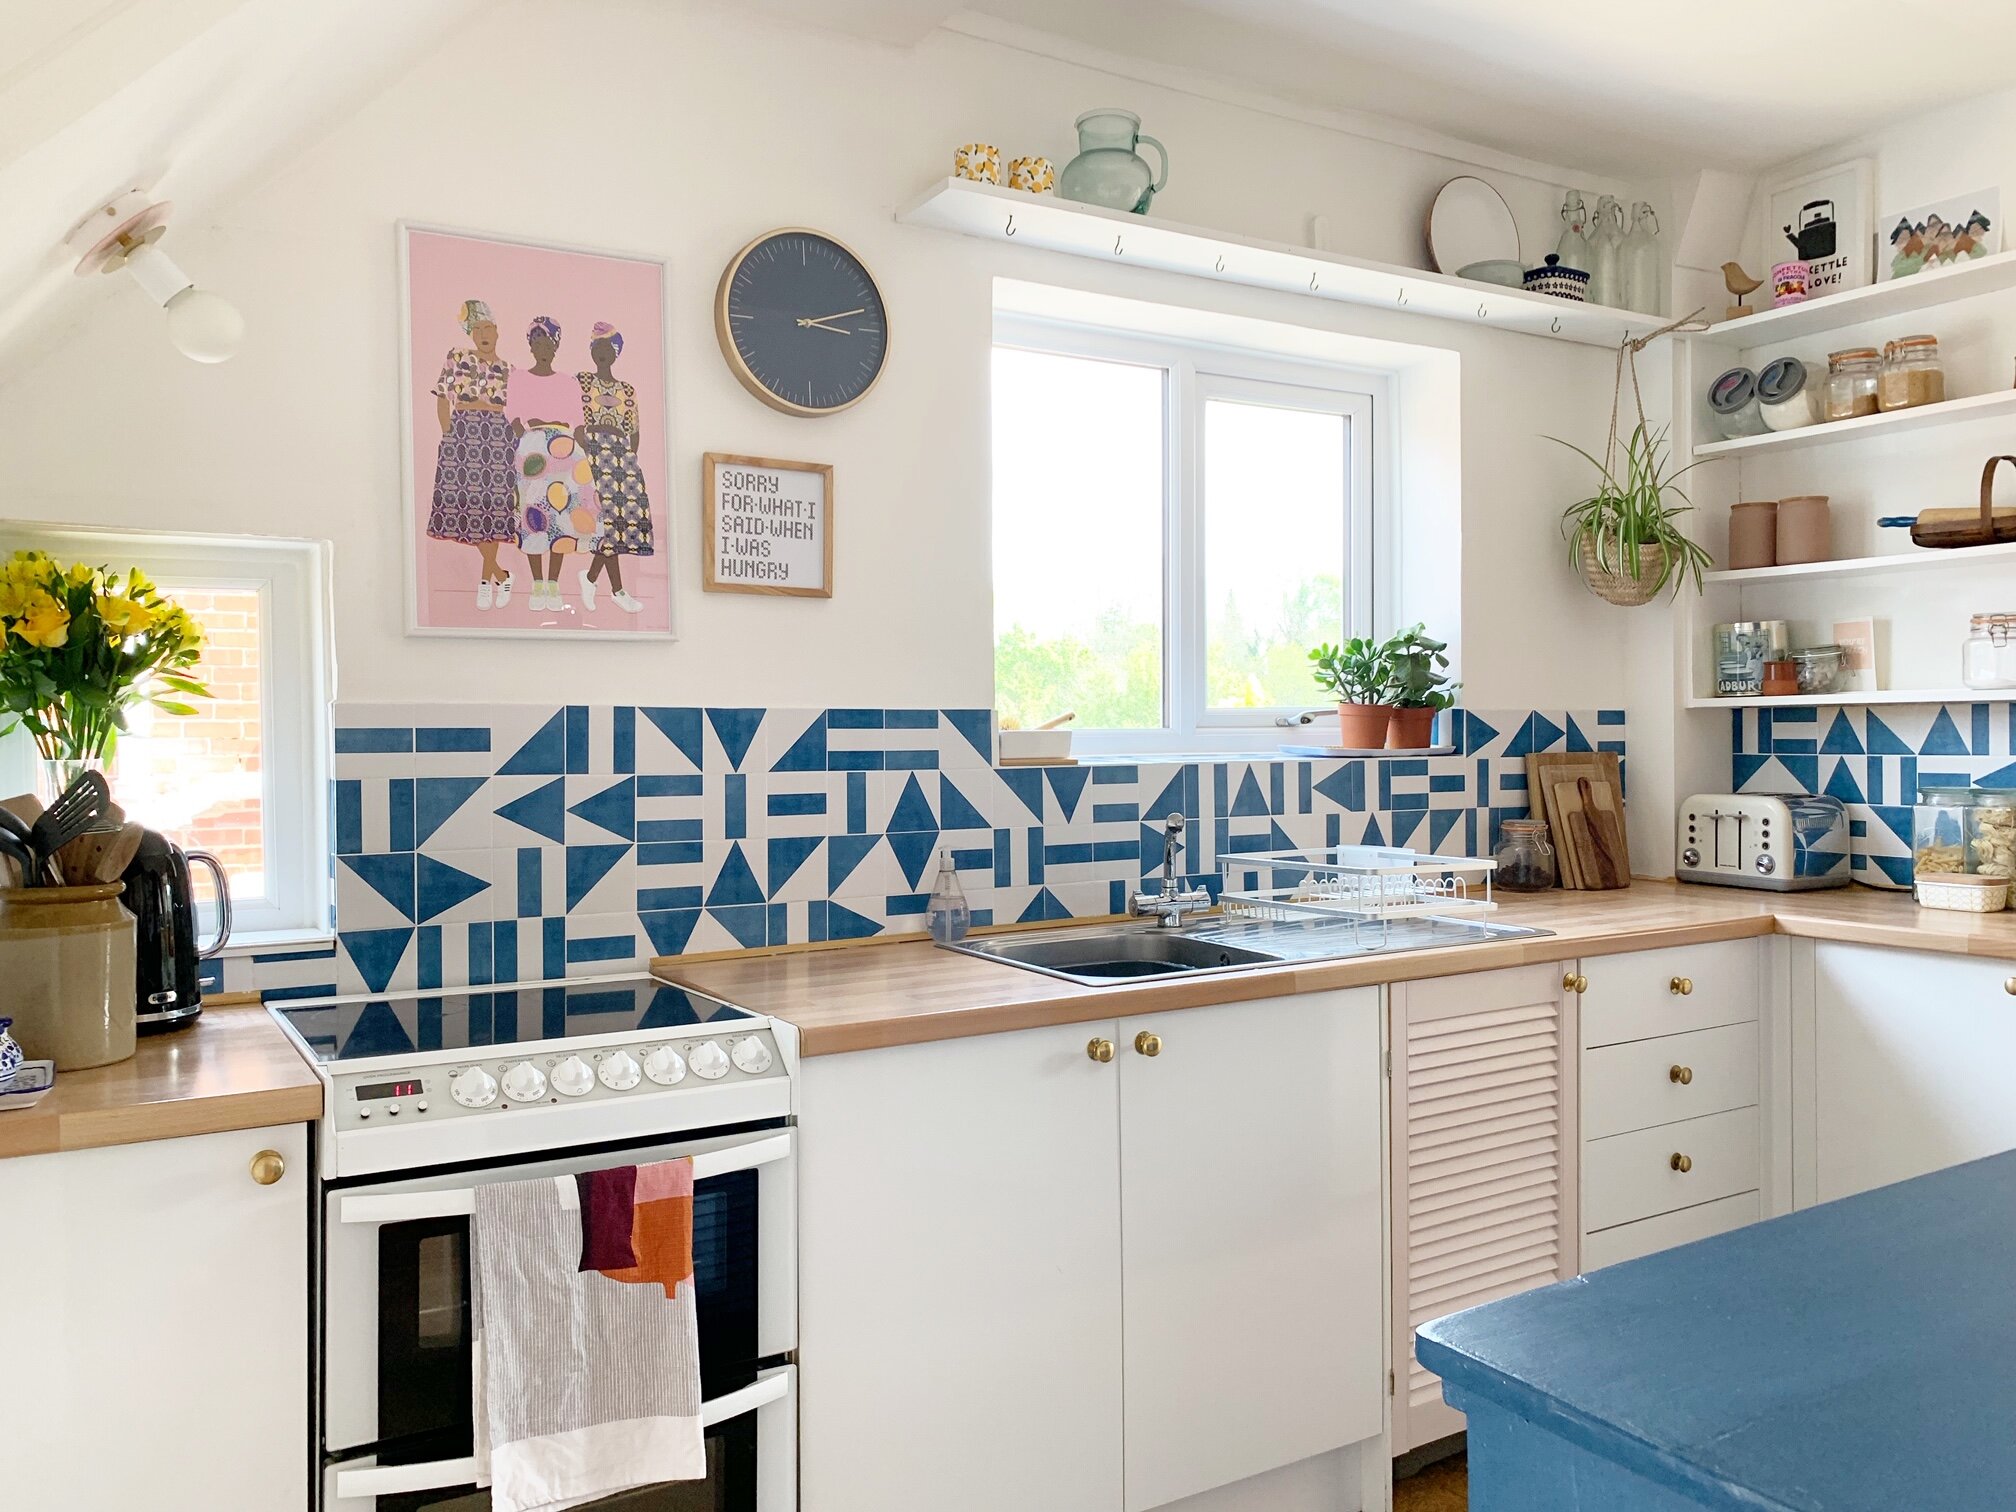
galley kitchen with blue and white tile stickers, white walls and white, pink and blue units