
How to install your own shutters
This is an honest review, written and shared in return for some gifted shutters from California Shutters. Use the discount code OTTO25 for 25% off – code valid until 25/08/2020.
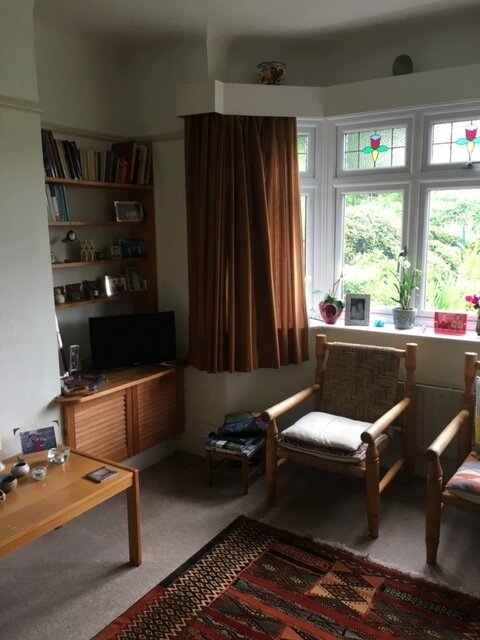
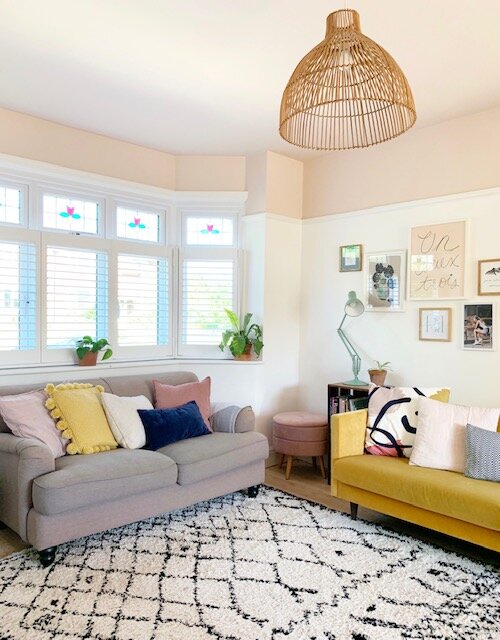
We have been living with no window treatments downstairs for over 18 months. So long, I’d almost forgotten that everyone could see right into our front room from the relatively busy path outside. I’ve never been someone who is overly private, and would always prefer good light during the day over a window covering, but even I began to feel like having people casually snooping on us from outside on the regular was a step too far!
Easier said than done, however, when you have a bay window, with a radiator and sofa to contend with. Curtains would be too fussy and not draw properly. Whilst a roller, roman, or venetian blinds would obstruct the pretty stained glass windows that, original or not, are a lovely nod to the era this house was built.
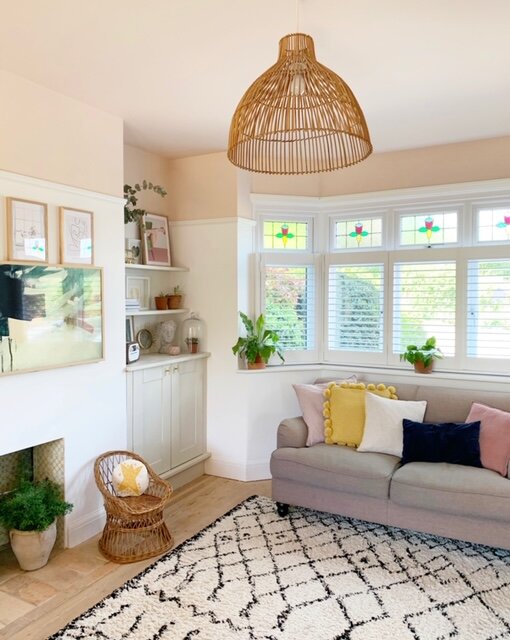
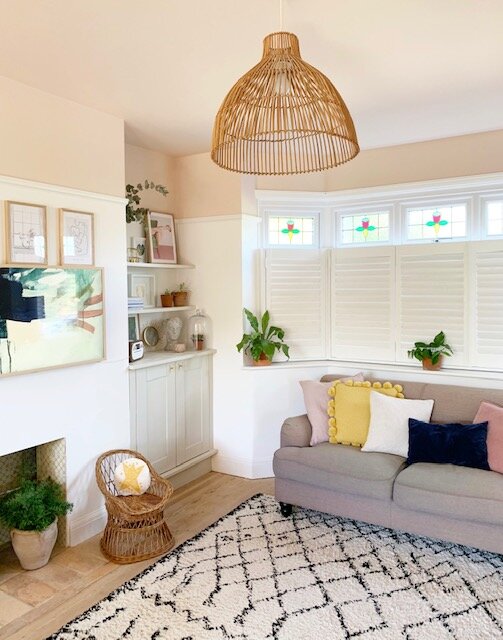
Shutters definitely seemed to be the best solution and I was delighted when I found out you could get ‘café-style’ shutters which would leave the stained glass window on display at the top. When the shutters are open they still let a lot of light in and of course, when they’re closed in the evening, it feels nice and cosy. This room is north-facing and was quite dark before we knocked it through to the dining room. I’m not sure this solution would have worked then, but now we have light streaming in from the south-facing back window, the room remains lovely and bright.
I was so grateful to receive these shutters from California Shutters in exchange for this blog post. California Shutters are a little different to other companies as they keep the costs down by instructing you to do the measure, fitting and installing yourself. If you’re happy with a bit of DIY, this is definitely the best option for you!
Before I go on to share the process, I would also like to add that, as always, this is a completely honest review of the product I was sent. I absolutely love the shutters we have now, but there were a few hiccups along the way – read on to find out more.
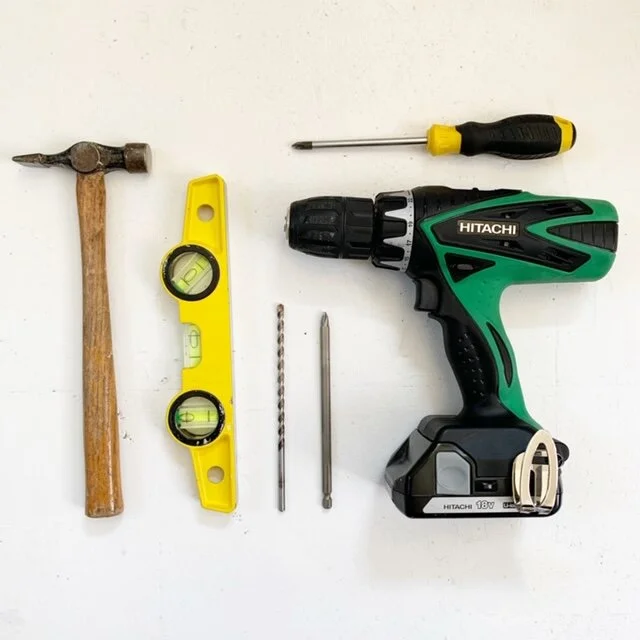
Tools:
Hammer
Spirit Level
150mm Drill Bit
150mm Screw Head
Drill
Screw Driver
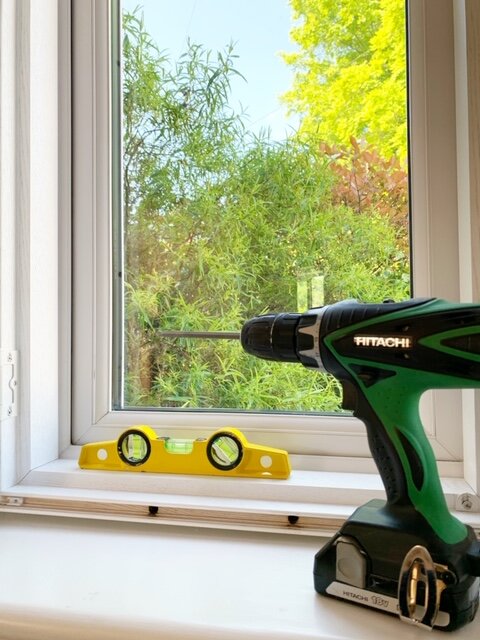
As well as a tape measure, you should have most of these tools in your tool box already. You may find it useful to check the size of the drill bits you have on hand – we found our regular length drill bit and screw head were too small to reach through the thickness of the shutter, so we purchased some 150mm ones which made the job so much easier.
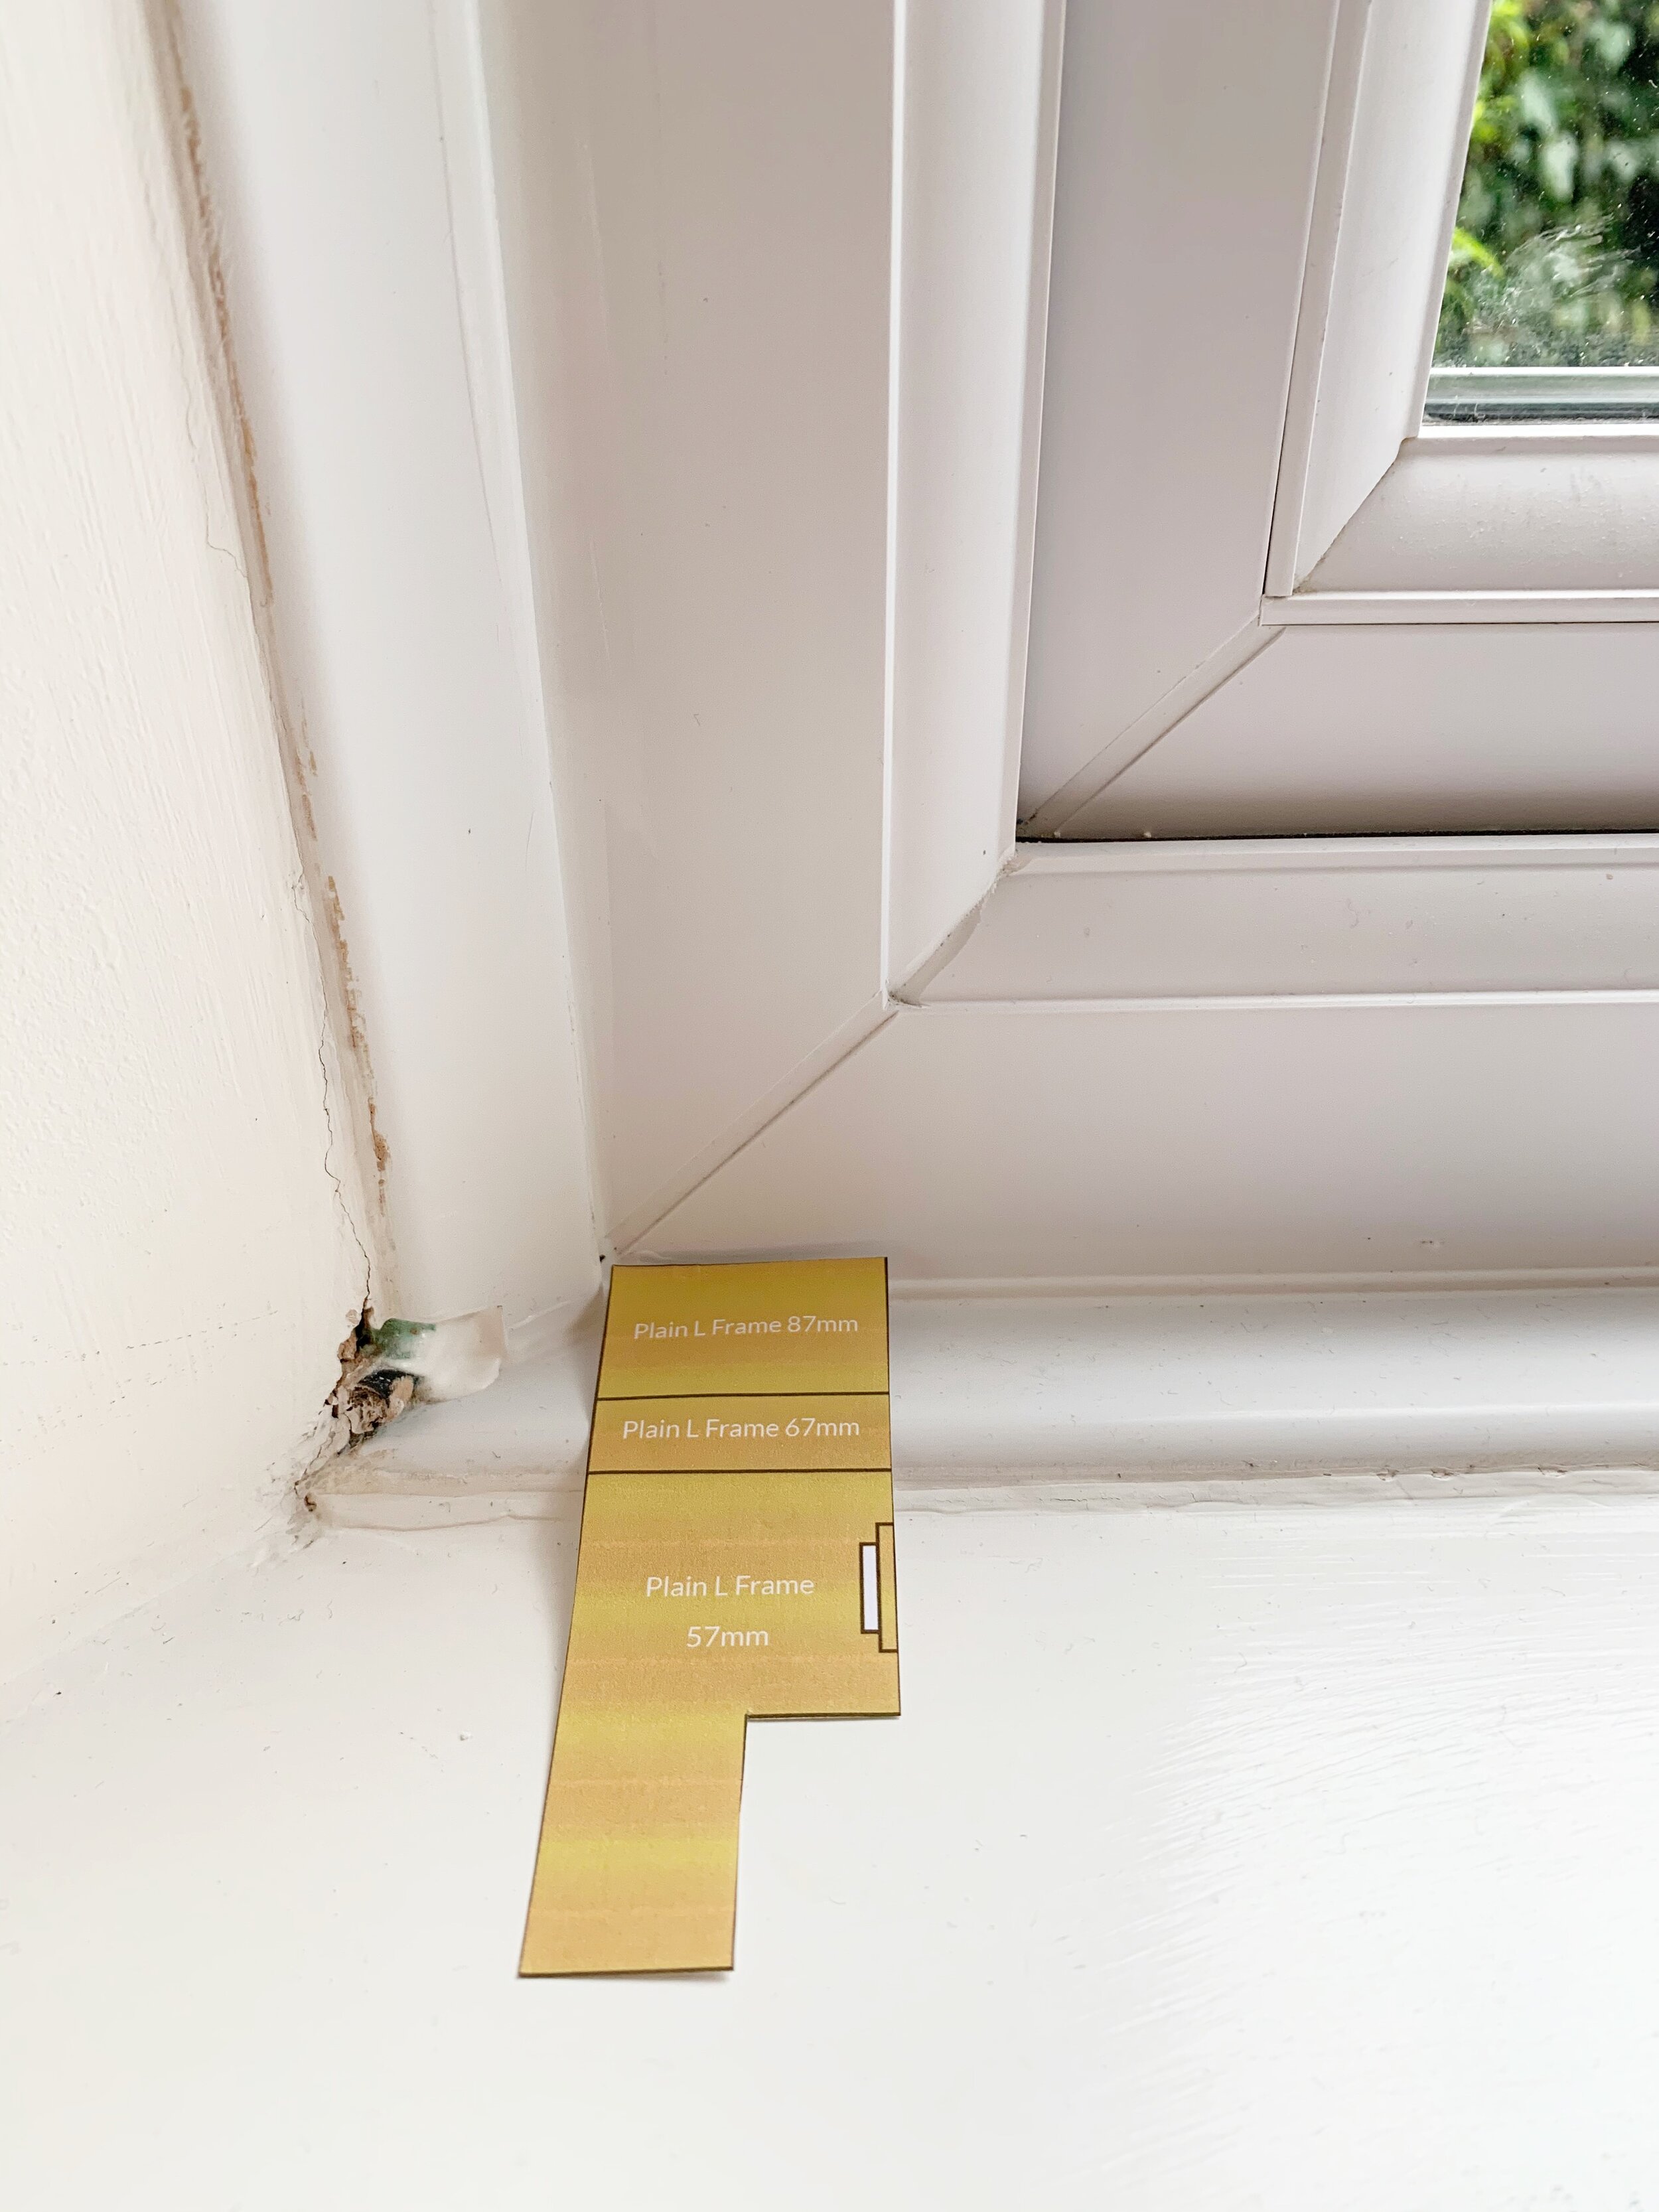
California Shutters provide a comprehensive guide to measuring on their website. These printable templates can be cut out and placed in the correct position which will help you to know where you need to measure to and from. I got nervous about my measurements so I sent pictures through to the customer service team who were great at reassuring me I was measuring in the correct place!
Once the shutters arrived, it was time to install them. Eek! Thankfully they all fit perfectly, and I was really pleased with the finish I chose. They looked gorgeous!
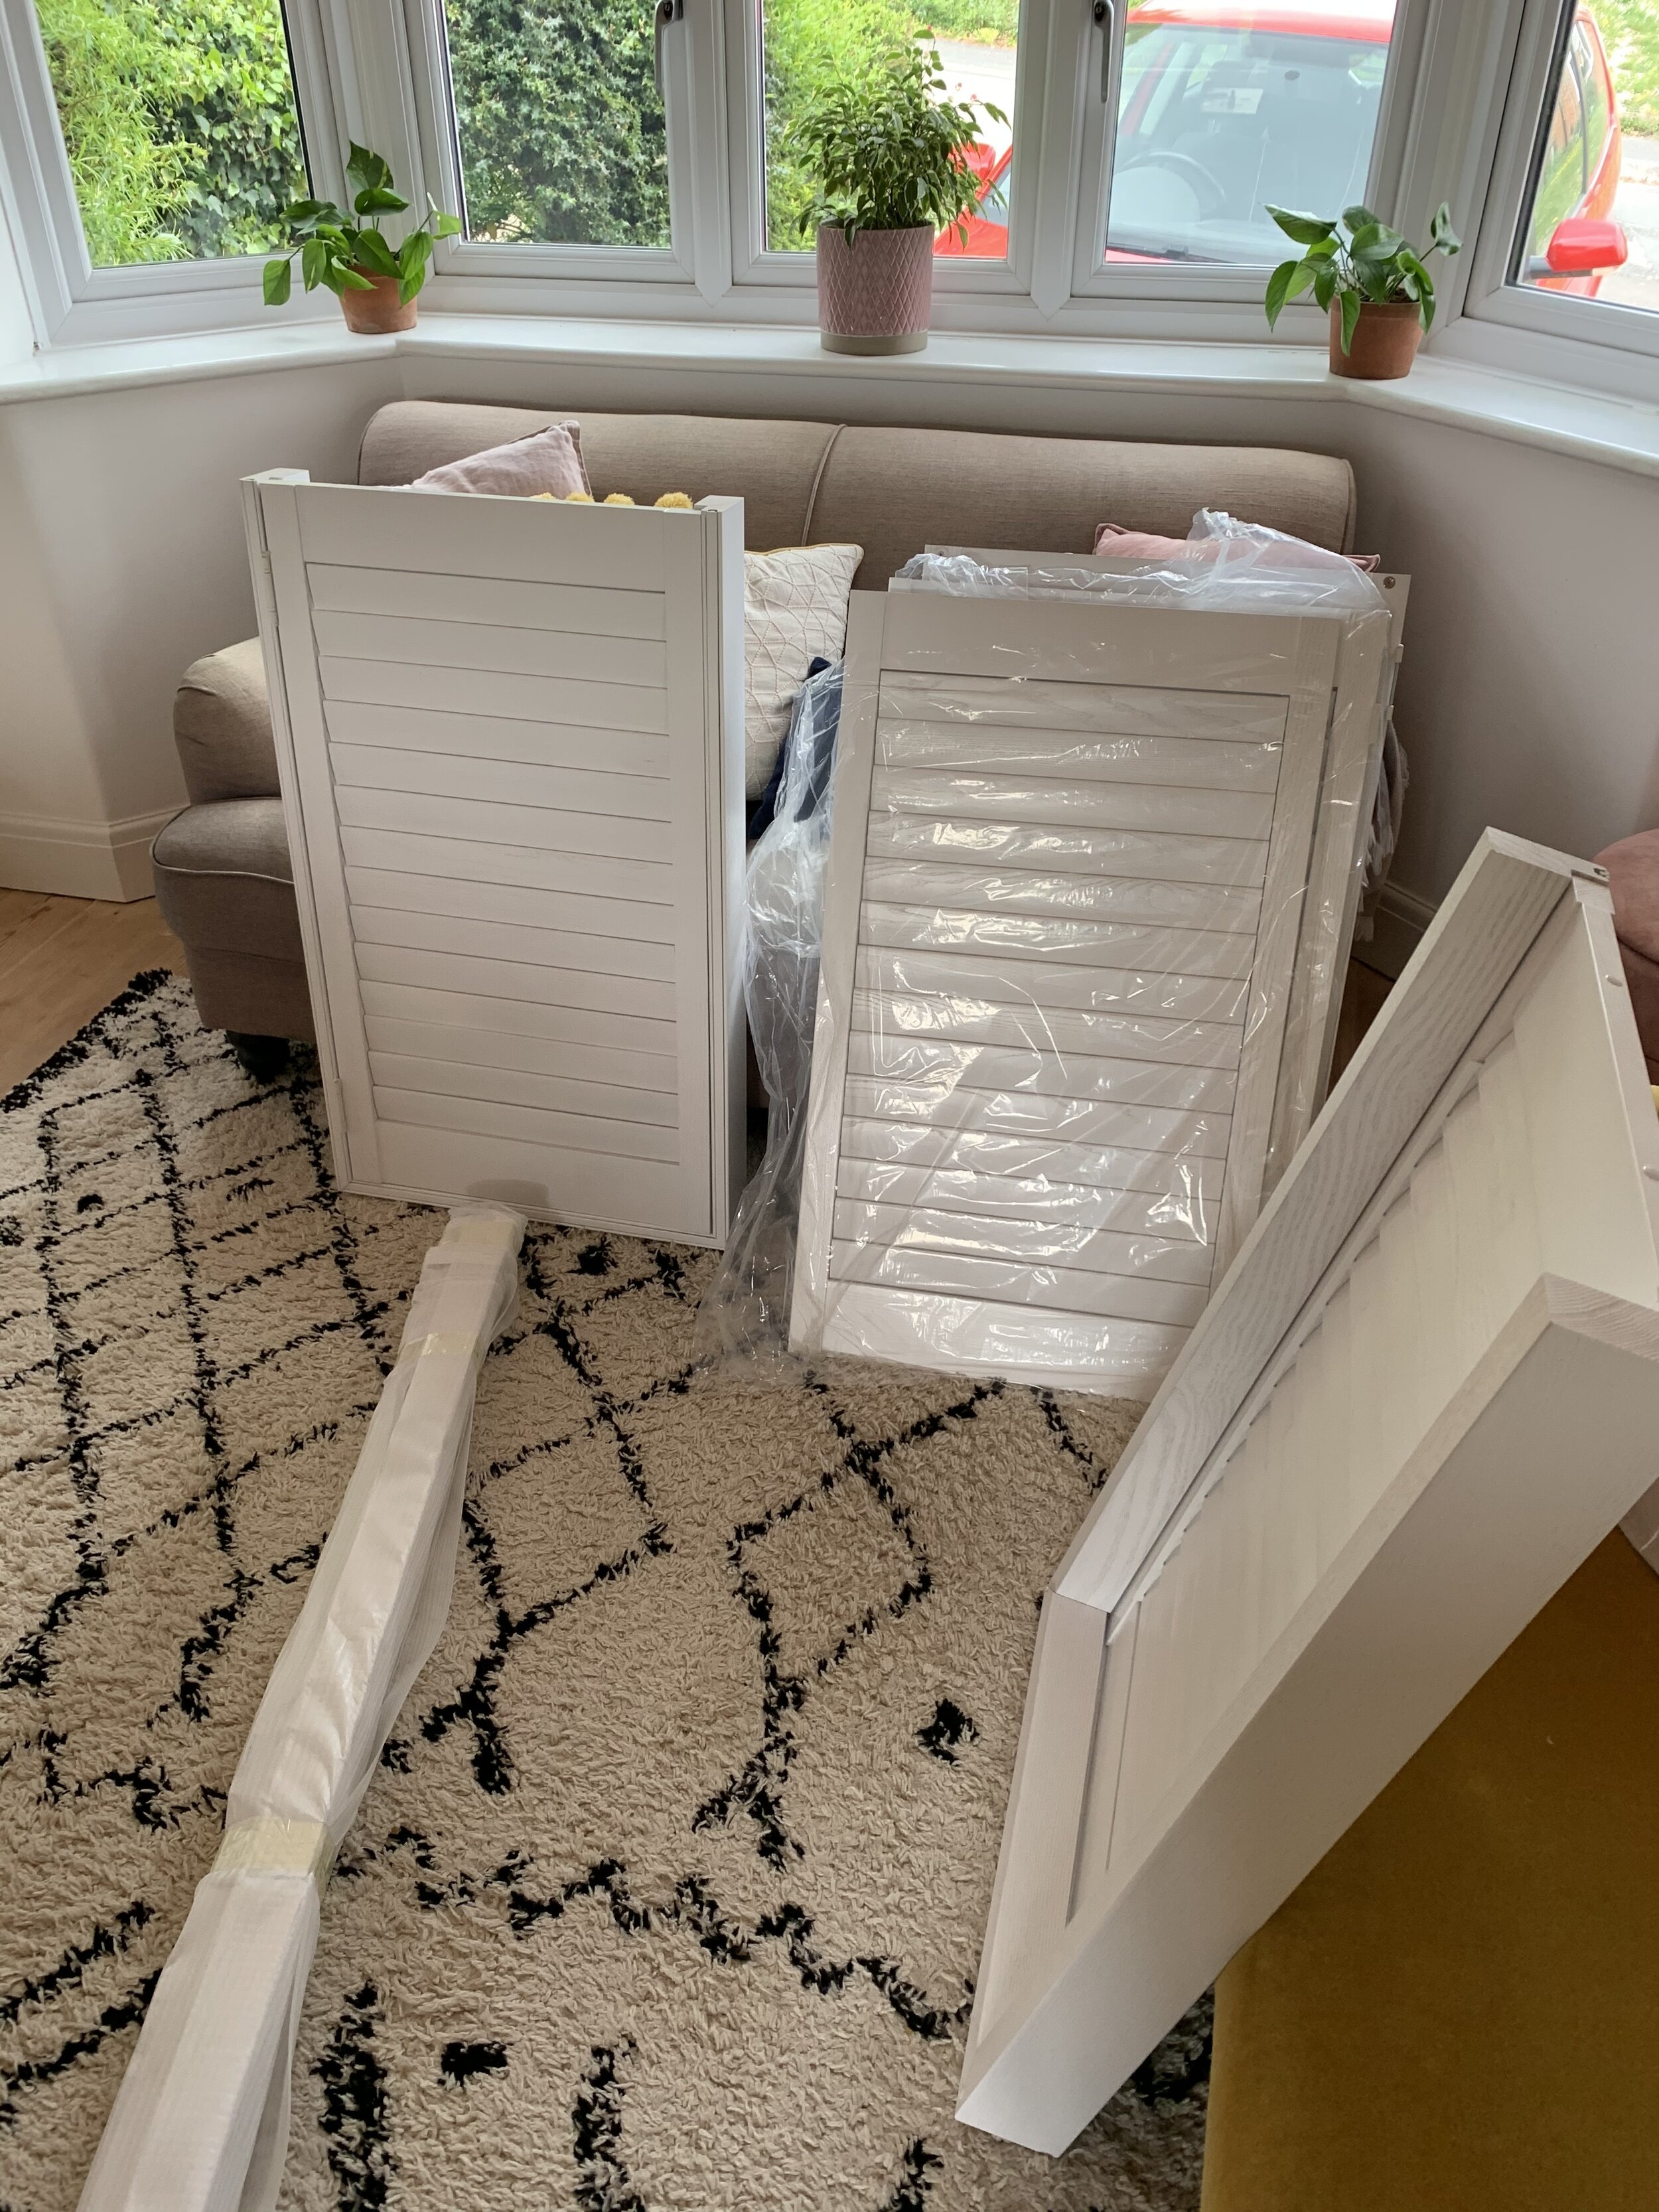
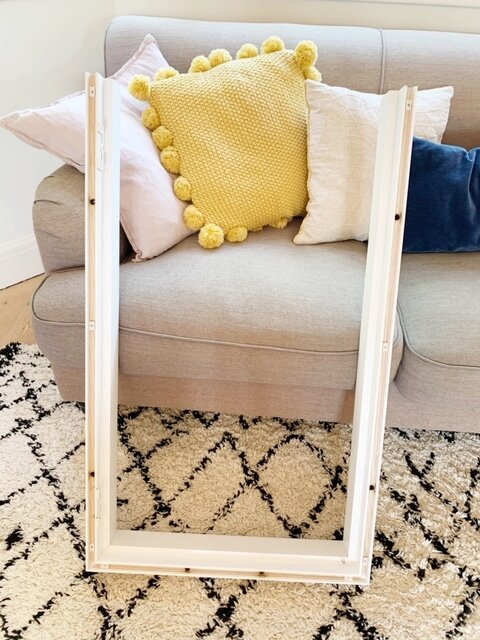
The frames were easy to assemble but installation proved a little trickier than I expected. There are various installation guides on the website for the types of shutters they sell, however, not a specific guide for café-style shutters. This led to a little confusion on a couple of issues (where our shutters were different to those in the instructions) but I managed to solve it through a bit of guesswork and trial and error.
The shutters come with an easily clipped in cover-strip which hides all the drill holes and gives them a lovely smart finish. They should all come with pre-drilled holes which makes it quick to install. We didn’t seem to have these though, which caused more confusion as we couldn’t quite work out what we were doing wrong!
Thankfully, the team at California Shutters do have a brilliant customer service. They are easy to reach and will happily talk through anything with you, look at photos you send, and reply back with thorough advice and recommendations. After speaking to one of the team, we realised that we weren’t going crazy and the ‘pre-drilled’ holes in our shutters, weren’t drilled all the way through as they should be.
Once we knew this, installation was then pretty straightforward. We ordered a 150mm bit, quickly finished drilling the holes all the way through, and then they could all be attached to the uPVC using a screw and 150mm screw head. The frame screws into uPVC really easily and there is no need for rawl plugs. Hooray!
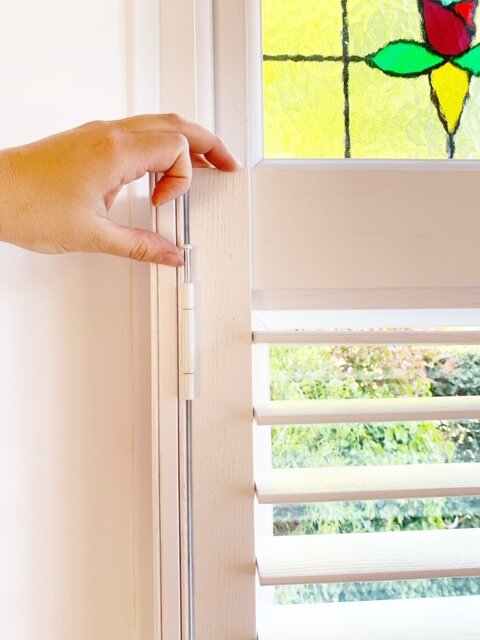
Once the frame is up and everything is level, you can simply attach the shutters to the hinges using a pin that slides in and holds it all in place. If any shutters are slightly off, you can readjust the hinges or pop a ‘plastic hinge packer’ in place to angle it out correctly. Some shutters even come with a little pot of paint for touch ups in the future.
Now they are up, I am absolutely IN LOVE. They look gorgeous, have that glorious weighty feel that good-quality wood carries, and the shutters themselves glide up and down so smoothly, they are a joy to use. They have completely transformed this window and look great from the outside too. Even our neighbour has commented on how lovely they look (though lockdown is making us all notice the smallest of things, hey?!)
When I did have a query on the install, the customer service team were brilliant, (they didn’t know I had been gifted them either,) and they were very apologetic about the slightly faulty ‘pre-drilled holes’ situation. I often think the mark of a truly good company is one that deals with a problem really well.
I also want to commend California Shutters because after taking feedback on the couple of issues we had, they were absolutely a-ok with me sharing this with you all. They haven’t tried to ‘censor’ what I say (believe me, this happens!) and like me, know that honesty is the best way forward. I don’t know about you, but this makes me trust them even more!
Ultimately, the shutters are absolutely stunning. They look beautiful and do the job required perfectly. I cannot believe we have gone so long without them! I would absolutely recommend California Shutters and would definitely order from them again.
Since I received my lovely shutters, California Shutters have now set up a new service where you can have your shutters measured and installed by a fitter. If the DIY aspect does put you off, then this would be a great option to consider!